Whenever you set a follow up in the LISA admin, you have the option to send an automated notification email to the assigned representative. To edit the content of the email sent, follow the instructions below.
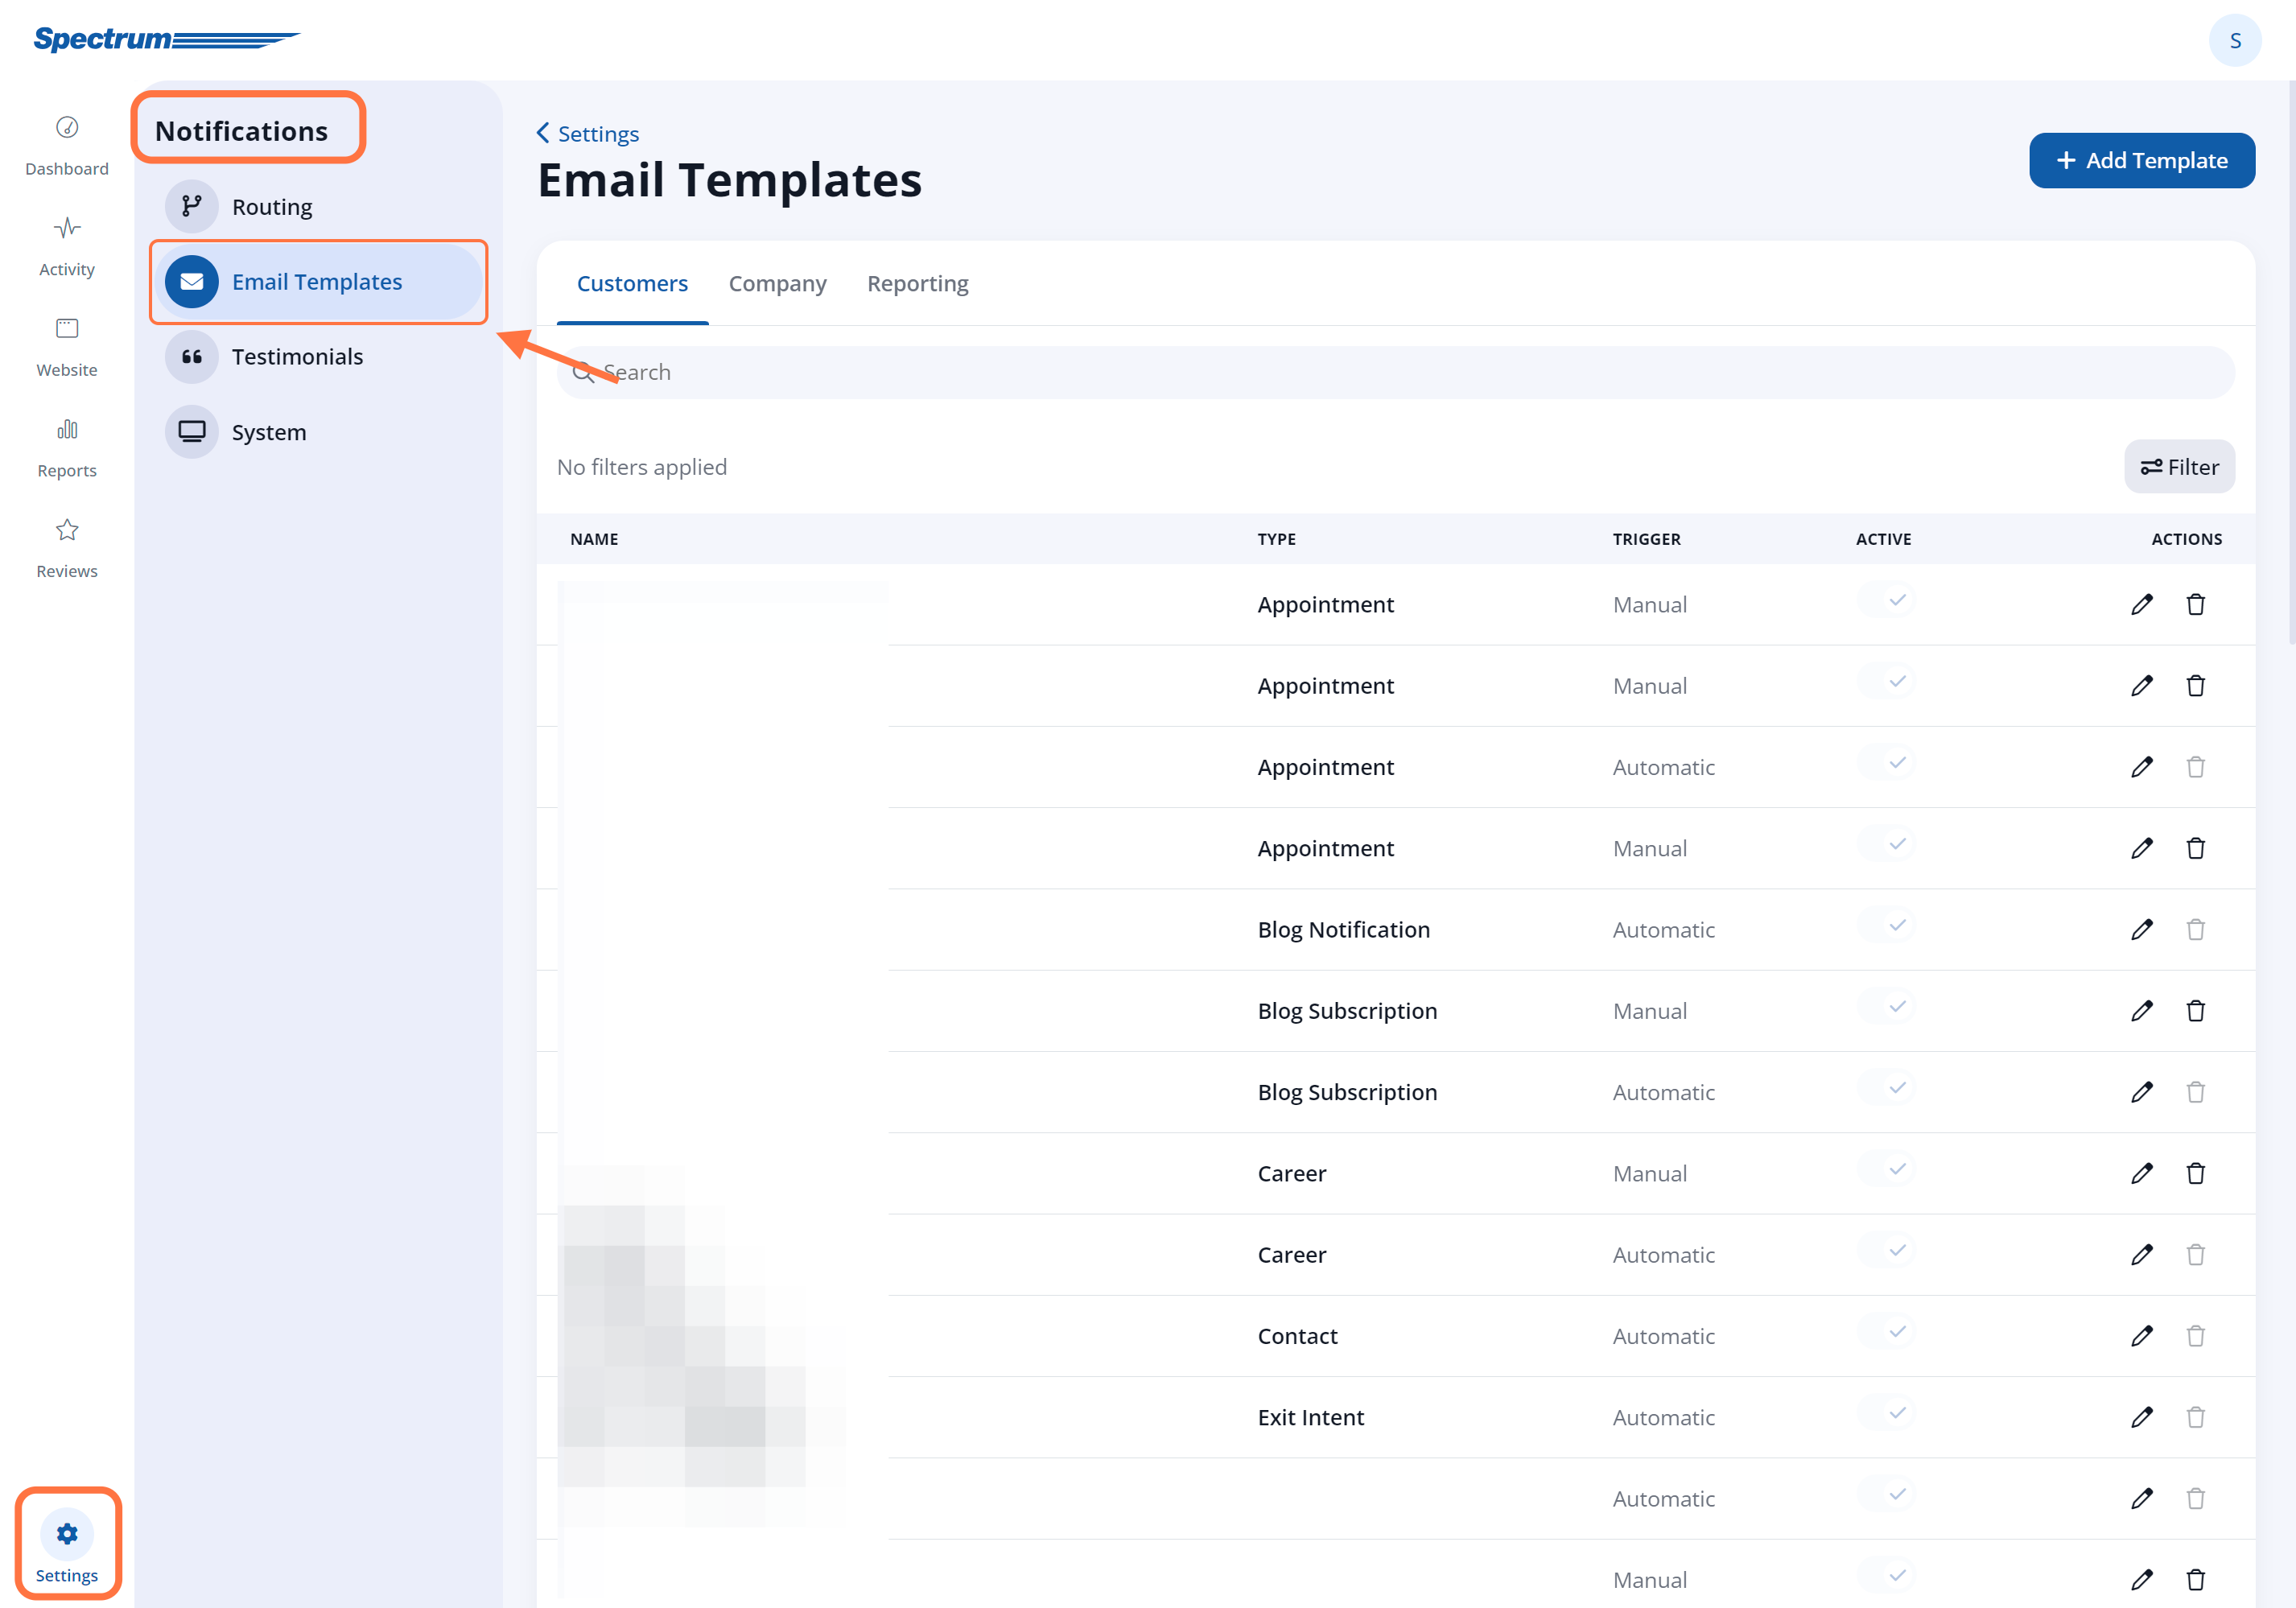
1. Go to Settings > Notifications > Email Templates
After logging into the LISA platform, go to Settings > Notifications > Email Templates.
2. Choose the Follow Up Template
Make sure that you are in the Company tab and then click the edit icon on the template for Follow Up.
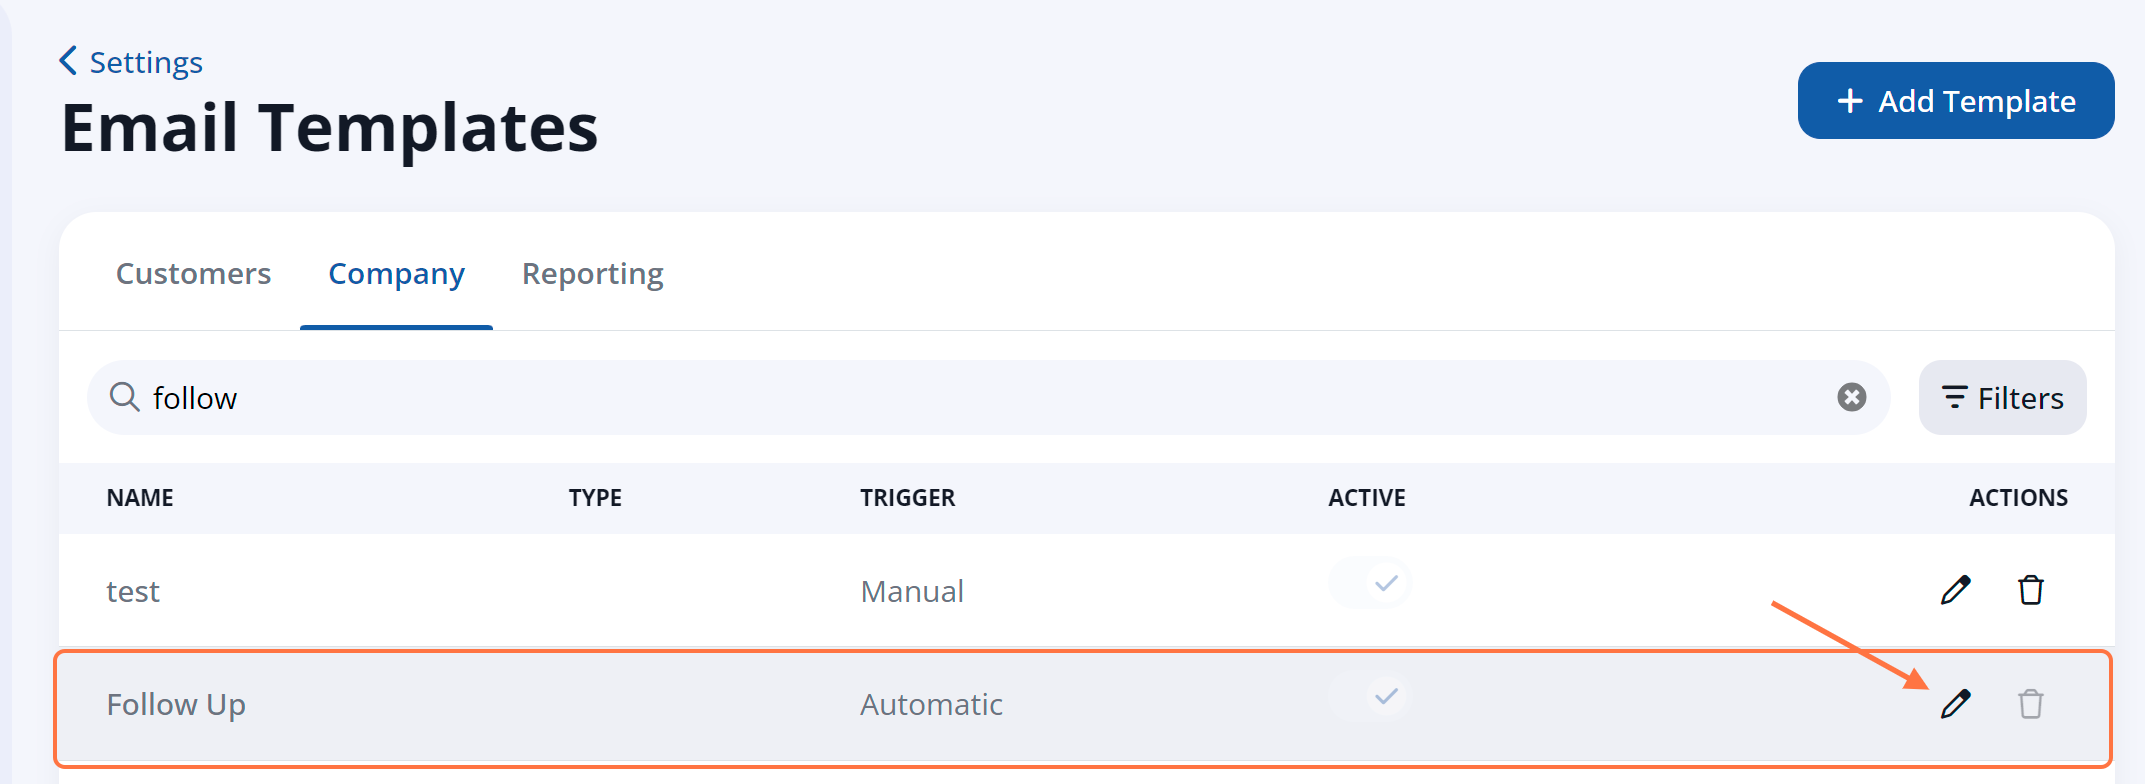
Note that you can customize the default follow-up template, but you cannot create a new one.
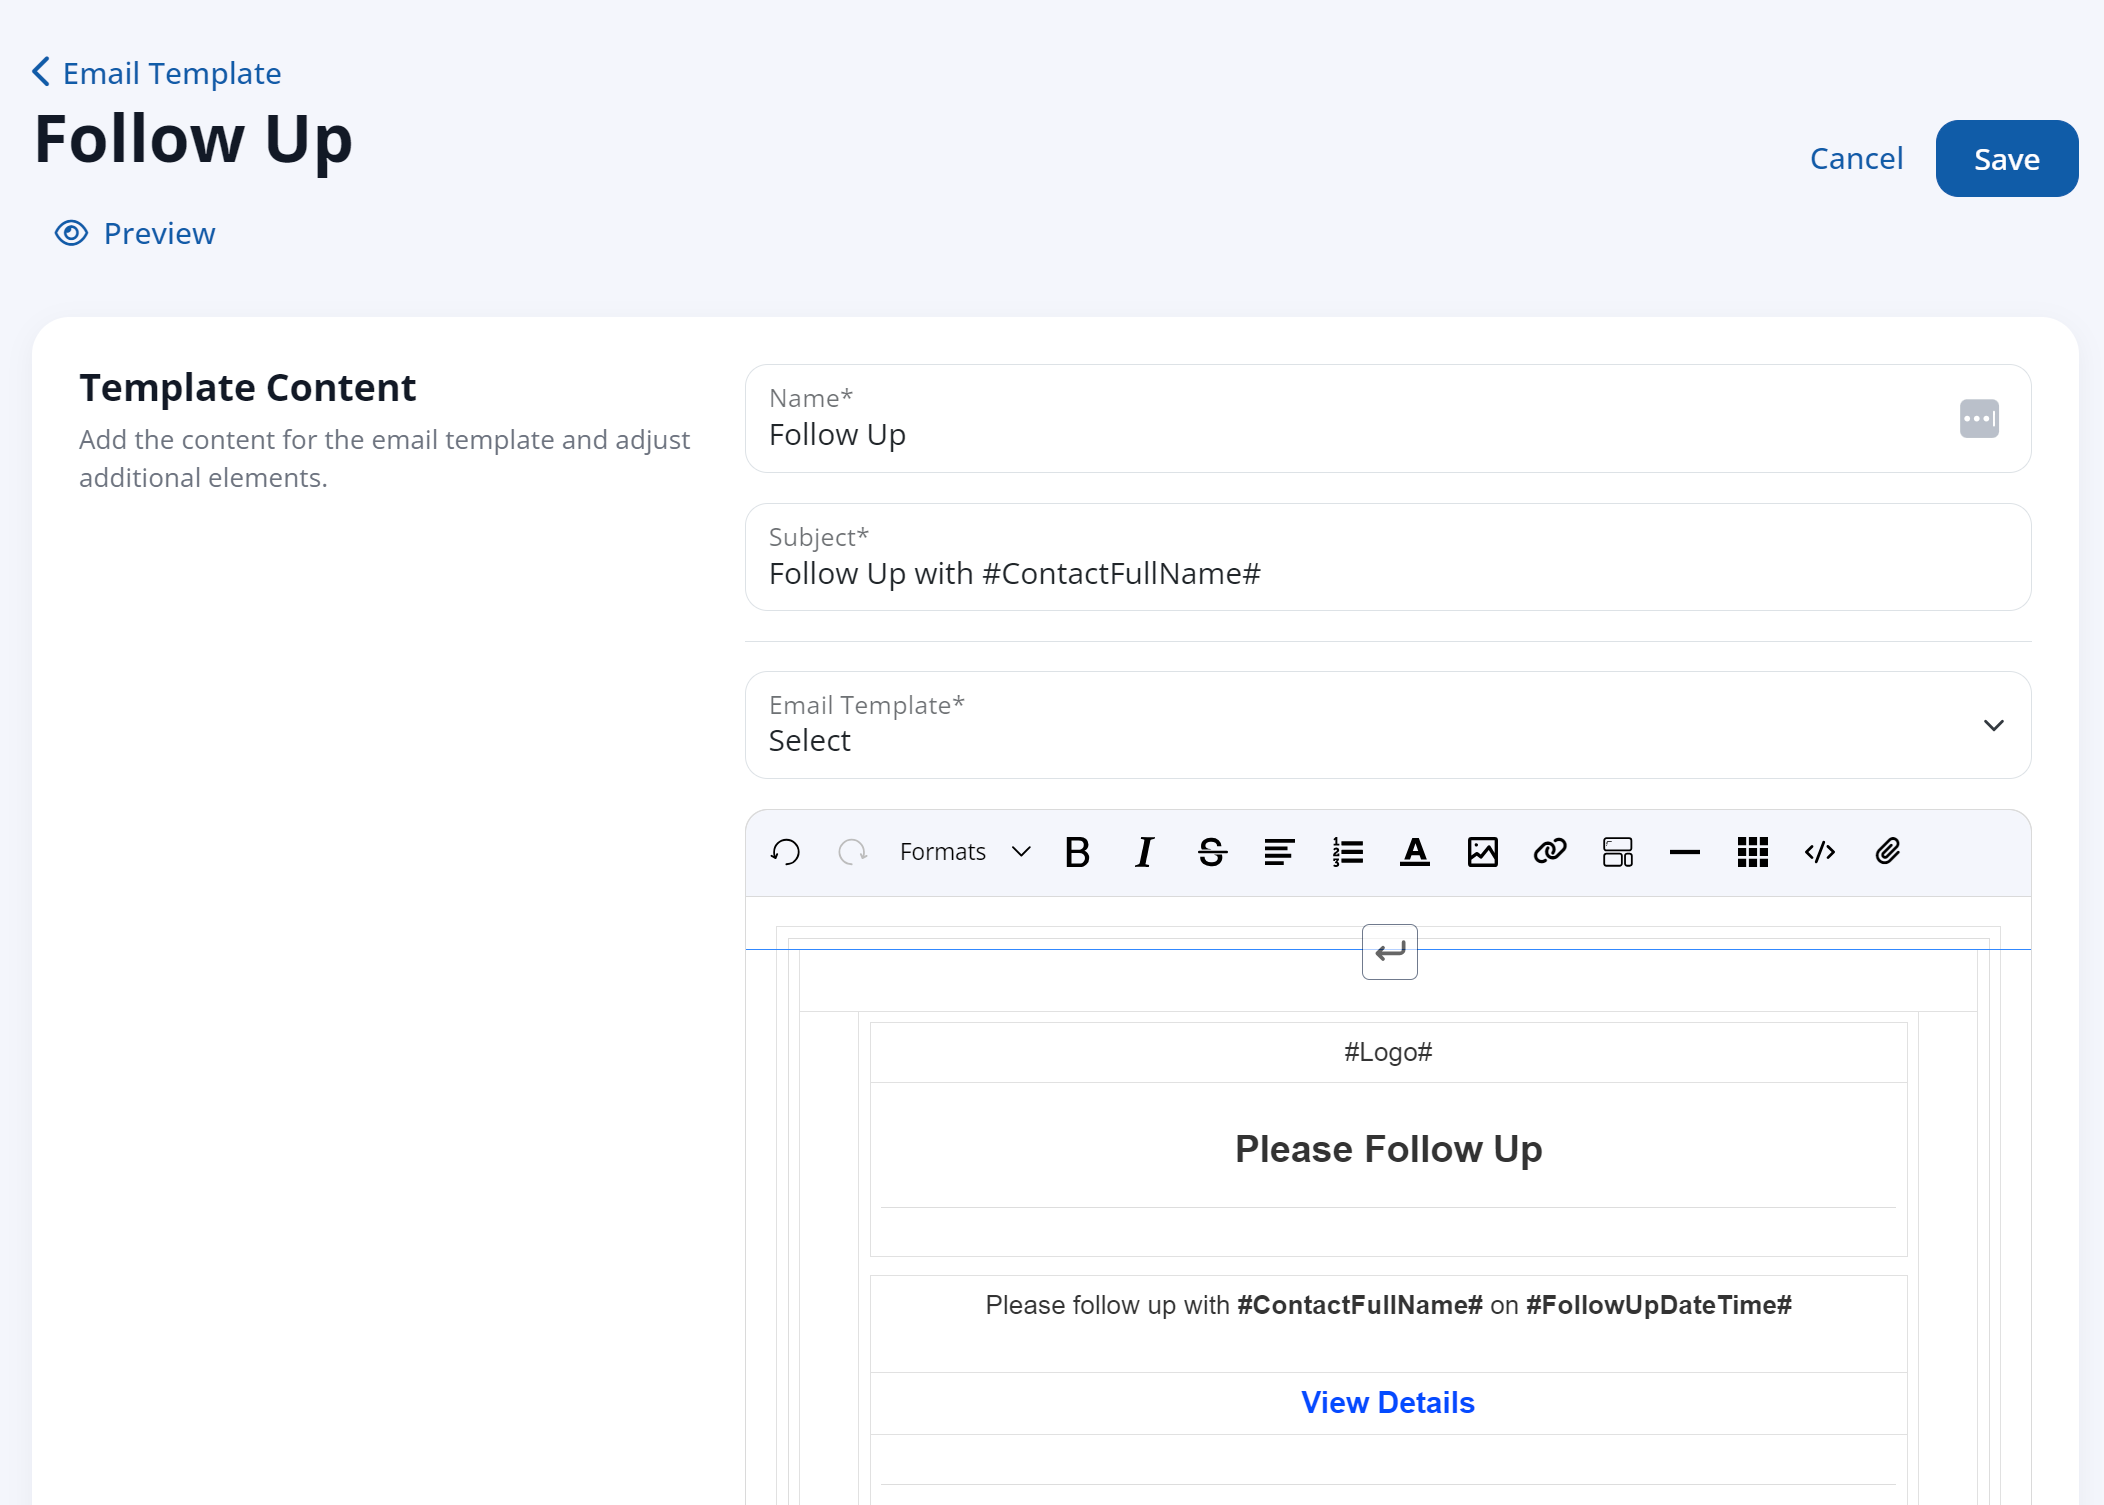
3. Make Your Edits
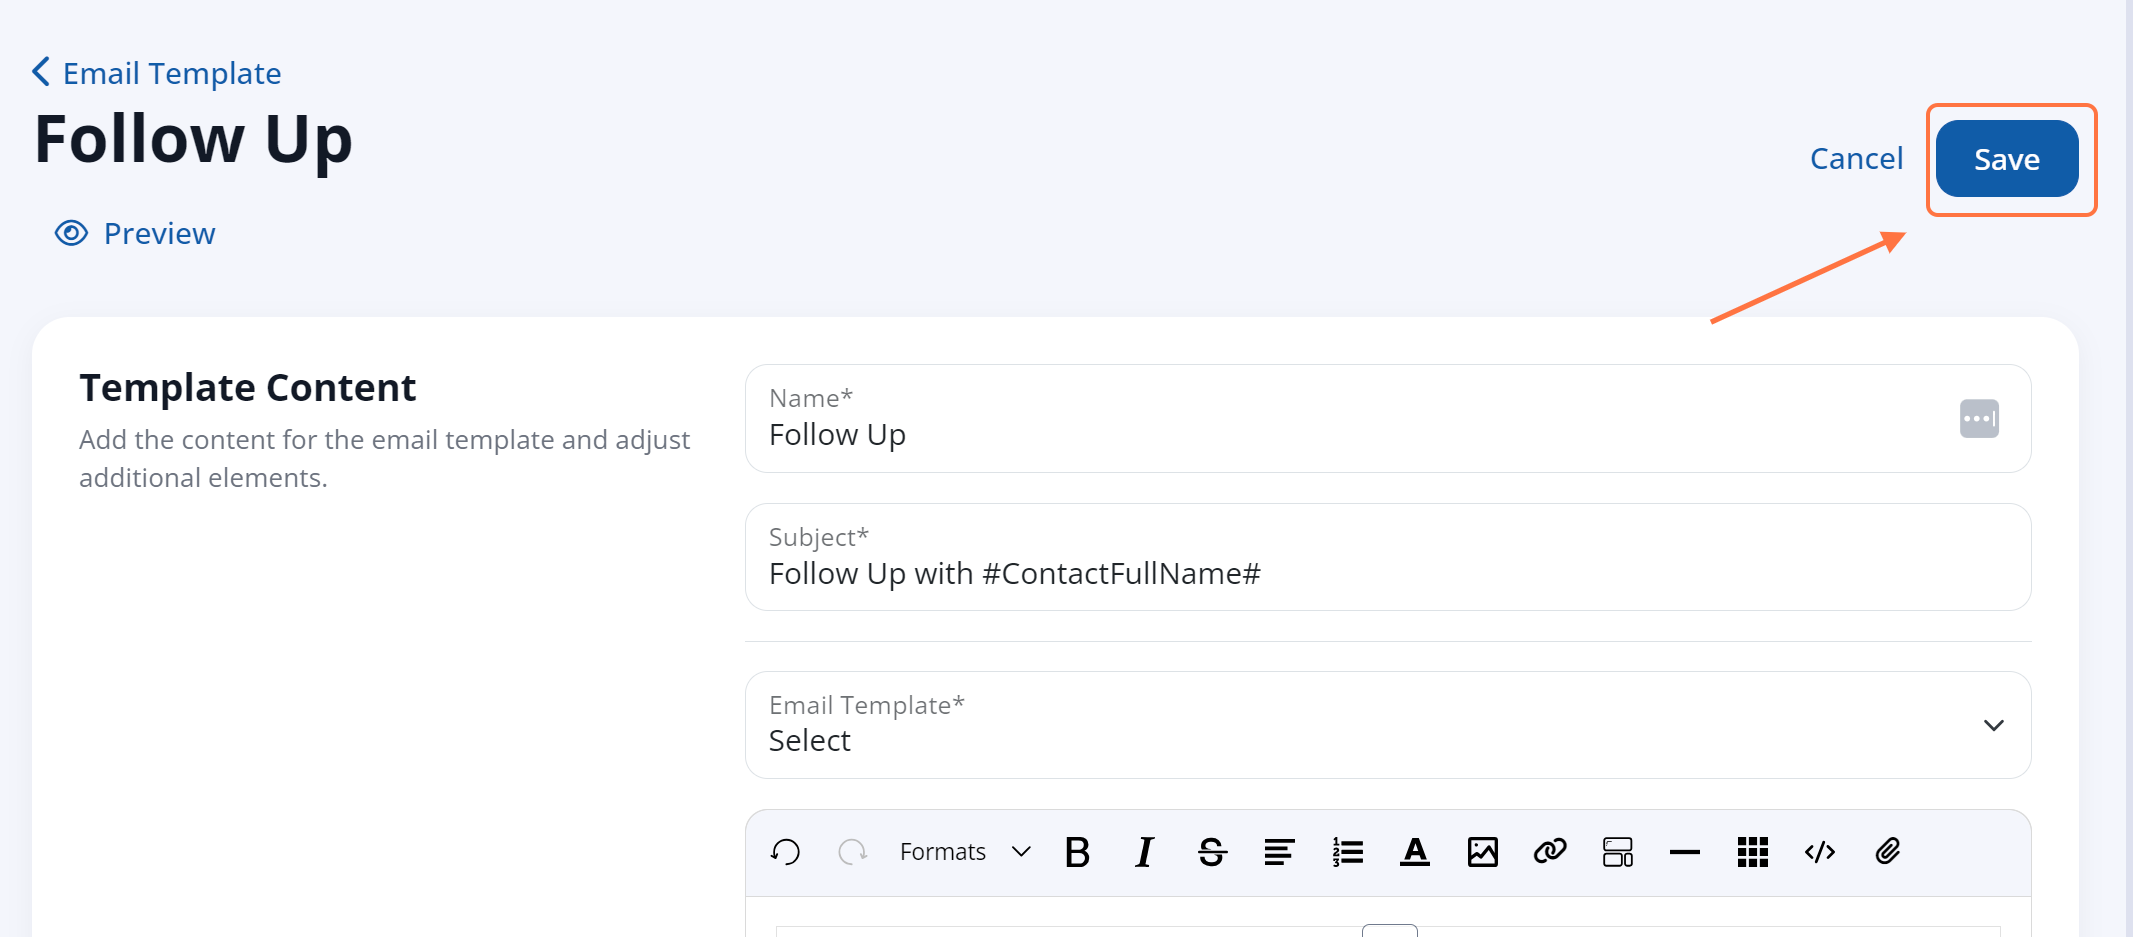
On the Email Template page for the Follow Up template, you can make any edits you'd like:
You can also use the "Add Additional Elements" field (shown below) to insert dynamic information, which is automatically pulled from other data saved to your LISA admin.
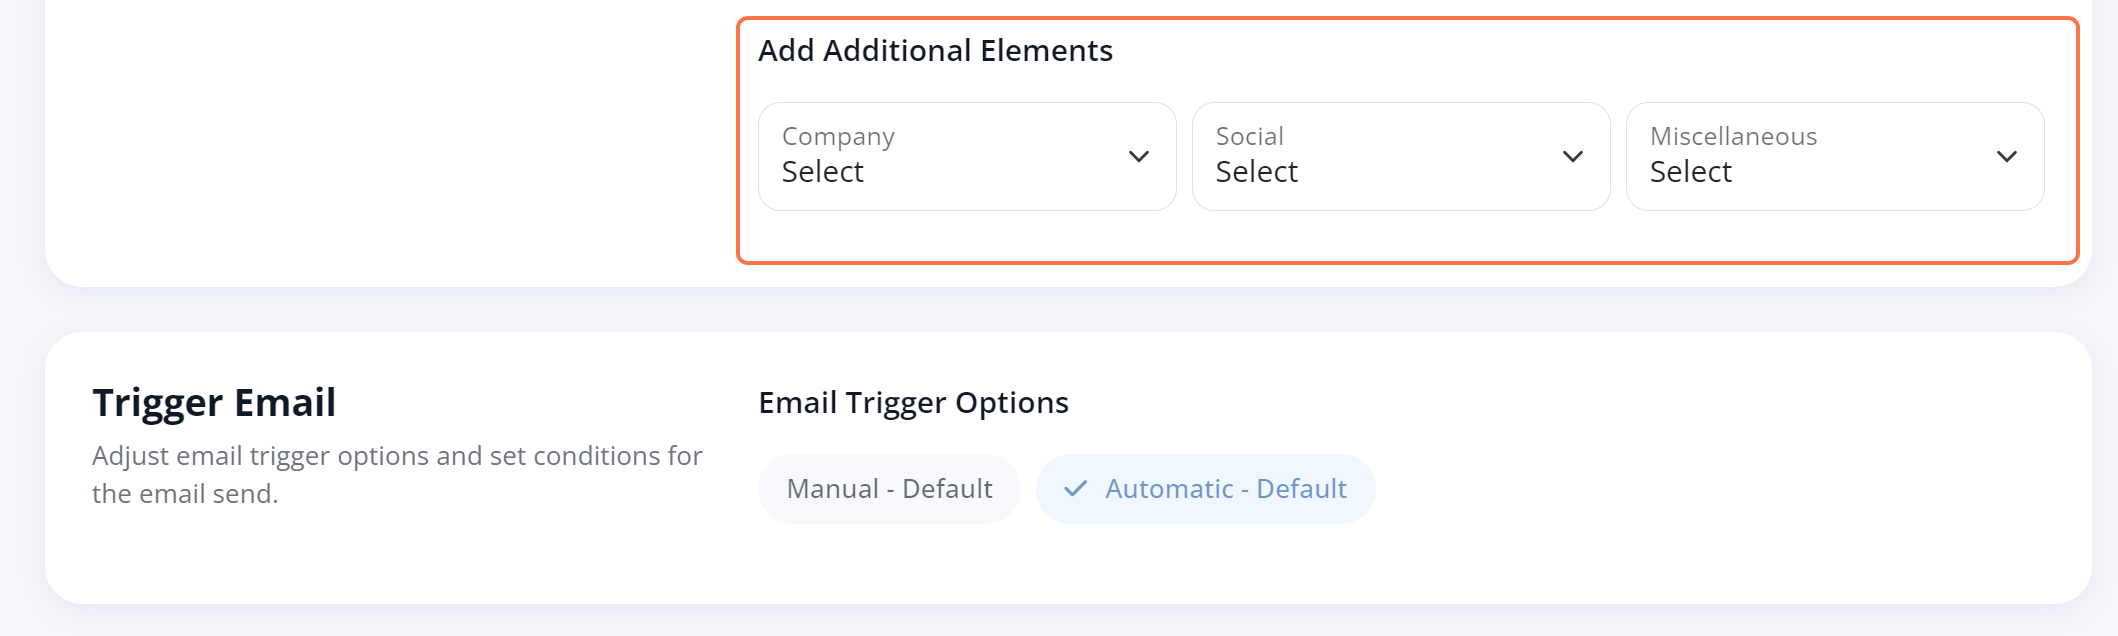
Fields Not to Edit
To make sure your email template functions as expected (and is sent automatically when you create a follow up), please do not change the following fields:
- You can change the name of the email template.
- You can edit the subject line.
- You can click into the text editor to enter your own text, hyperlinks, or images into the body of the email.
- Template Type: FollowUp
- Email Trigger Options: Automatic - Default
4. Save Your Template
Once you've made your desired customizations, save your changes.
As soon as you've saved your changes, your email template will be updated and ready for use. Learn more about follow ups in the LISA admin in the following resources:
- How to Create a Follow Up - link coming soon!
- Appointments vs. Follow Ups - link coming soon!
- Where to View Upcoming Appointments - link coming soon!
- How to Set Up Rep Access
- Overview: Representative User Role