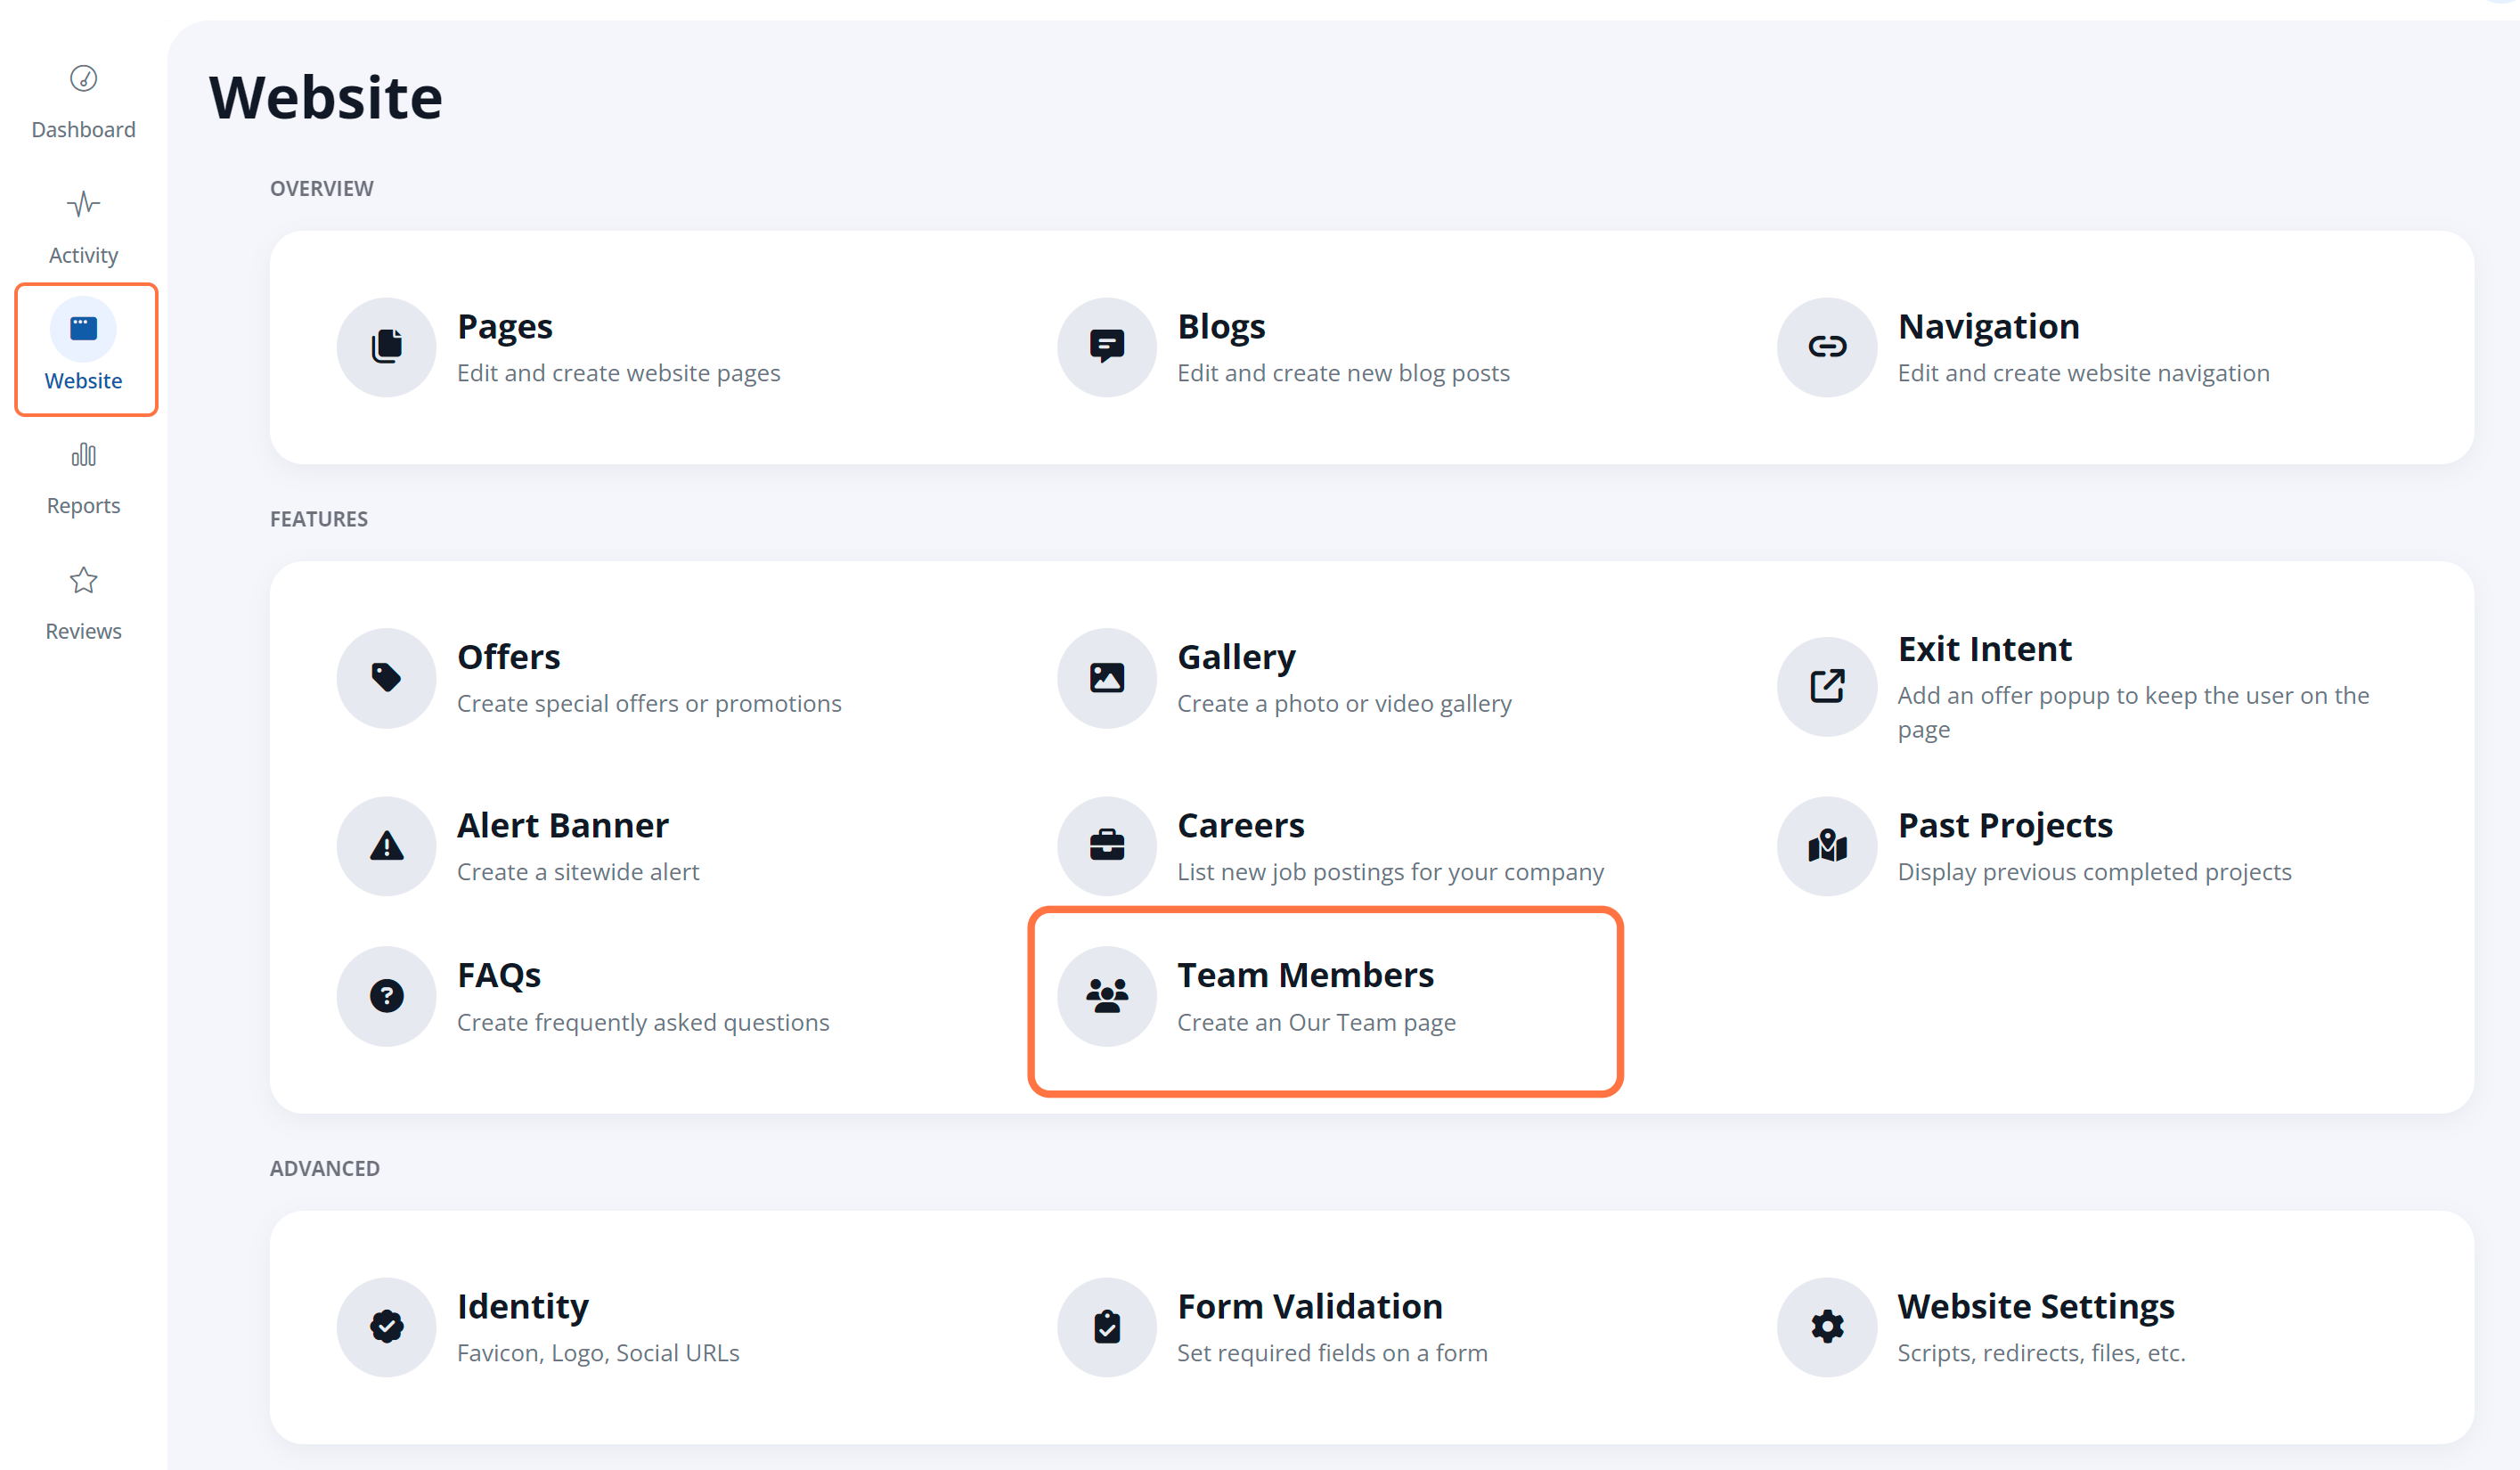
The Website section of the LISA admin is where you'll go to edit the content on your website. For LISA admin users with the Admin role, this section includes the following features.
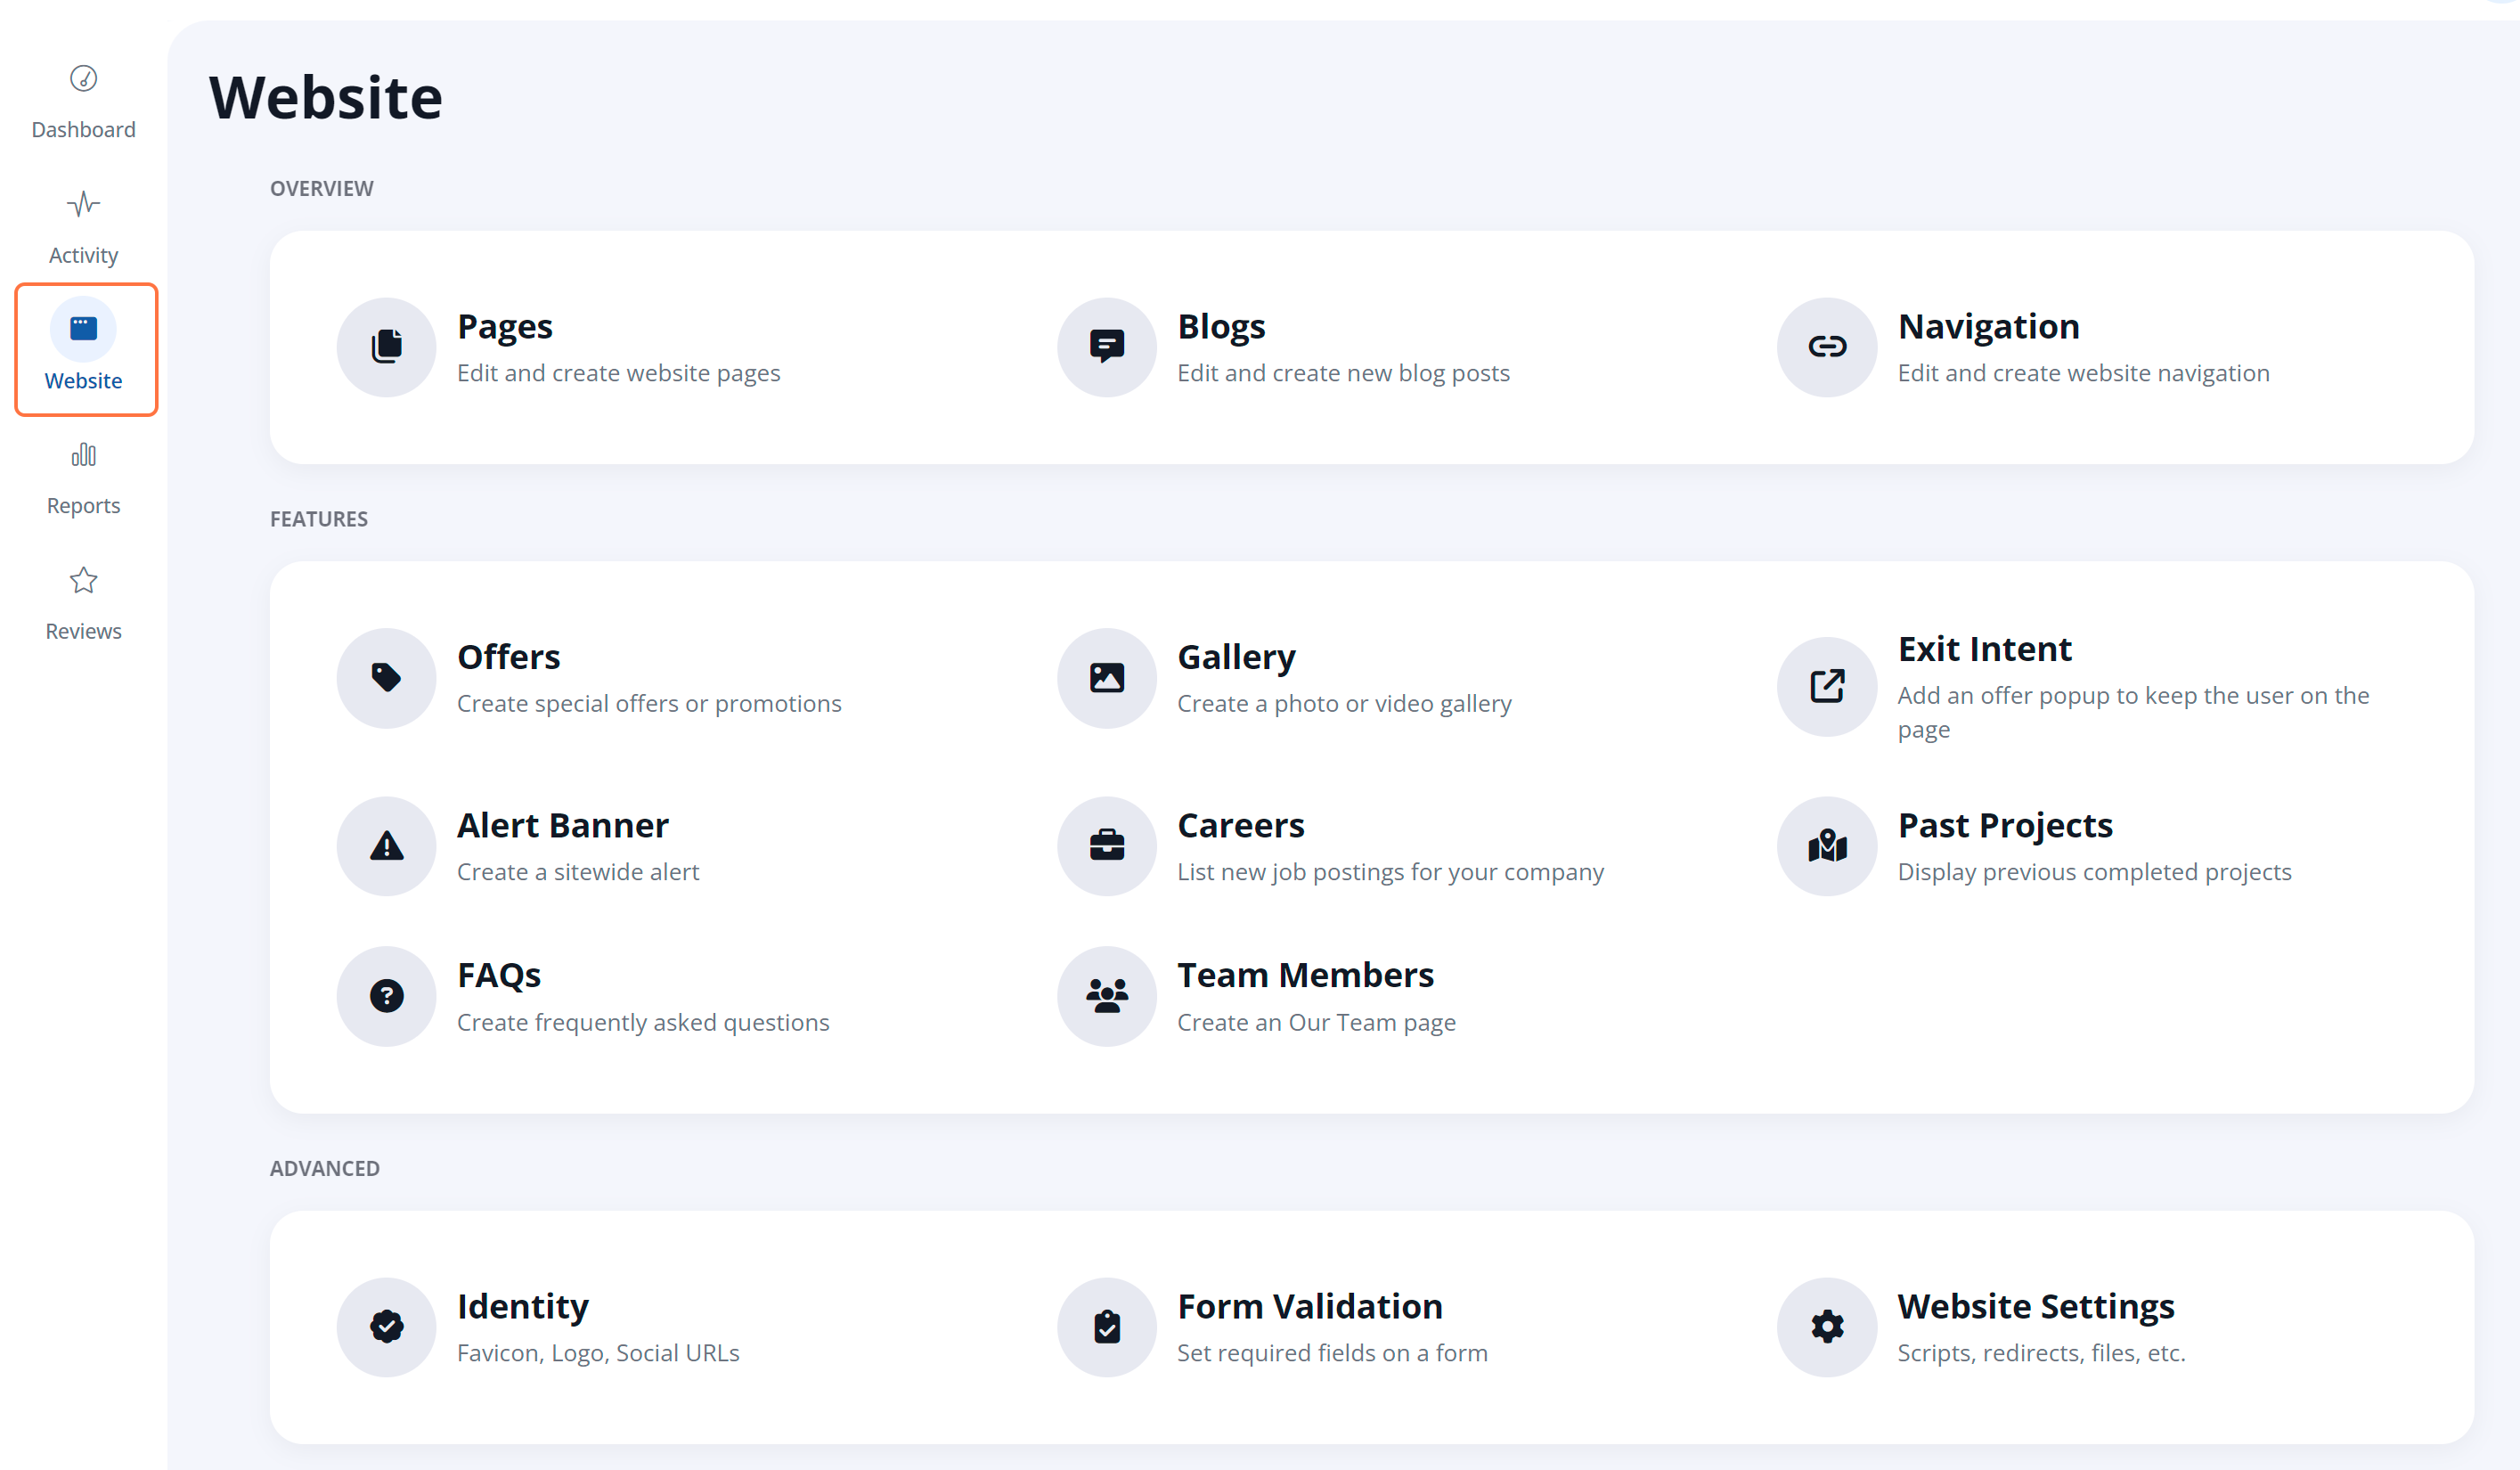
The rest of this article will explain what each section of Site Content does and will link to further resources you can explore.
Pages
The Pages feature allows you to edit the content of the pages on your site, which includes the text within the page as well as the "page info" details: the heading, the quote form heading, the review displayed, the blog post displayed, and more.
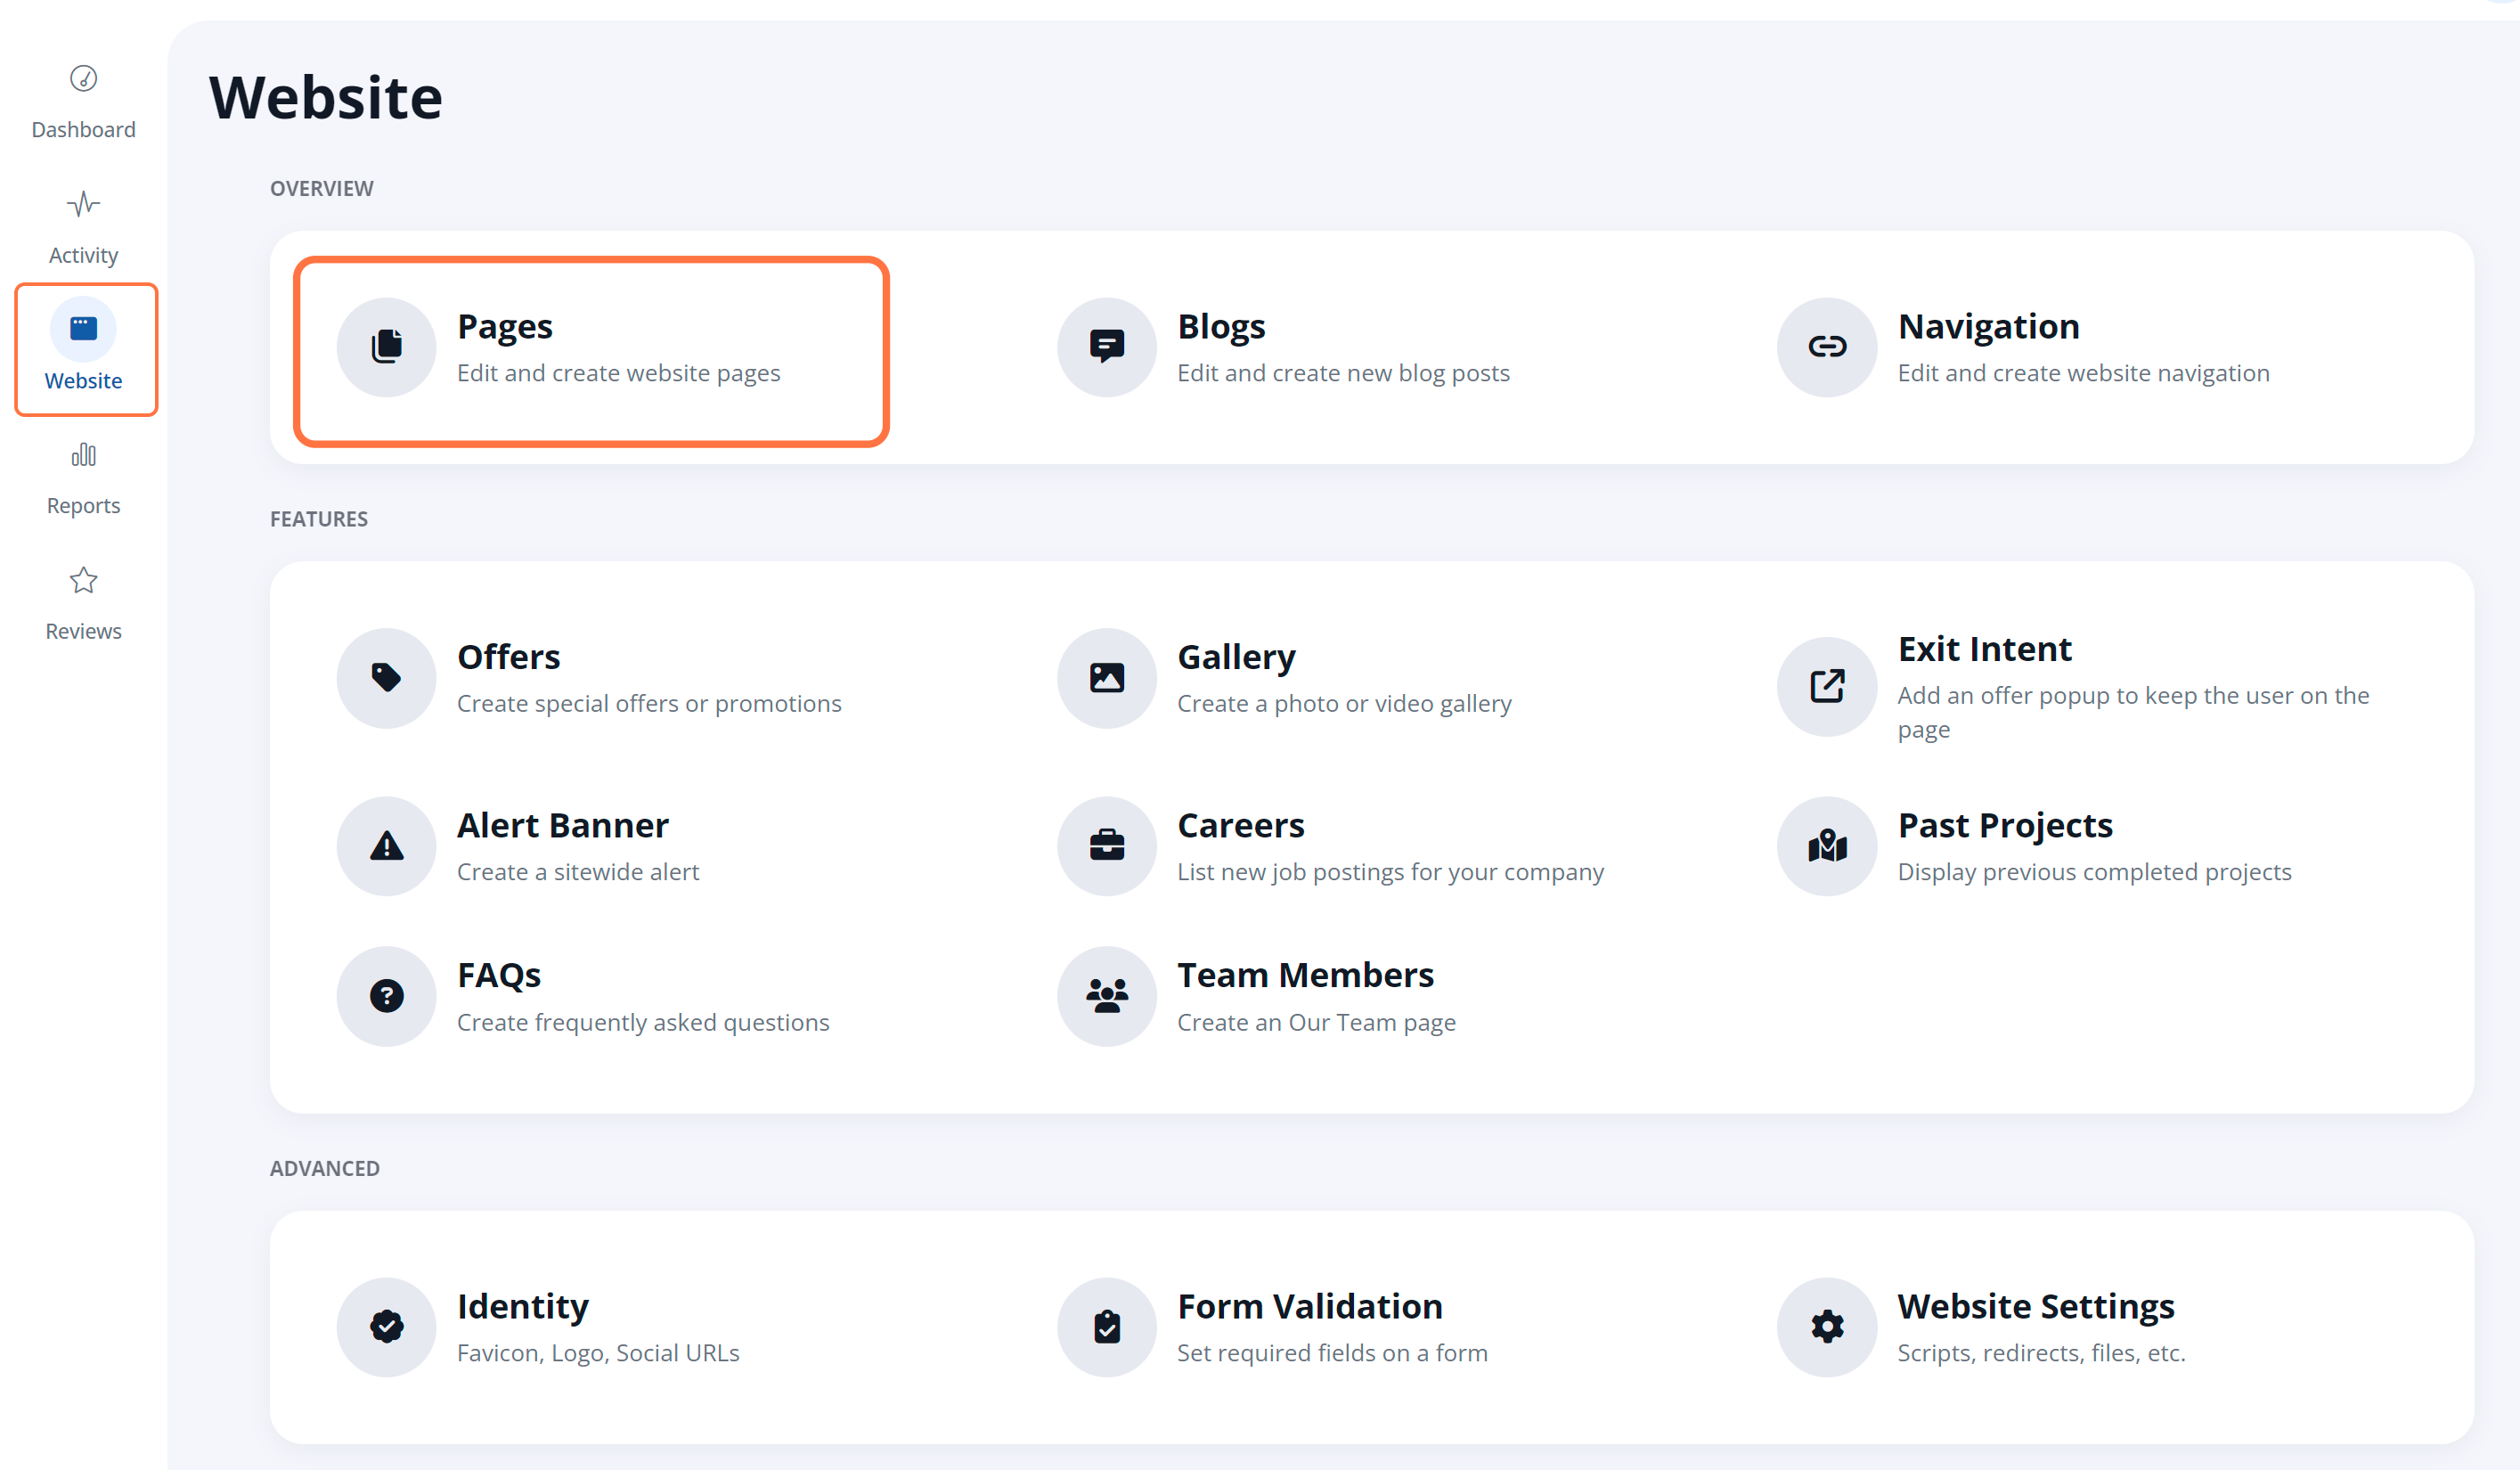
Please note that you must have the Content Manager role (in addition to any other roles) in order to access Website > Pages.
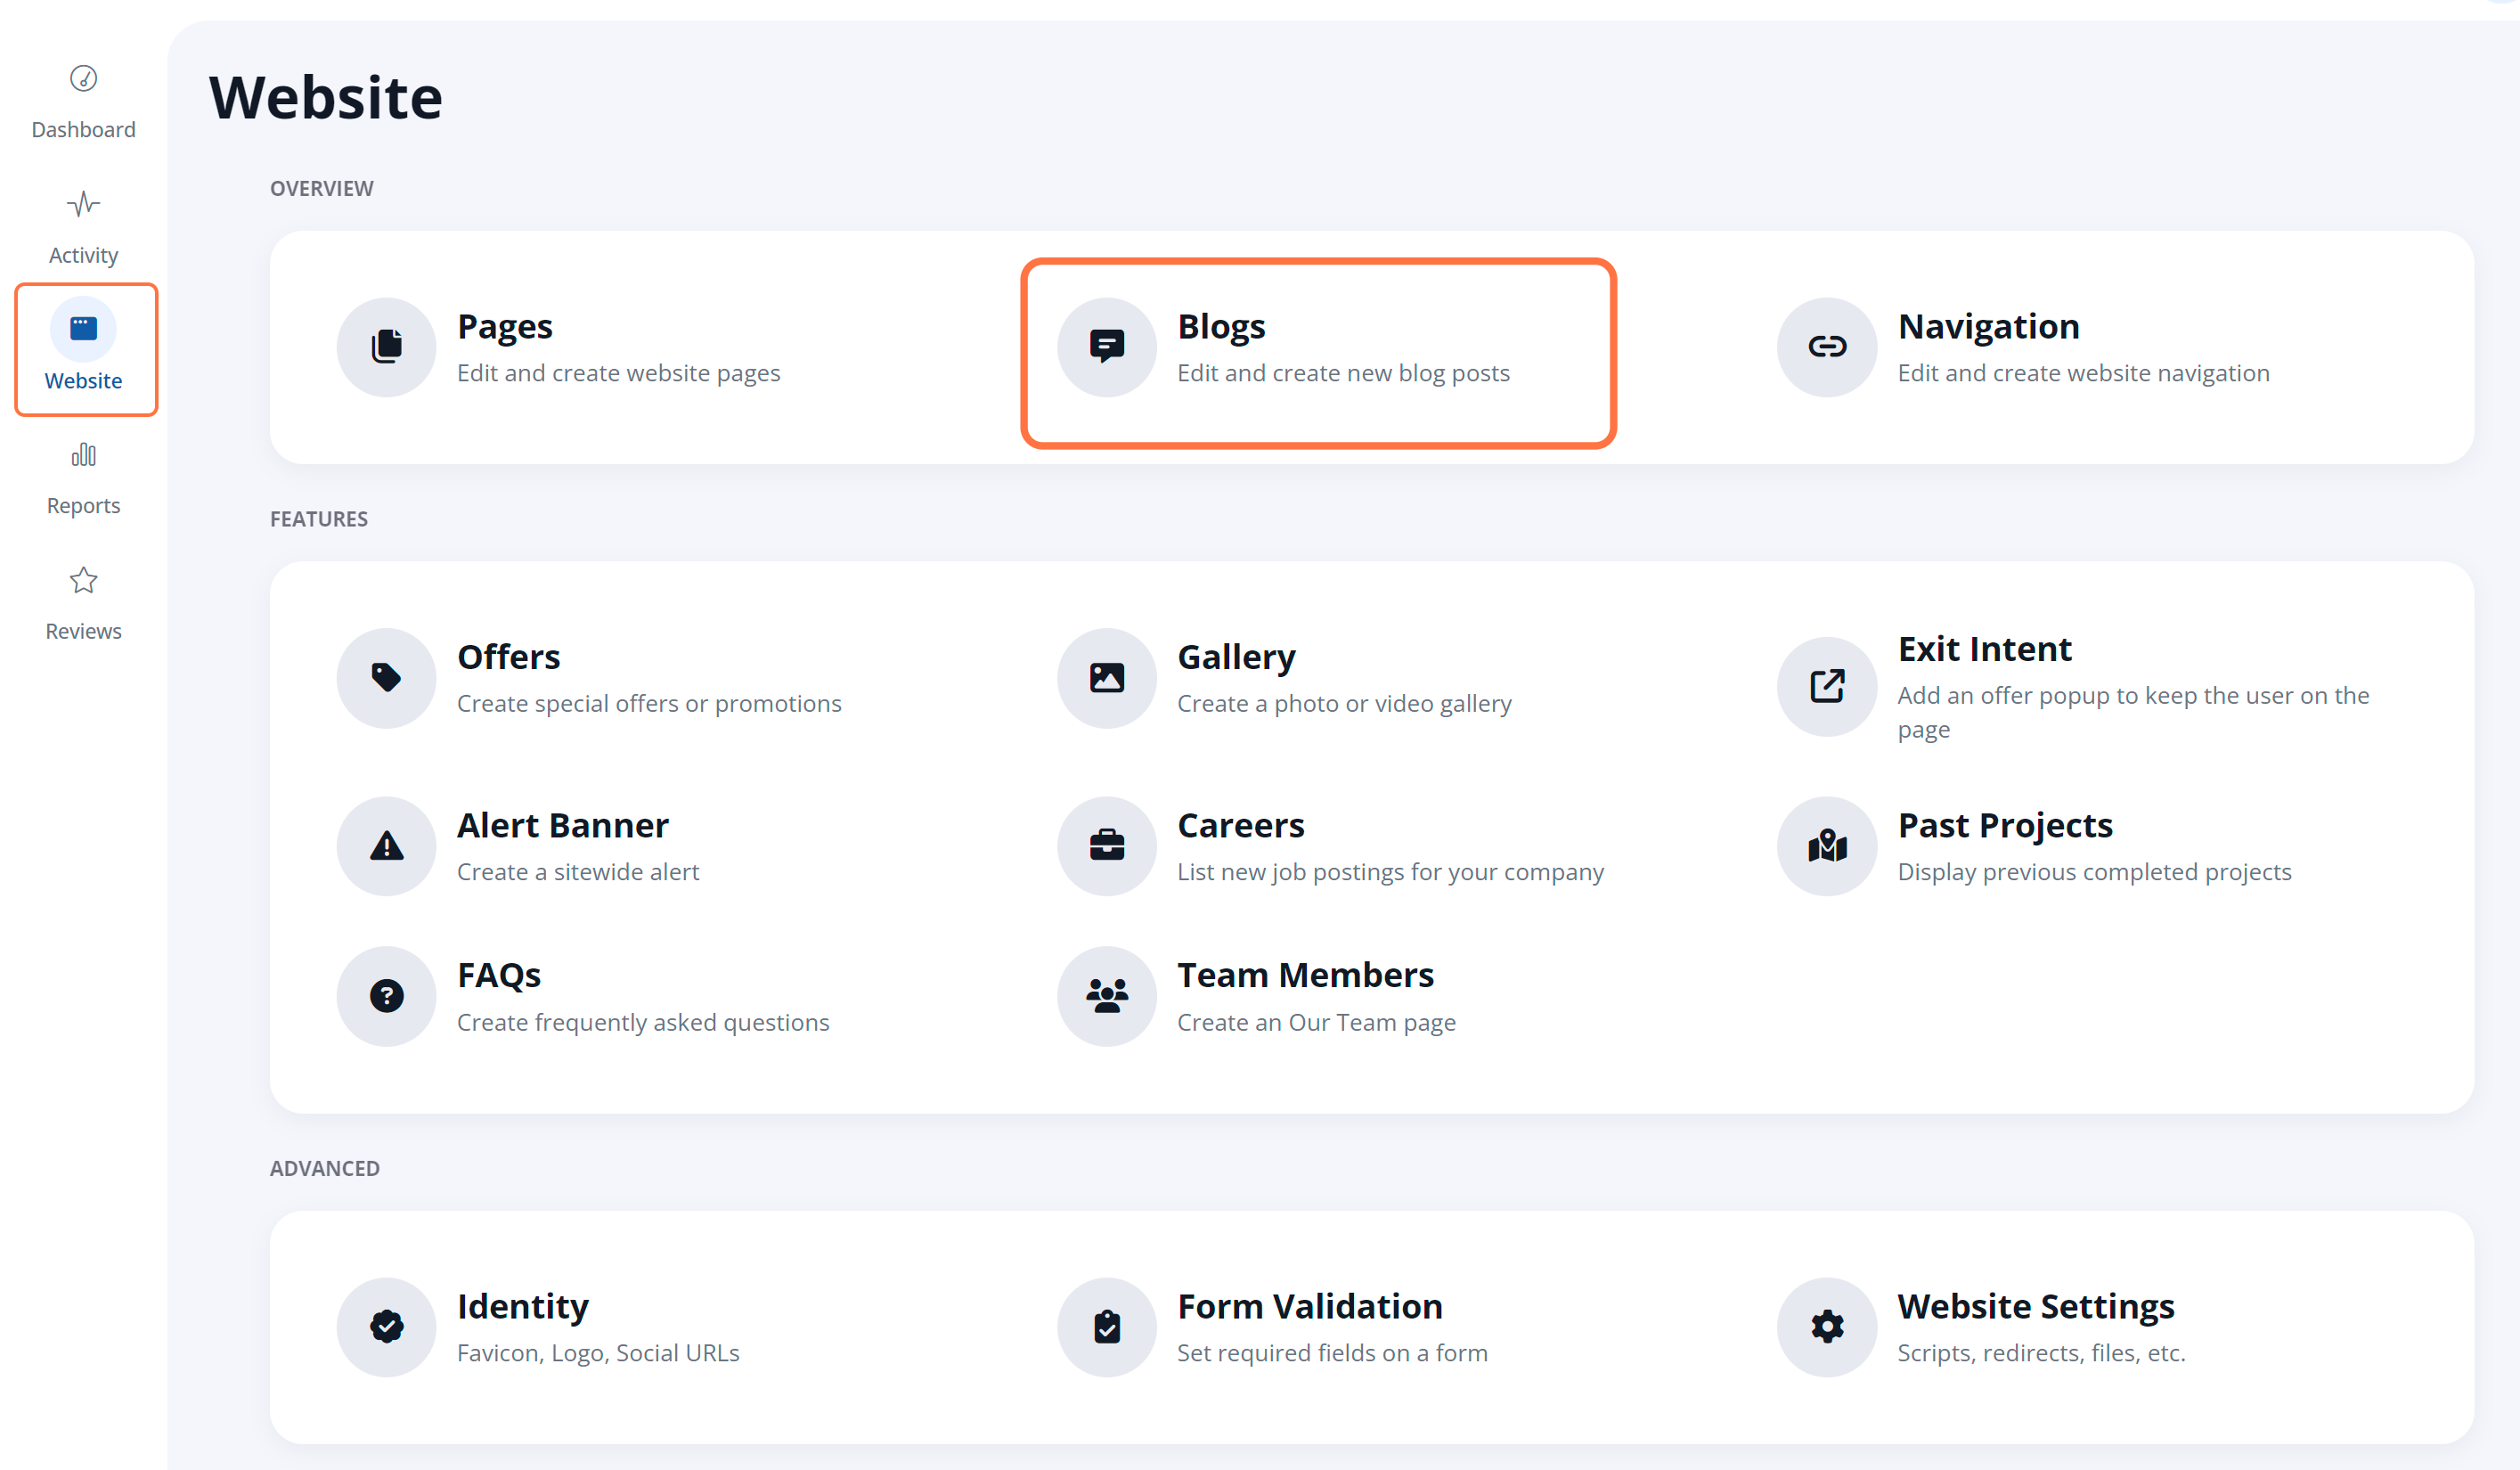
Blogs
The Blogs feature allows you to add, edit, and manage the blog content on your site.
Offers
The Offers section (under Website > Offers) allows you to create new offers, activate or deactivate offers, and decide where they are displayed on your website.
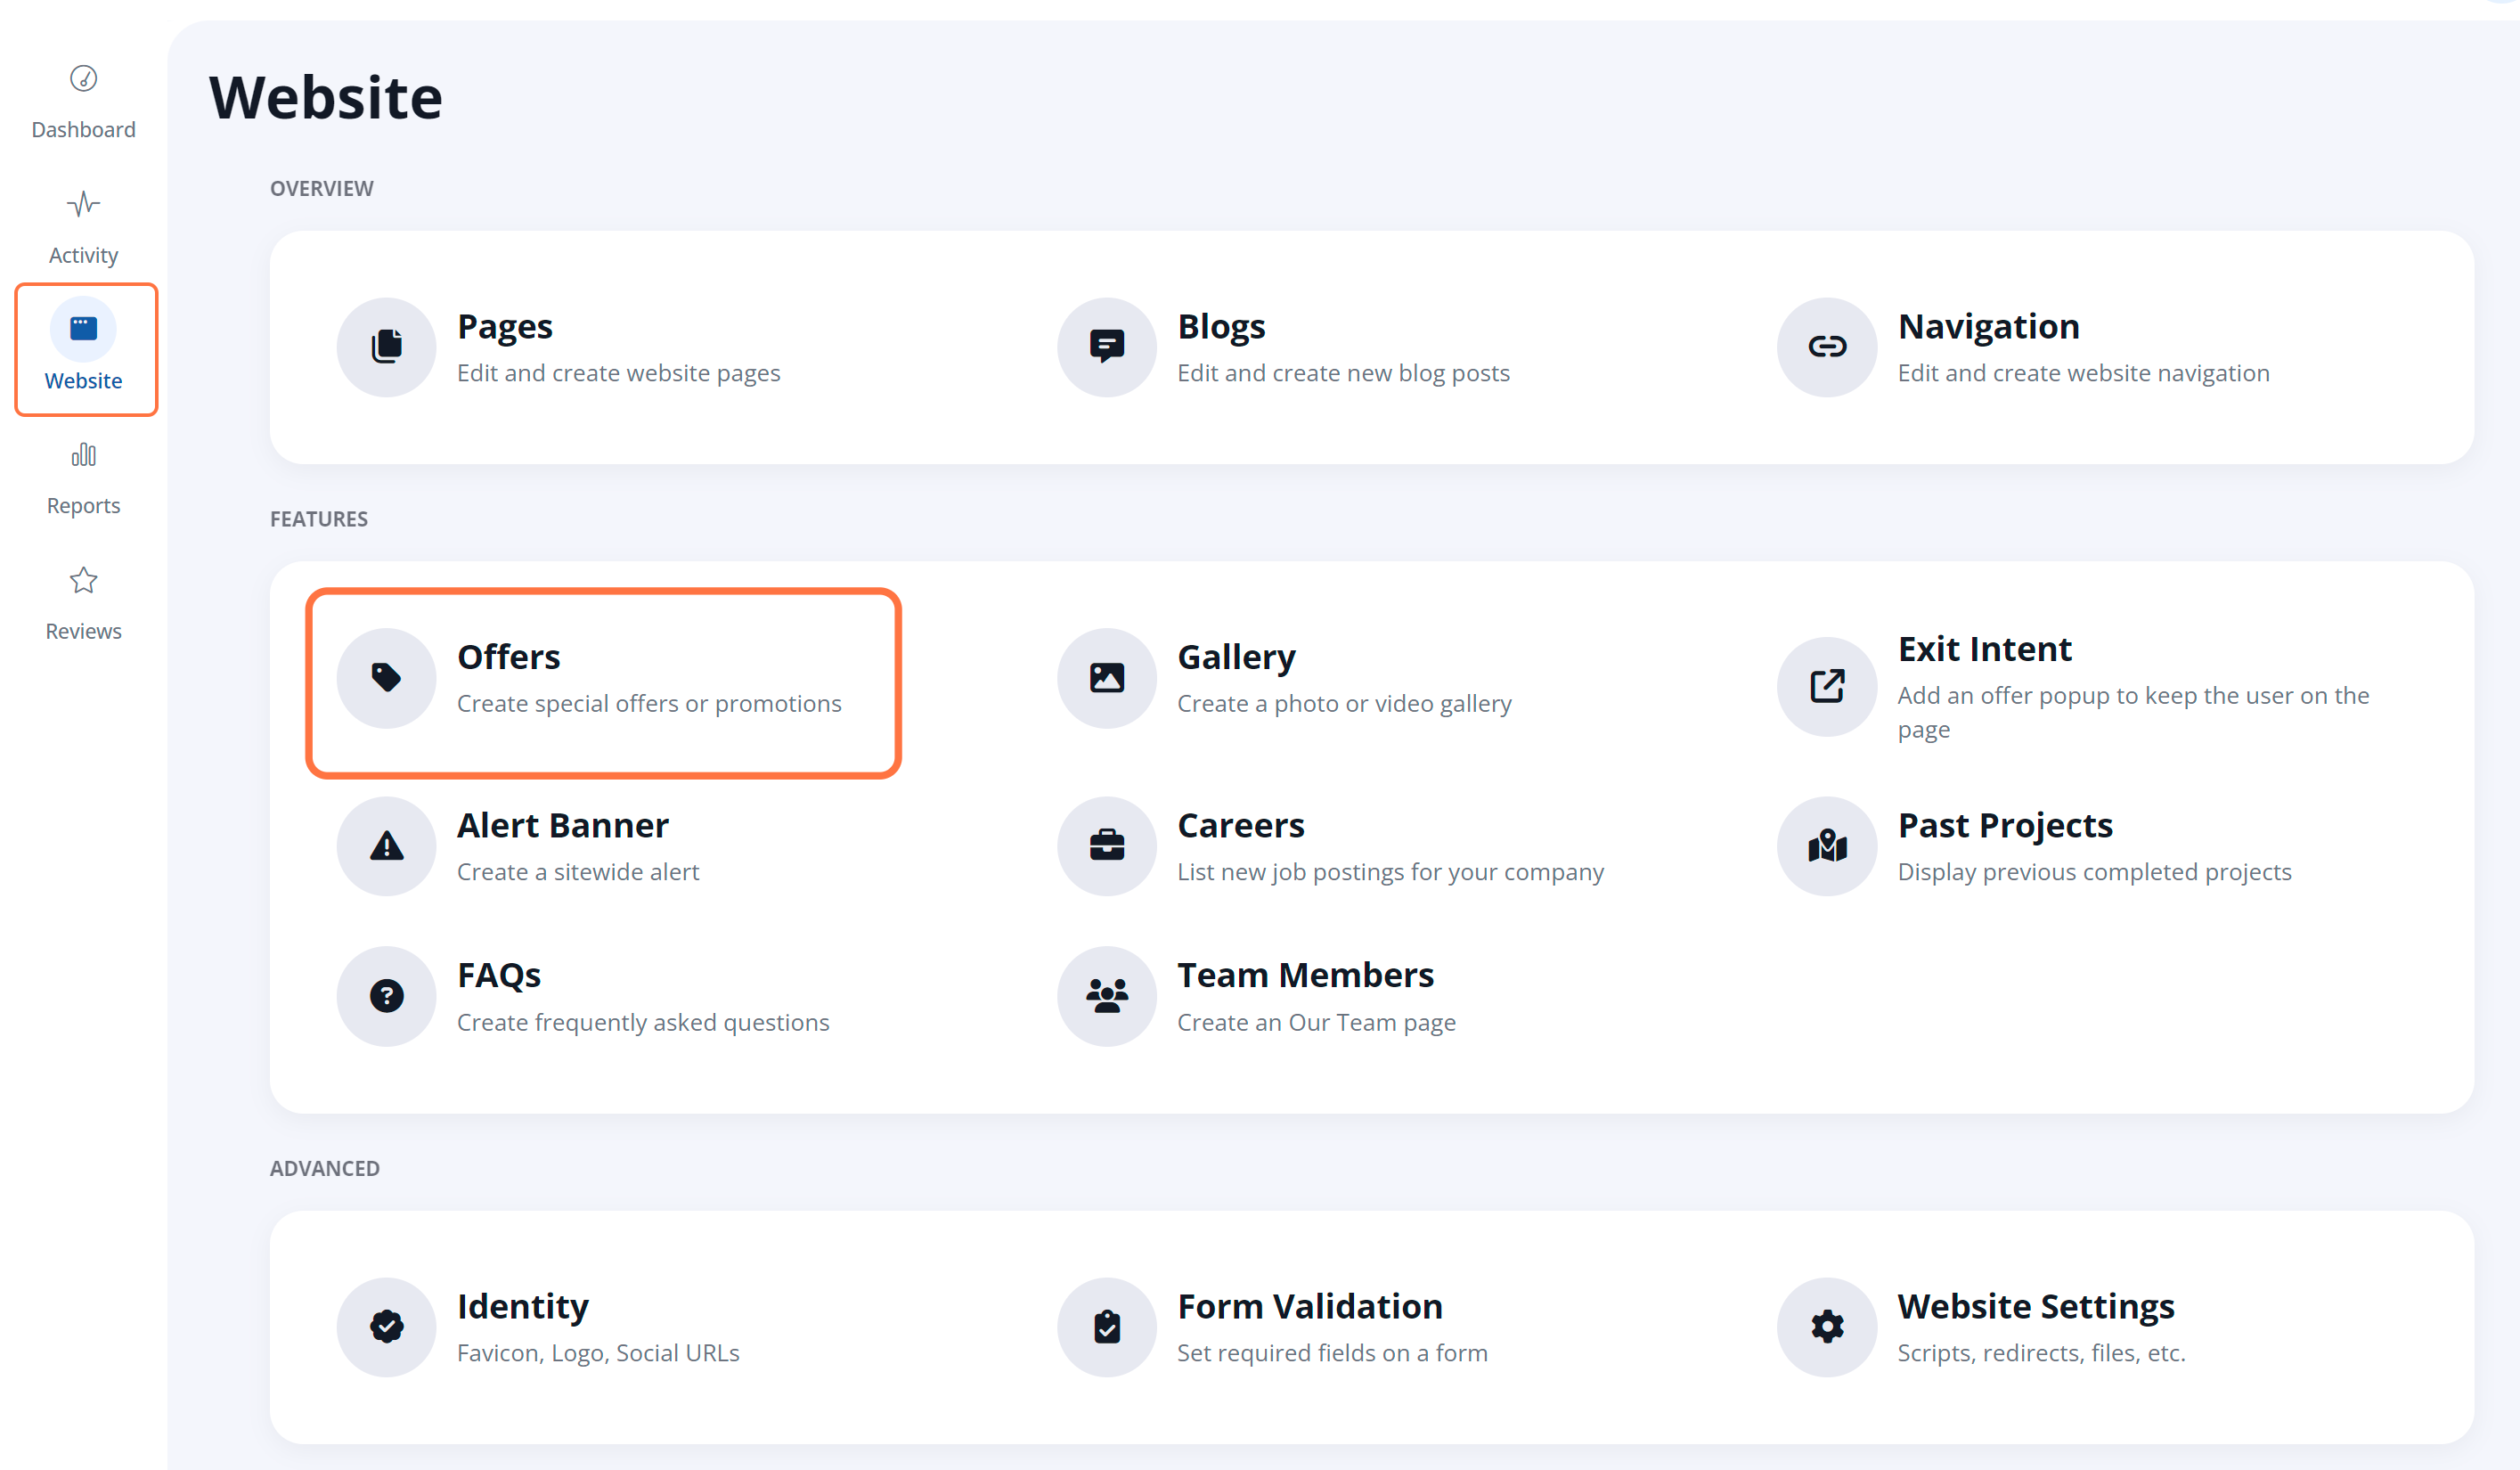
Common offers include:
- Warranties
- Financing
- Sweepstakes
- Limited-time discounts
- Military discounts
- Seasonal sales
- Referral bonuses
Learn more about the Offers feature and who can manage offers.
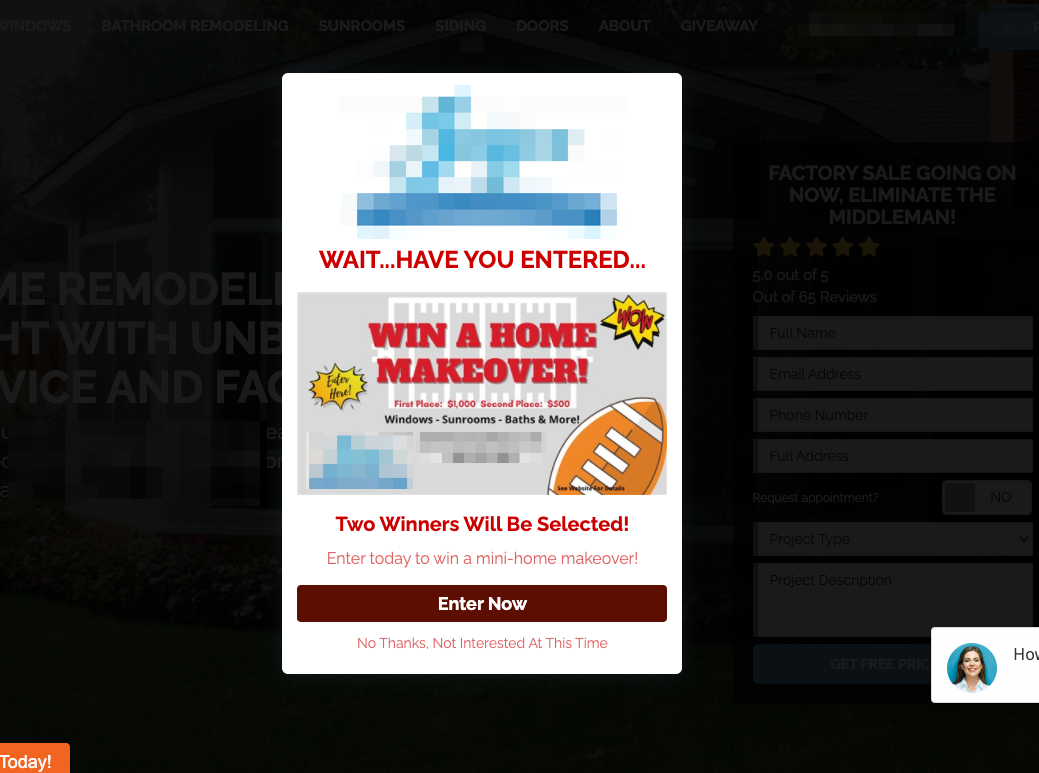
Exit Intent
The Exit Intent feature (Website > Exit Intent) allows you to create calls-to-action that automatically pop up whenever a user goes to leave your page.
Exit intent elements are great for lead conversion and highly recommended for:
- Advertising special sales
- Highlighting new products or services
- Announcing important news or updates
- Offering a downloadable PDF, such as a moving guide or remodeling checklist
Learn more about the exit intent feature - link coming soon!
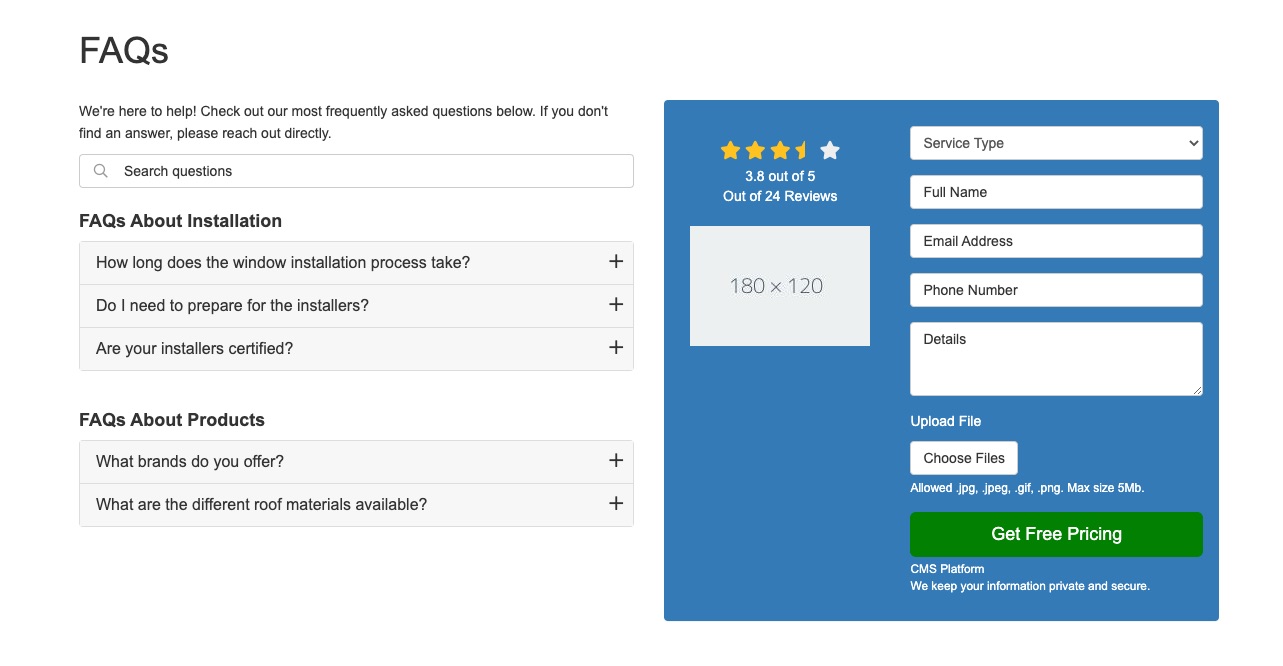
FAQs
Through the FAQs section of the admin (Website > FAQs), you can quickly create an FAQs page and edit the questions that appear on it. FAQs are a great way to provide helpful information to customers and to subtly reinforce your unique selling points.
Once published to your site, your FAQs will look similar to the ones below.
Want to learn more? Explore the FAQs feature in more depth.
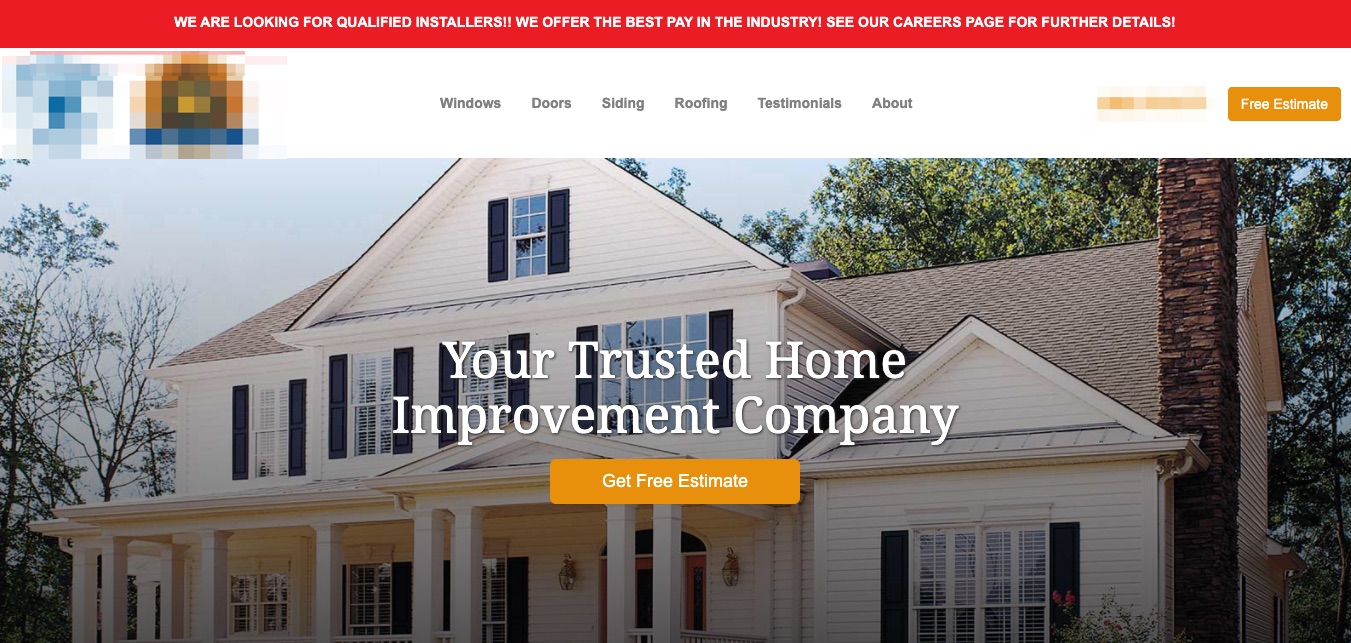
Alert Banner
Through Website > Alert Banner, you can add an informational bar to the top of your website. As shown in the example below (featuring a red website alert), this bar sits above your main navigation and puts key information in one of the most eye-catching spots of your website.
The website alert banner is most often used for:
- Emergency announcements
- Public health measures
- Unexpected schedule changes
- Upcoming product/service delays
- Other critical and time-sensitive information
Learn how to add a website alert.
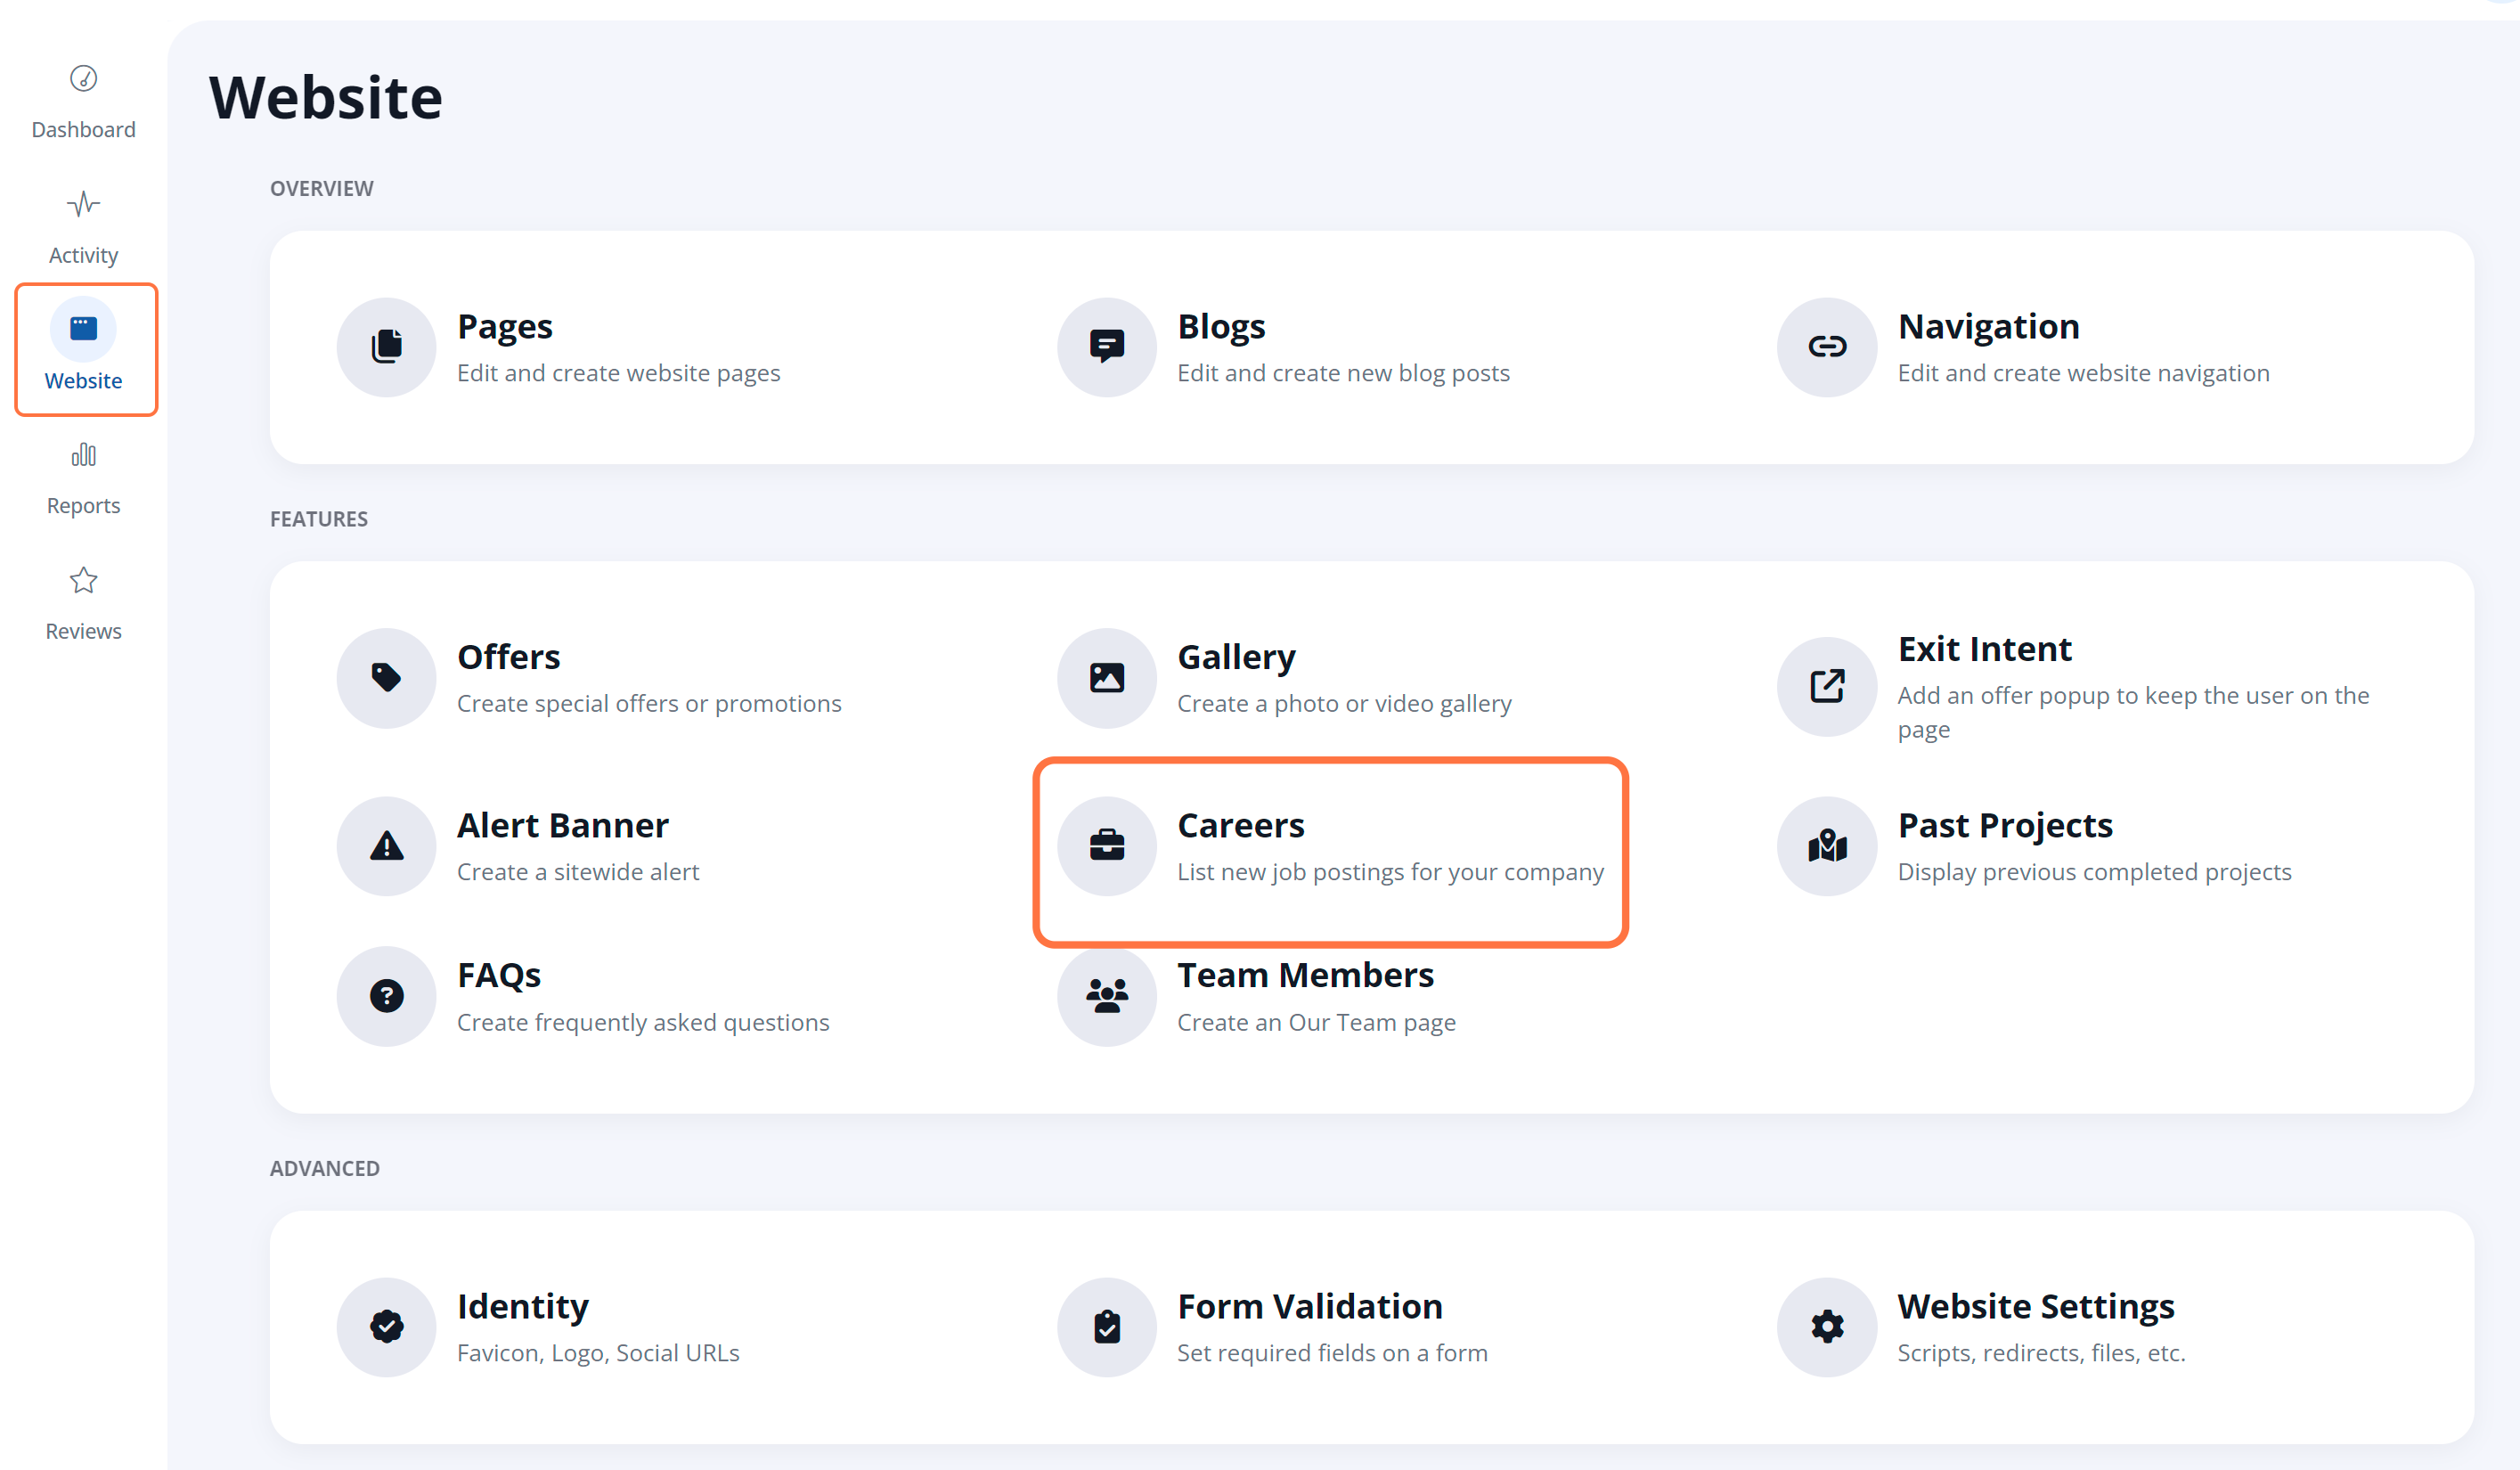
Careers
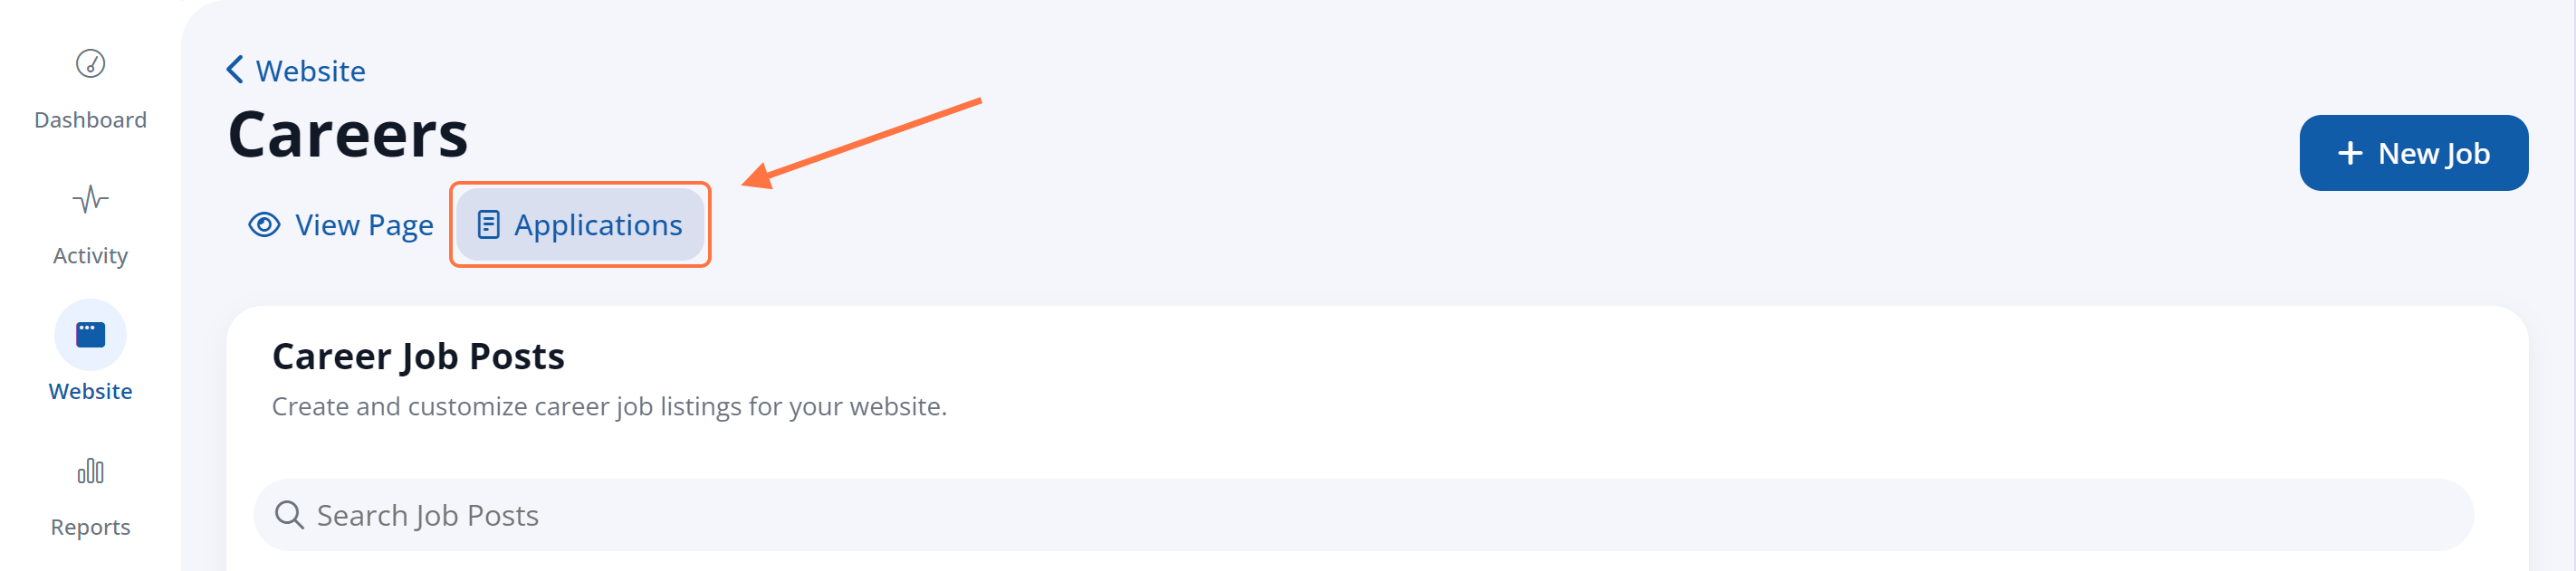
The Careers dashboard (located at Website > Careers) allows you to manage the job postings that appear on your website. You can also view all job applicants and details, including contact information, source, resume, and more from this section.
Click on Applications to view all applications, and to download the resume and/or cover letter as well.
Not familiar with this section? Explore the Careers feature.
Gallery
The Gallery feature (Website > Gallery) allows you to create curated galleries of videos and/or photos. Once you've created a gallery, you can assign it on a page-by-page basis so that each page displays the most relevant imagery.
Galleries are commonly based around a theme. For example, you might create different galleries for different:
- Services
- Products
- Project types
- Home types
- Brands
- Service areas
Past Projects
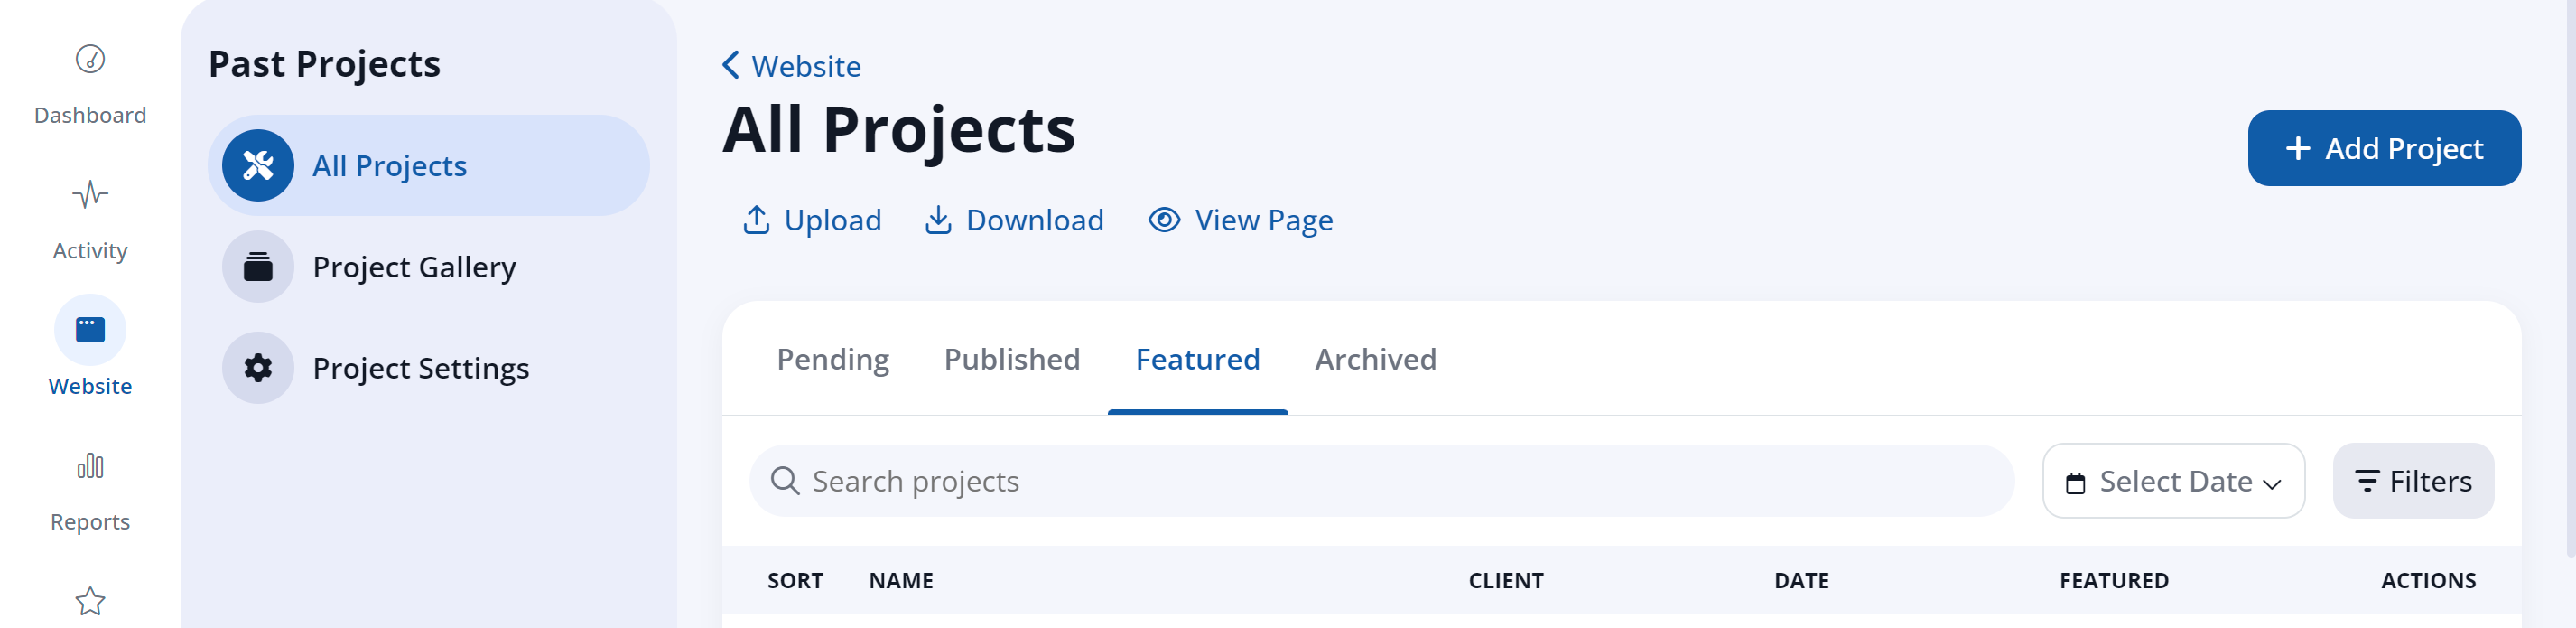
The Past Projects section (Website > Past Projects) is where you'll add and organize the projects that are uploaded to your site. You can also feature past projects that you want to showcase to site visitors.
Team Members
The Team Members feature (Website > Team Members) gives you a way to introduce your team to site visitors. Add images, bios, and additional details to create an Our Team page, and manage various branches of your company to represent its structure.
Advanced Options
Additional options in the Website section include:
- Spell Check: The spell check feature allows you to view and correct any spelling errors appearing on your site.
- Identity: The Identity section (Website > Identity) is where you'll manage assorted settings for your LISA platform, including your social media URLs, branding, and Google Translate settings. The settings you adjust here will be used in other areas of the LISA platform.