Urgency dates are a great way to encourage website visitors to claim an offer before it's too late. While optional, this feature is highly recommended to help drive site visitors to take action! Add an urgency date to any offer by following the instructions below.
If you're new to urgency dates, start by checking out our quick overview.
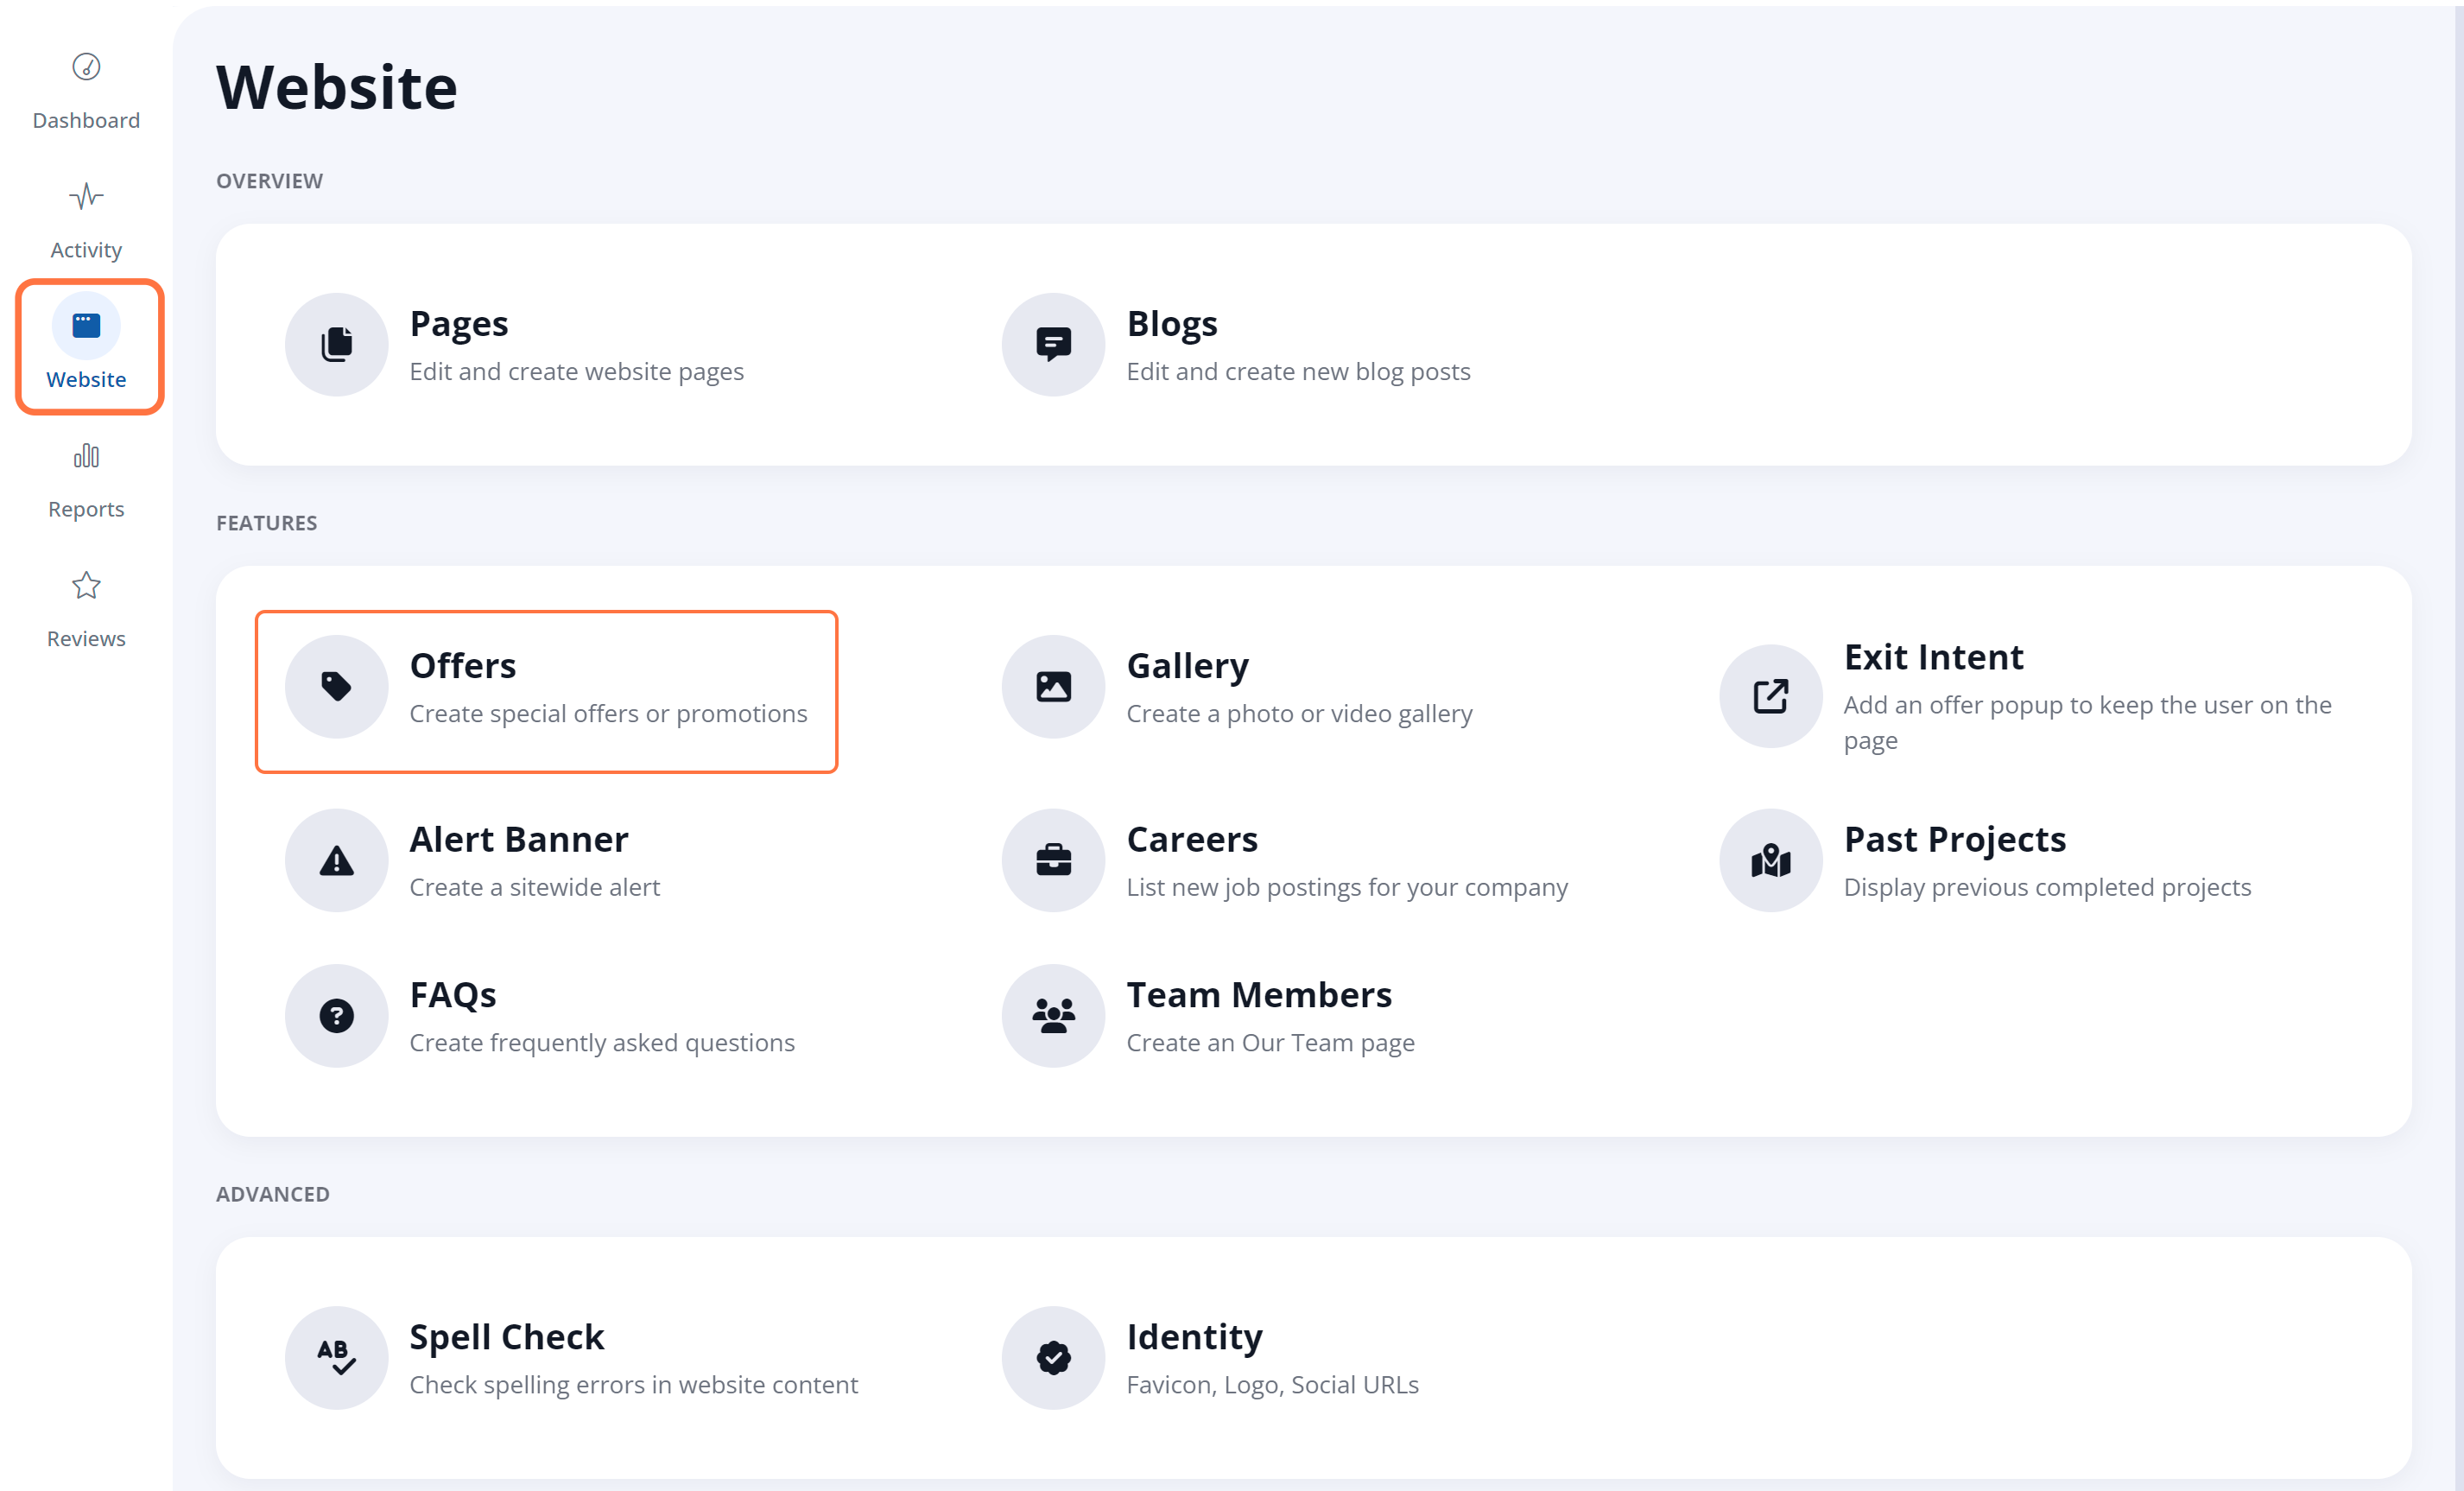
1. Go to Your Offers Dashboard
After logging into your LISA admin, go to Website > Offers.
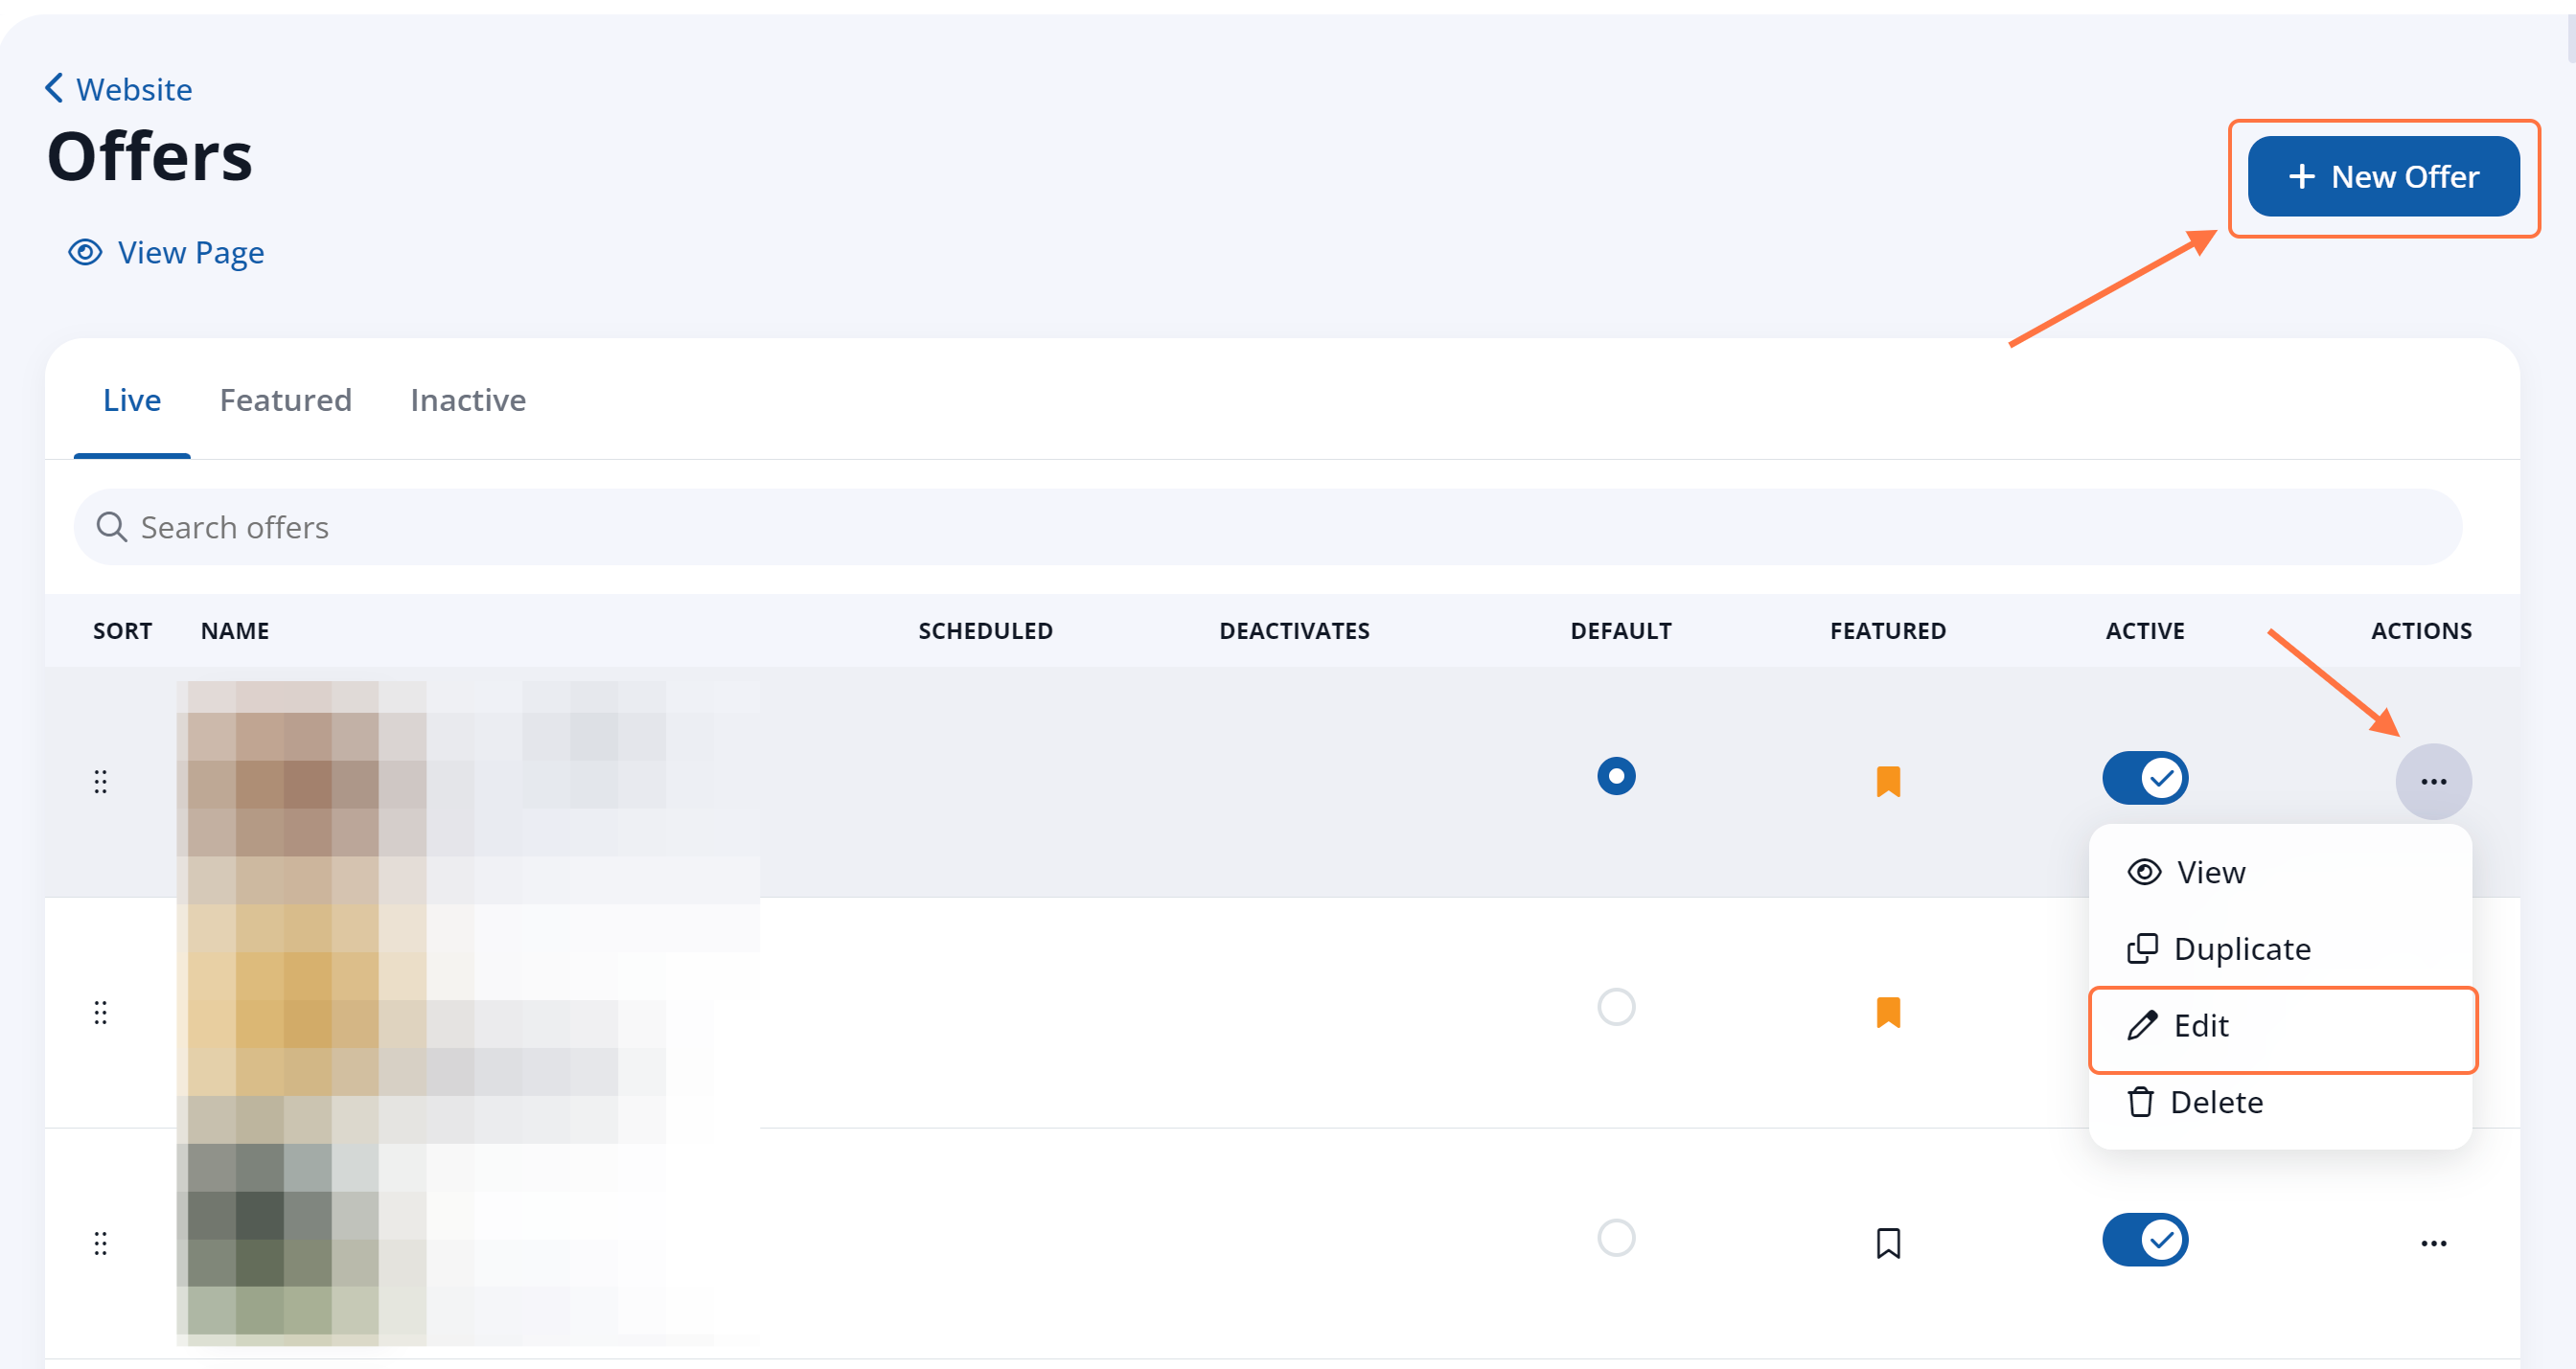
2. Click on an Offer or Create a New One
From your Offers dashboard, click on the three-dot symbol of any offer row to edit it, or create a new offer by clicking the + New Offer in the upper right corner.
If you want some general advice, follow along with our article on how to create a new offer or editing options for an offer.
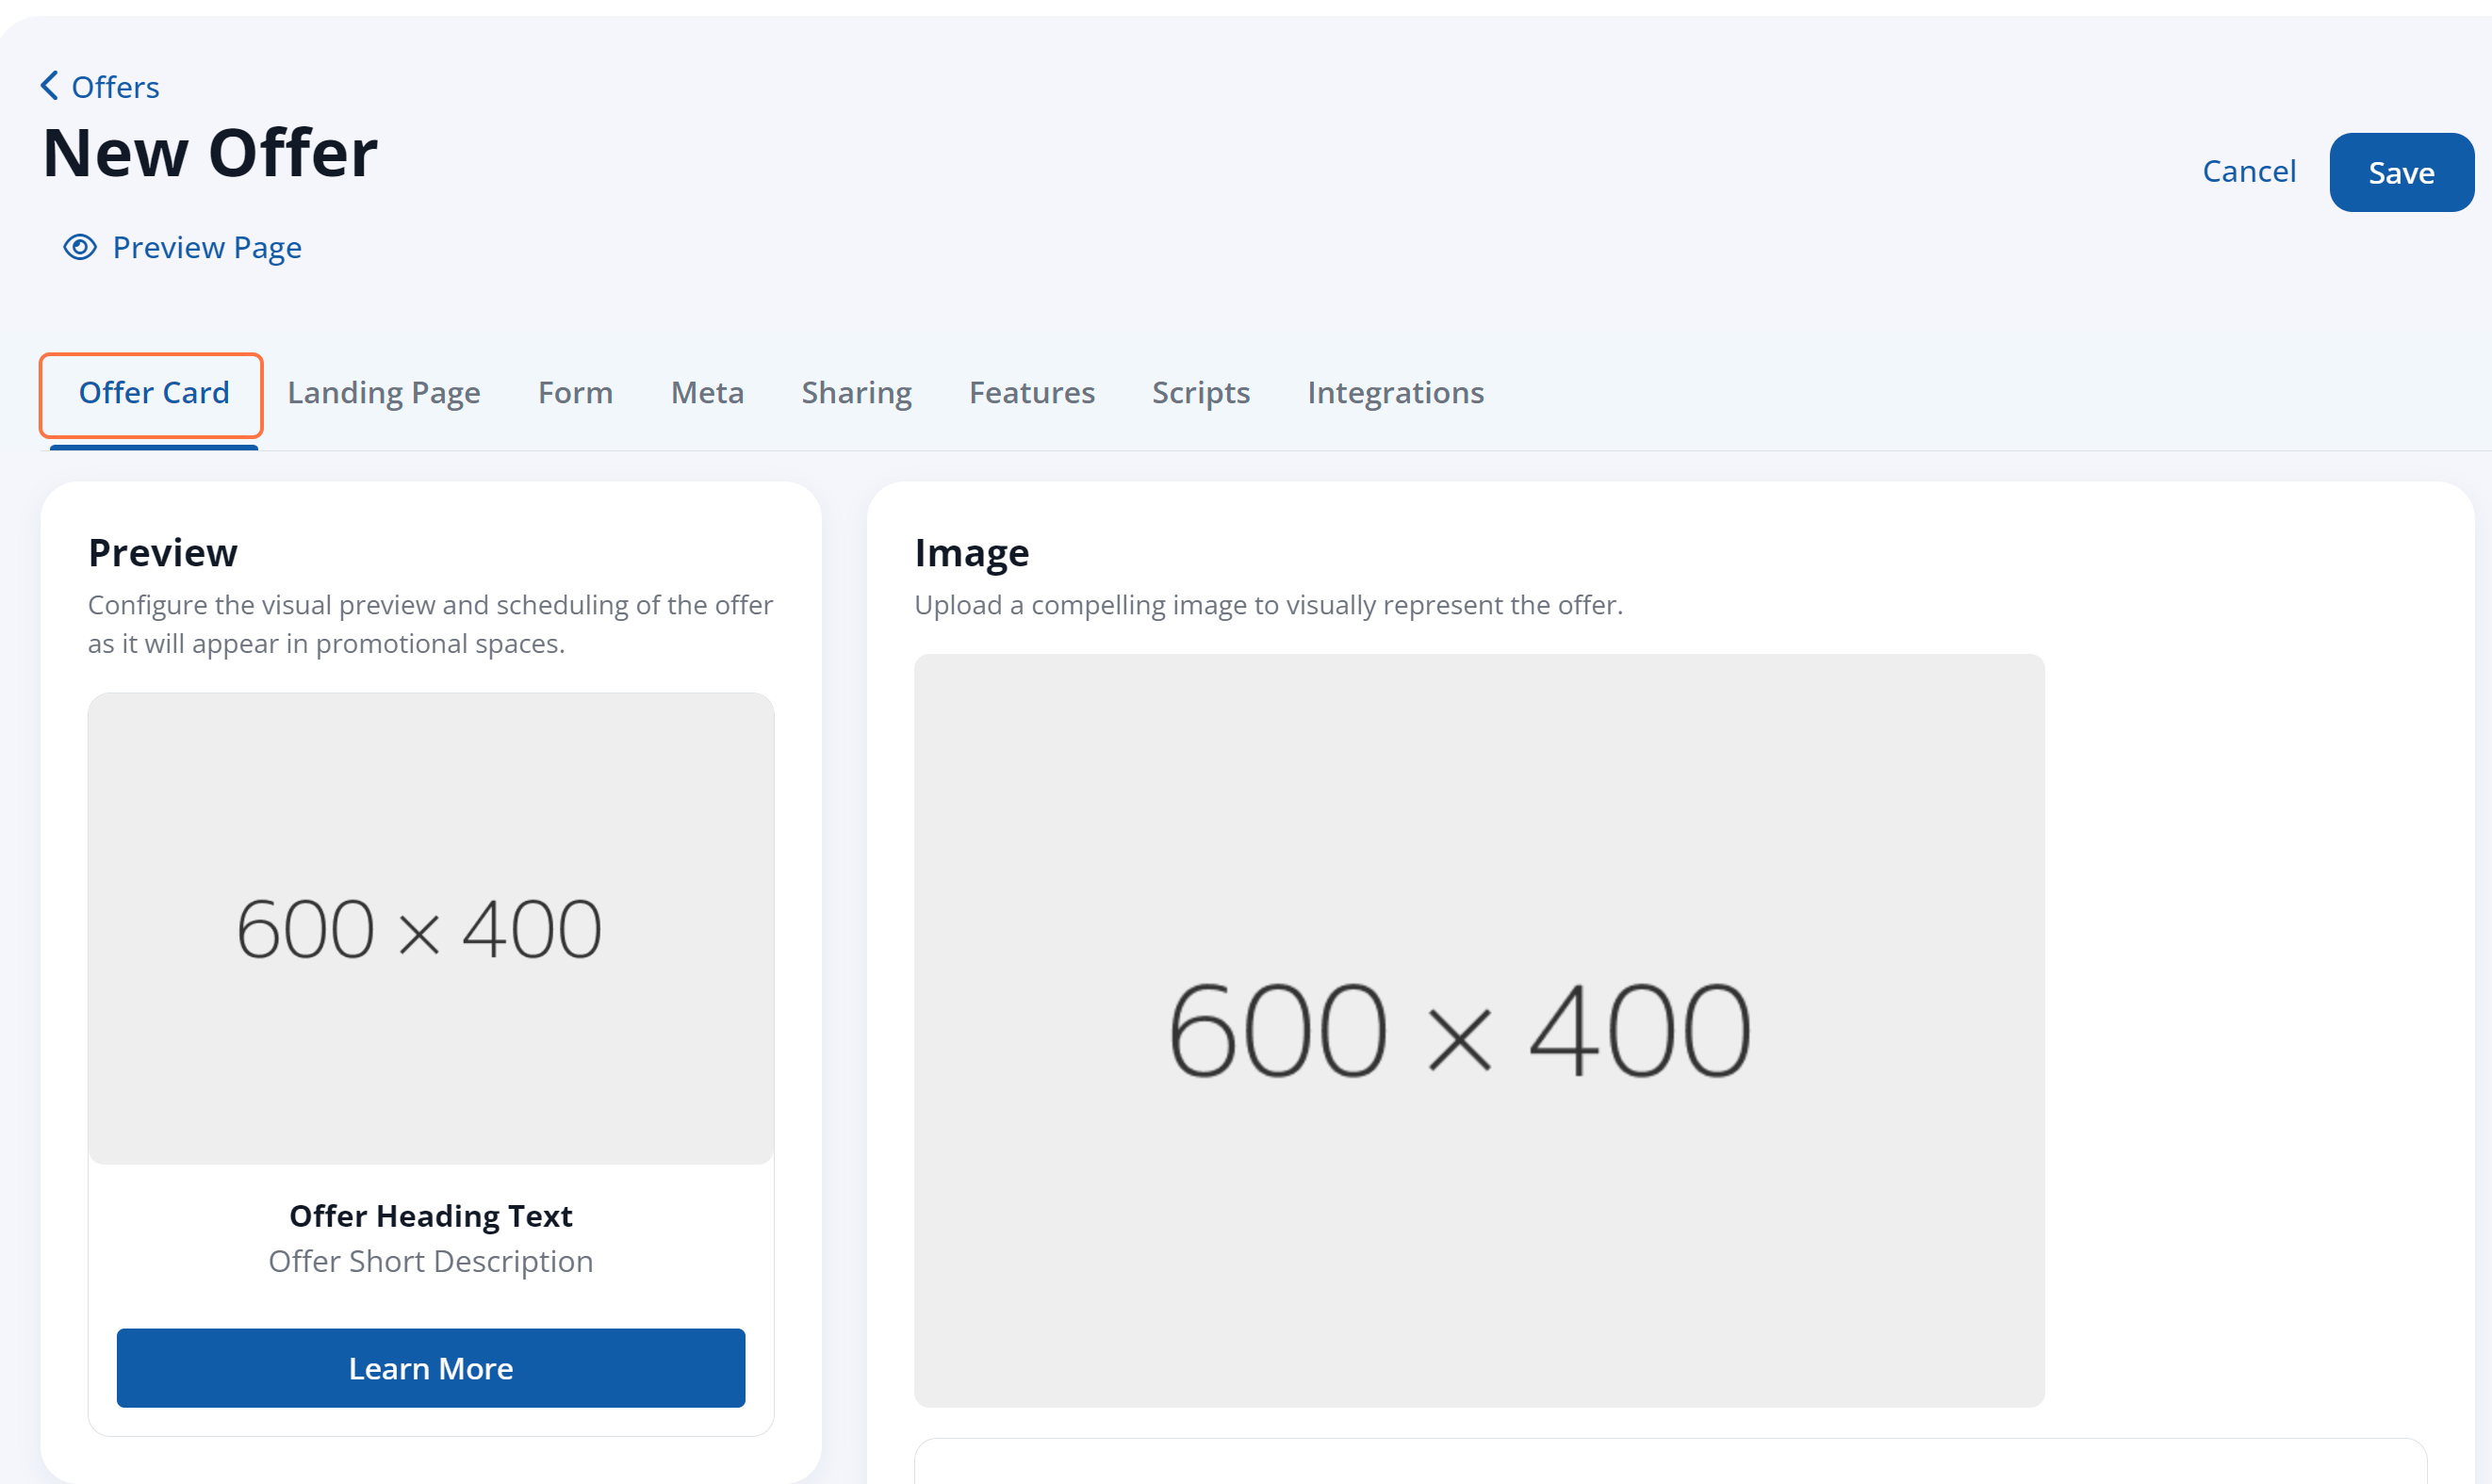
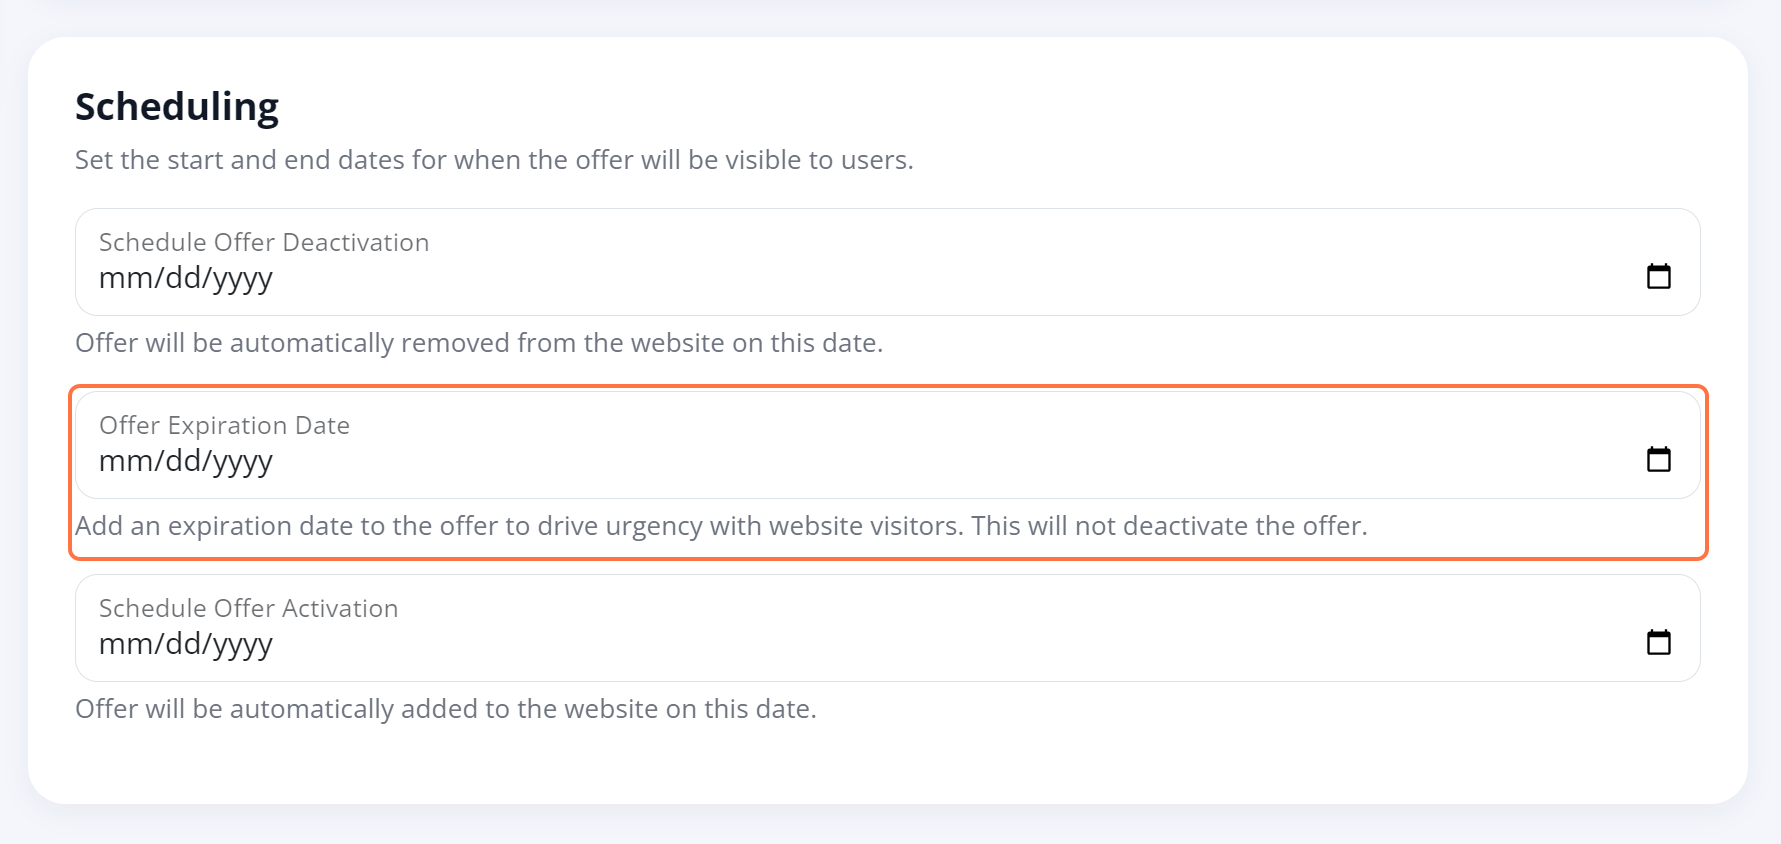
3. Add the Urgency Date
Regardless of whether you're editing an existing offer or creating a new one, you'll add the urgency date in the same spot: under the Offer Expiration Date field within the Scheduling section. This can be found within the Offer Card tab of the edit offer or new offer display.
Enter a date manually or use the calendar to select the date.
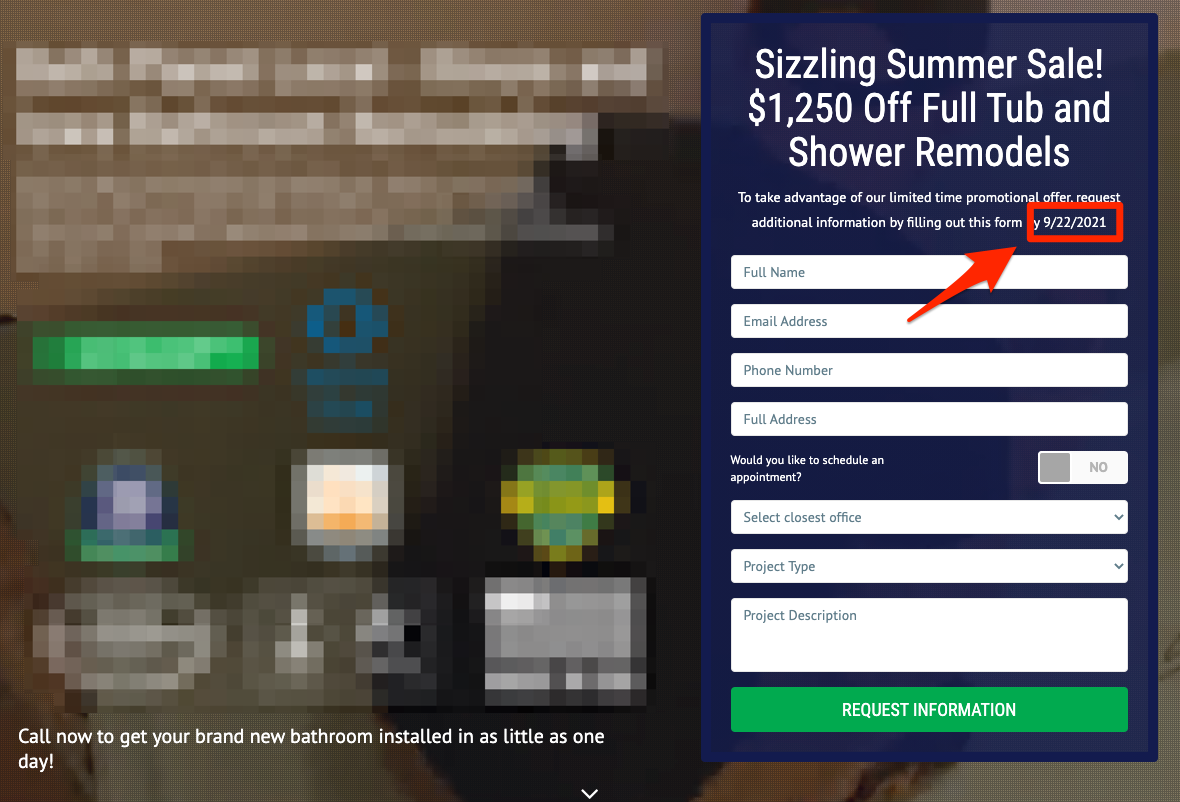
Keep in mind that the urgency date is simply appended to the end of your offer's short description (as shown in the screenshot below). Be sure to write the short description in such a way that it flows naturally into the date.
4. (Optional) Add an Auto-Renewal Period
Once you've added an urgency date, a second field will appear beneath it. Here you can set the urgency date to auto-renew after any number of days.
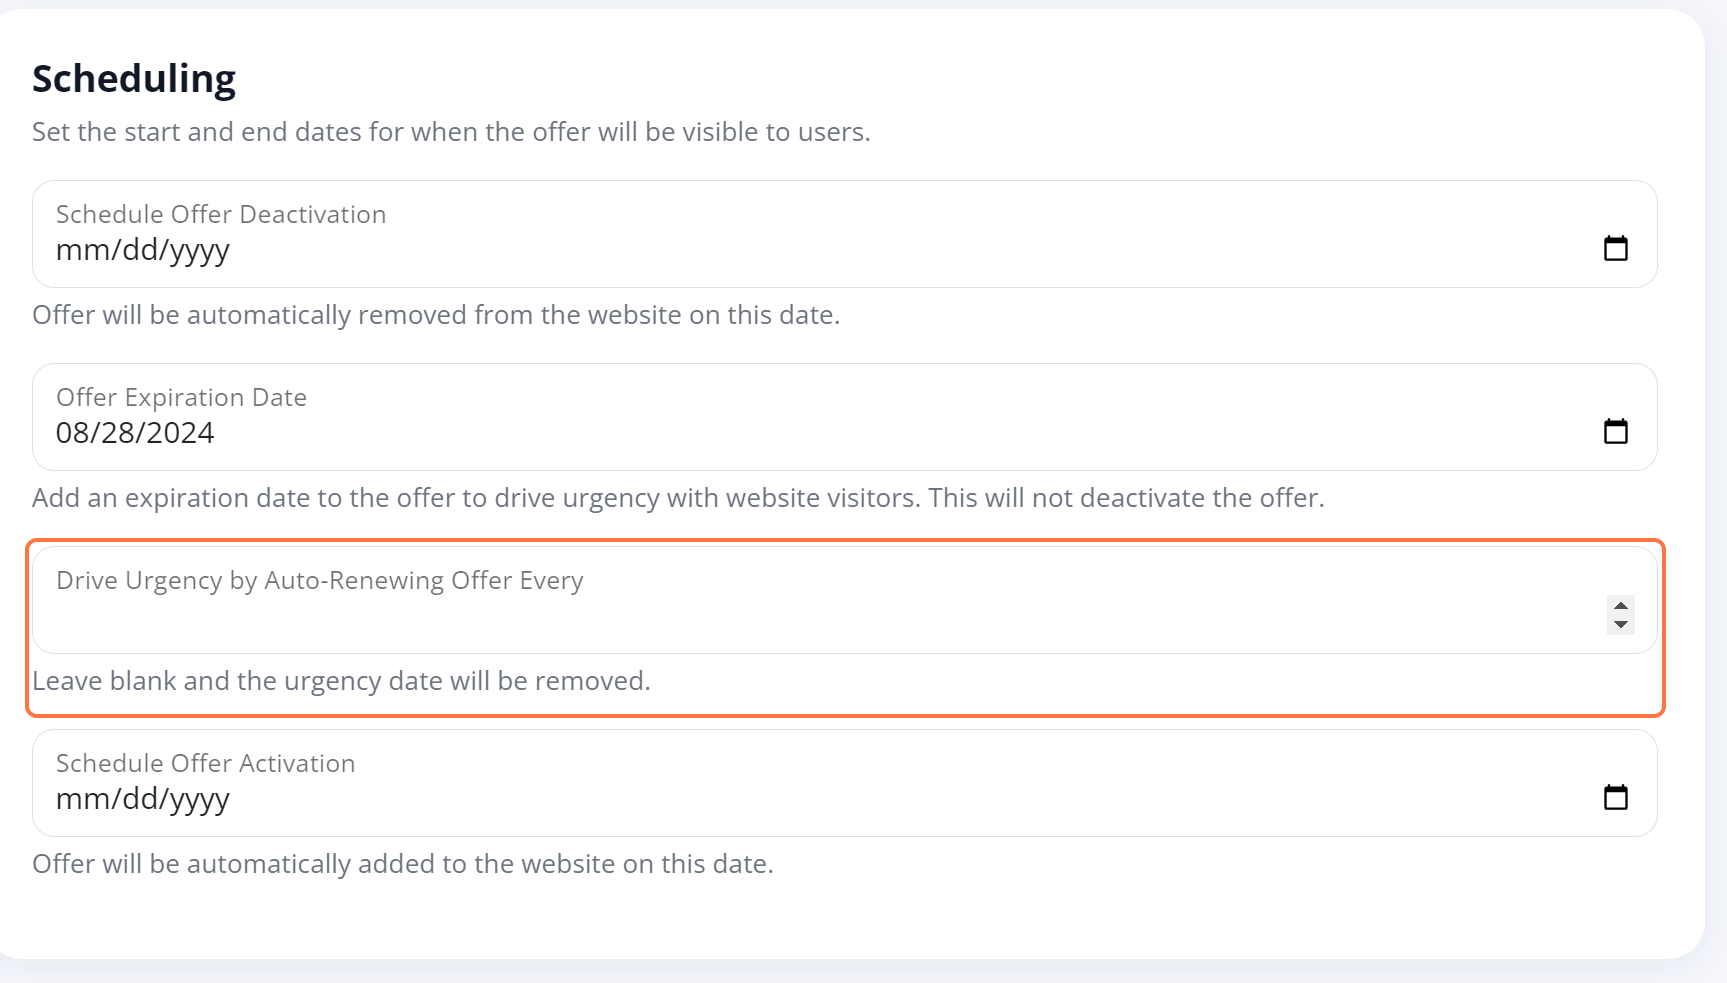
Setting an auto-renewal date ensures that the urgency date is always active and displaying to customers—without you having to go in and manually adjust it.
5. Save Your Changes
Once you've made your edits, click save at the top to save your changes.
