Want to display the relevant blog post on various pages throughout your website? Through the LISA admin, you can easily set blog posts to display on specific service pages. Follow the instructions below.
To edit site pages following the instructions below, you must be a LISA platform user with the Content Manager role. Learn more about LISA platform roles and/or how to edit roles.
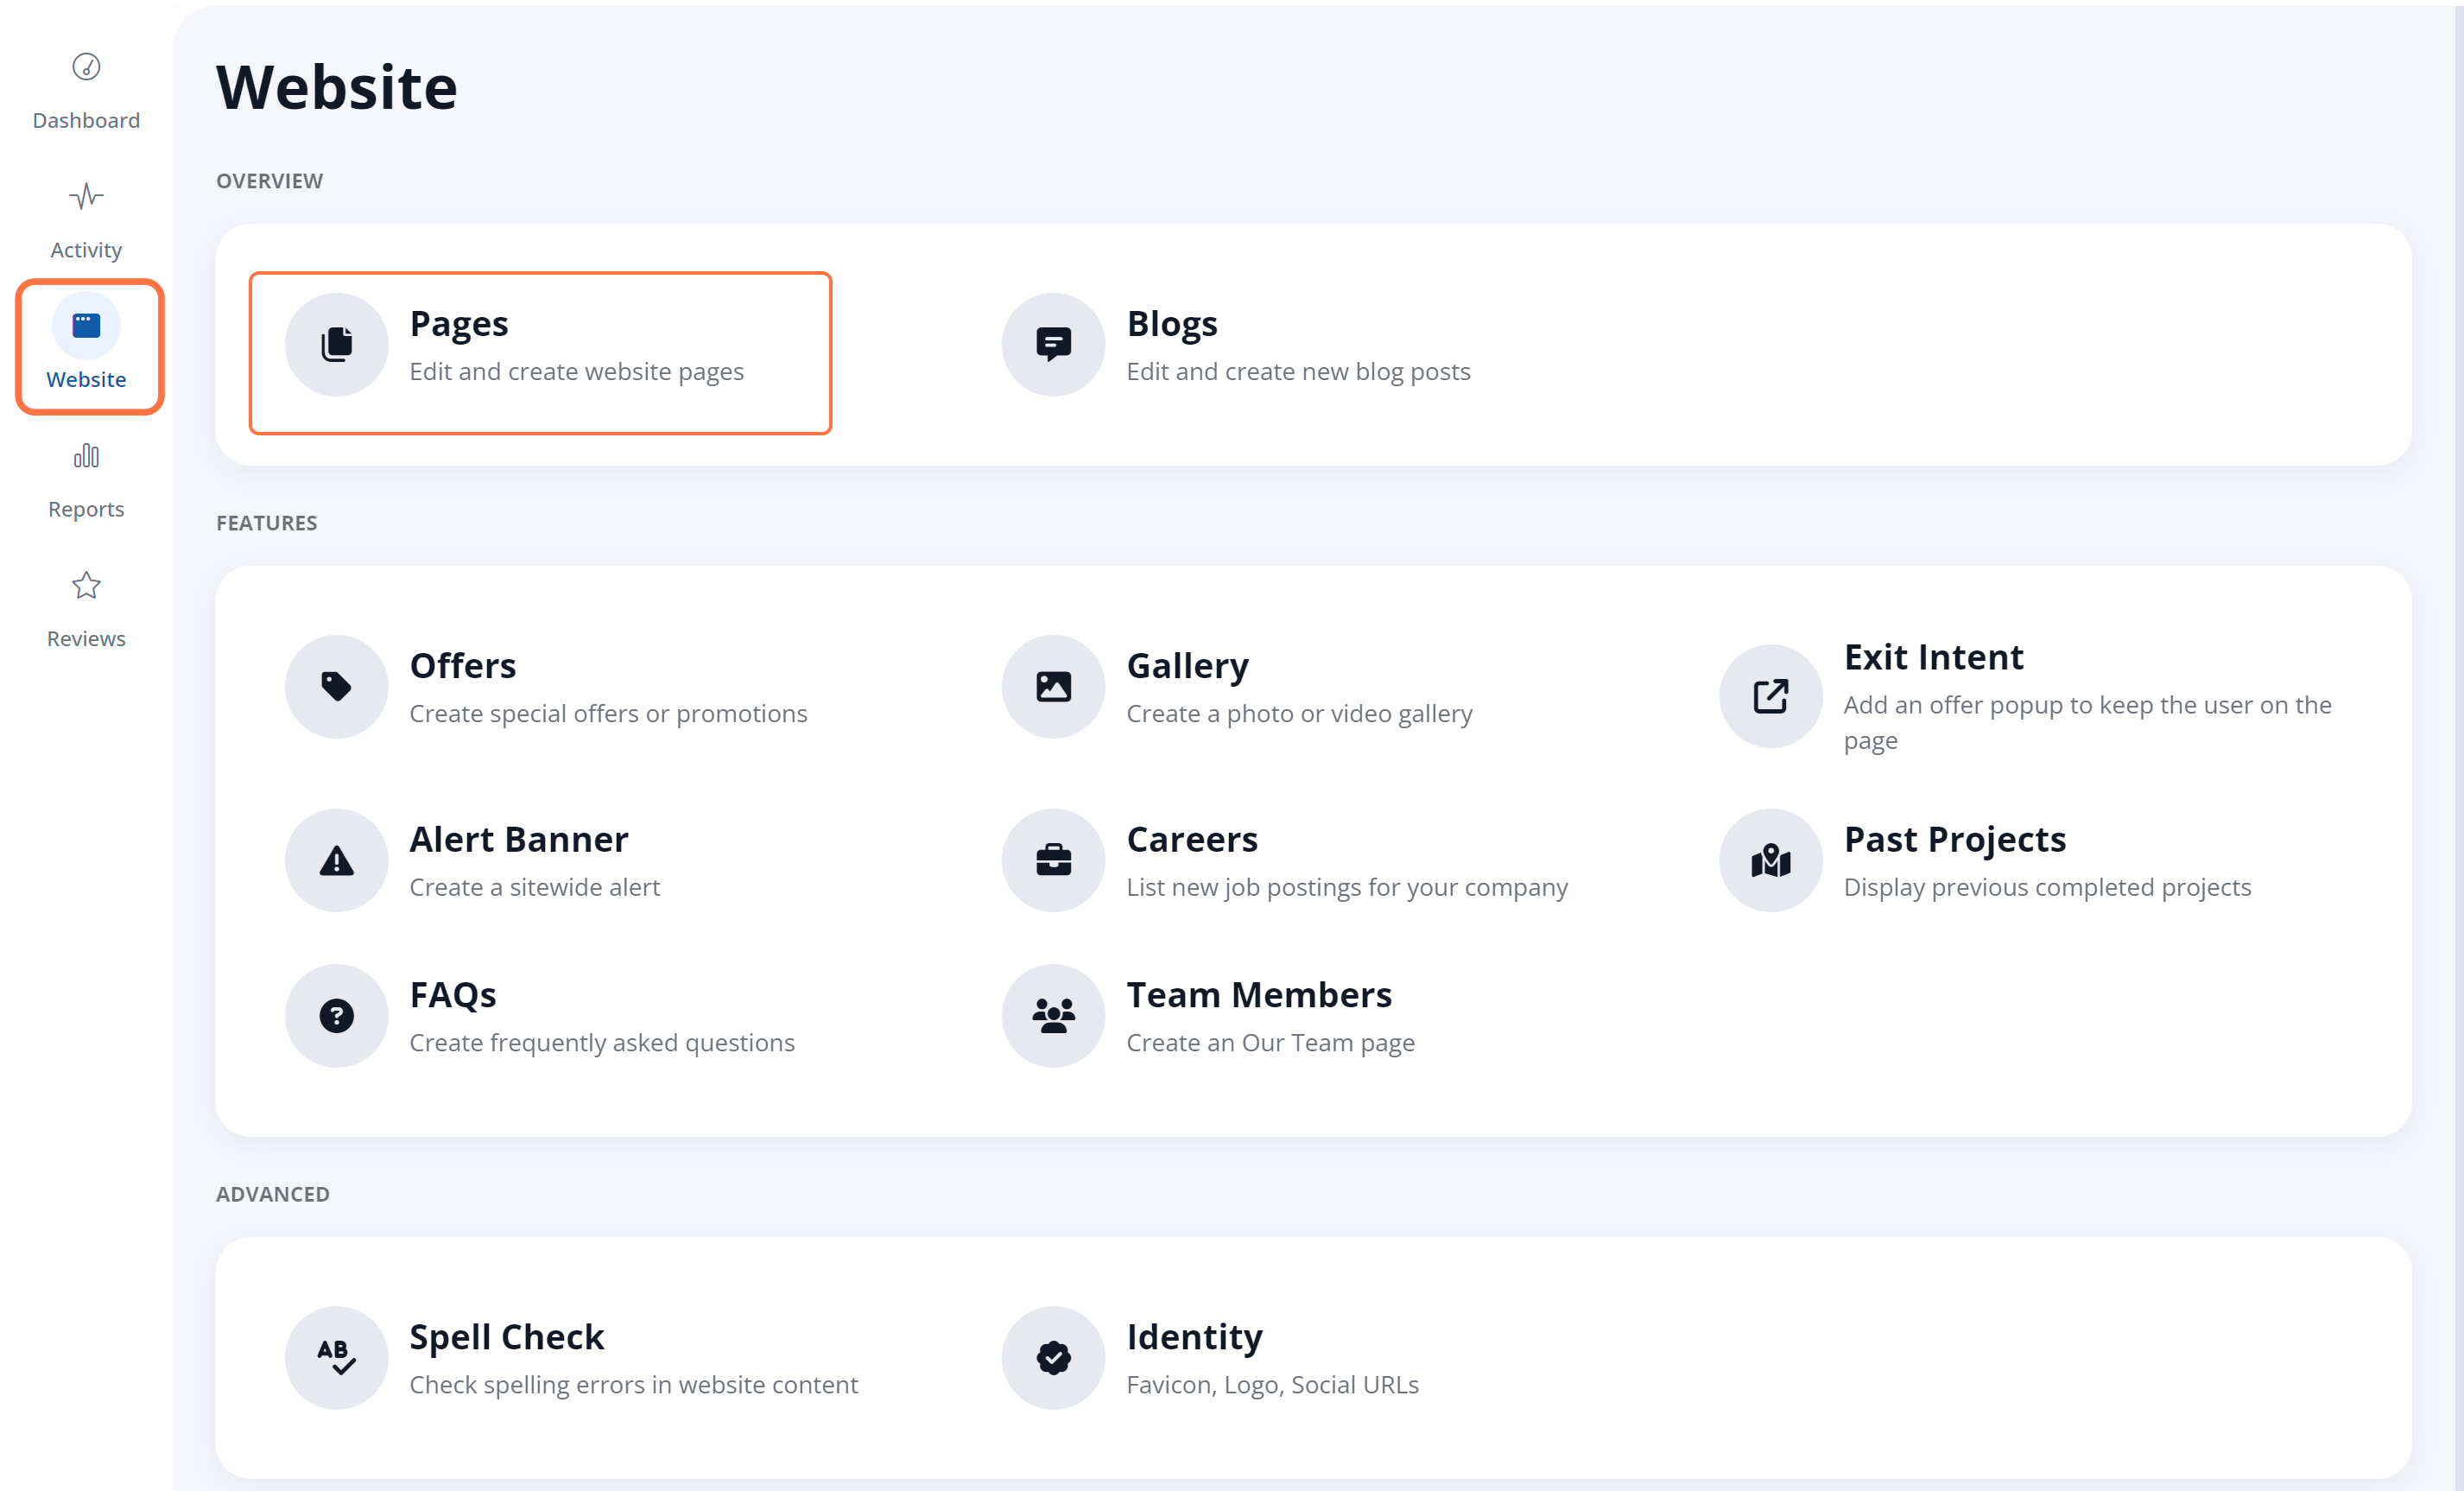
1. Go to Pages
After logging into your LISA platform, go to Website > Pages.
2. Click the Page
From the Pages list, click the edit icon on the page that you'd like to edit.

Don't see the page in this list? Please reach out to your Spectrum Client Manager for access or fill out a support ticket.
3. Go to Page Options
Once you've selected a specific page, navigate to the Page Options tab and go to the Custom Page Options section.

4. Select the Blog Post to Display
Click the dropdown menu for the Display Blog field to display the various options.
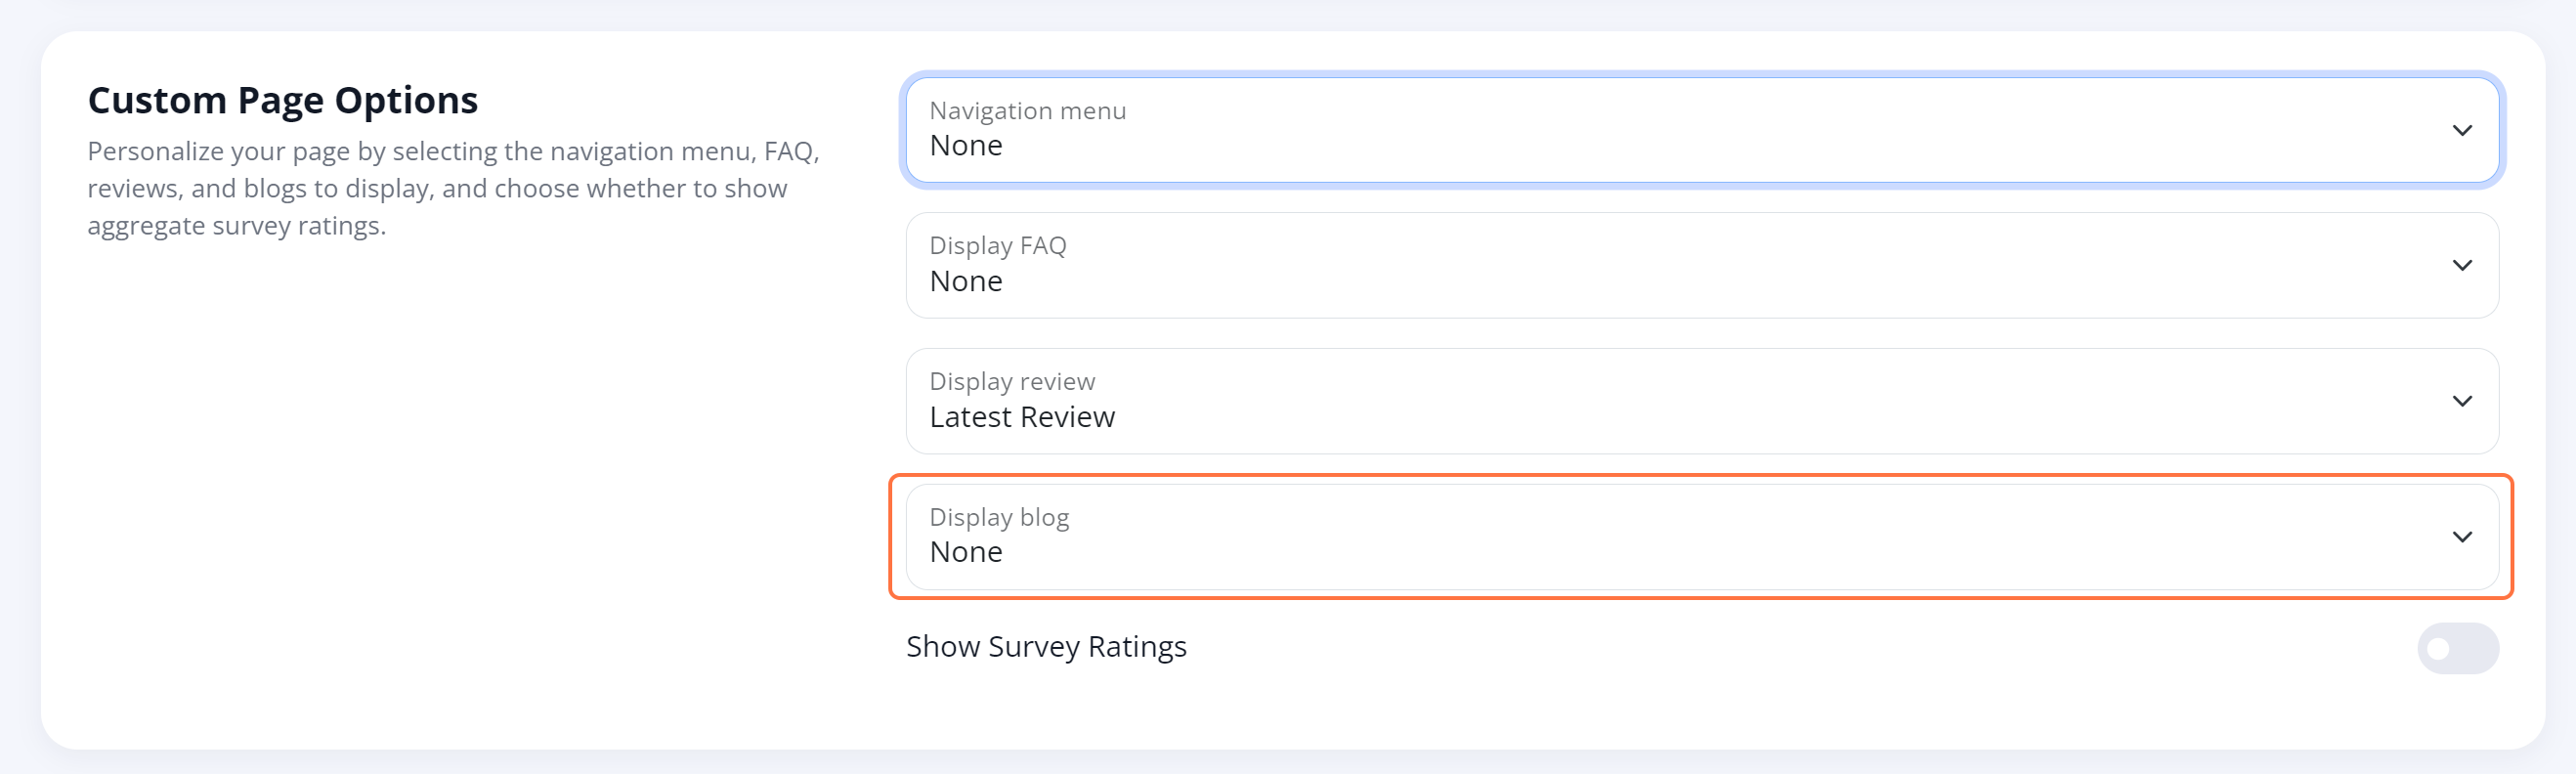
Depending on your goals for this page, you can choose:
- None: By selecting this option, no blog post will be displayed.
- Latest Post: This option displays the most recently published blog post.
- Valid Categories: The other drop-down menu items will be automatically populated with your blog post categories. Choosing any category will display the most recently published blog post within that category.
Want to edit the blog categories that appear here? Please reach out to your Spectrum Client Manager or fill out a support ticket at this link.
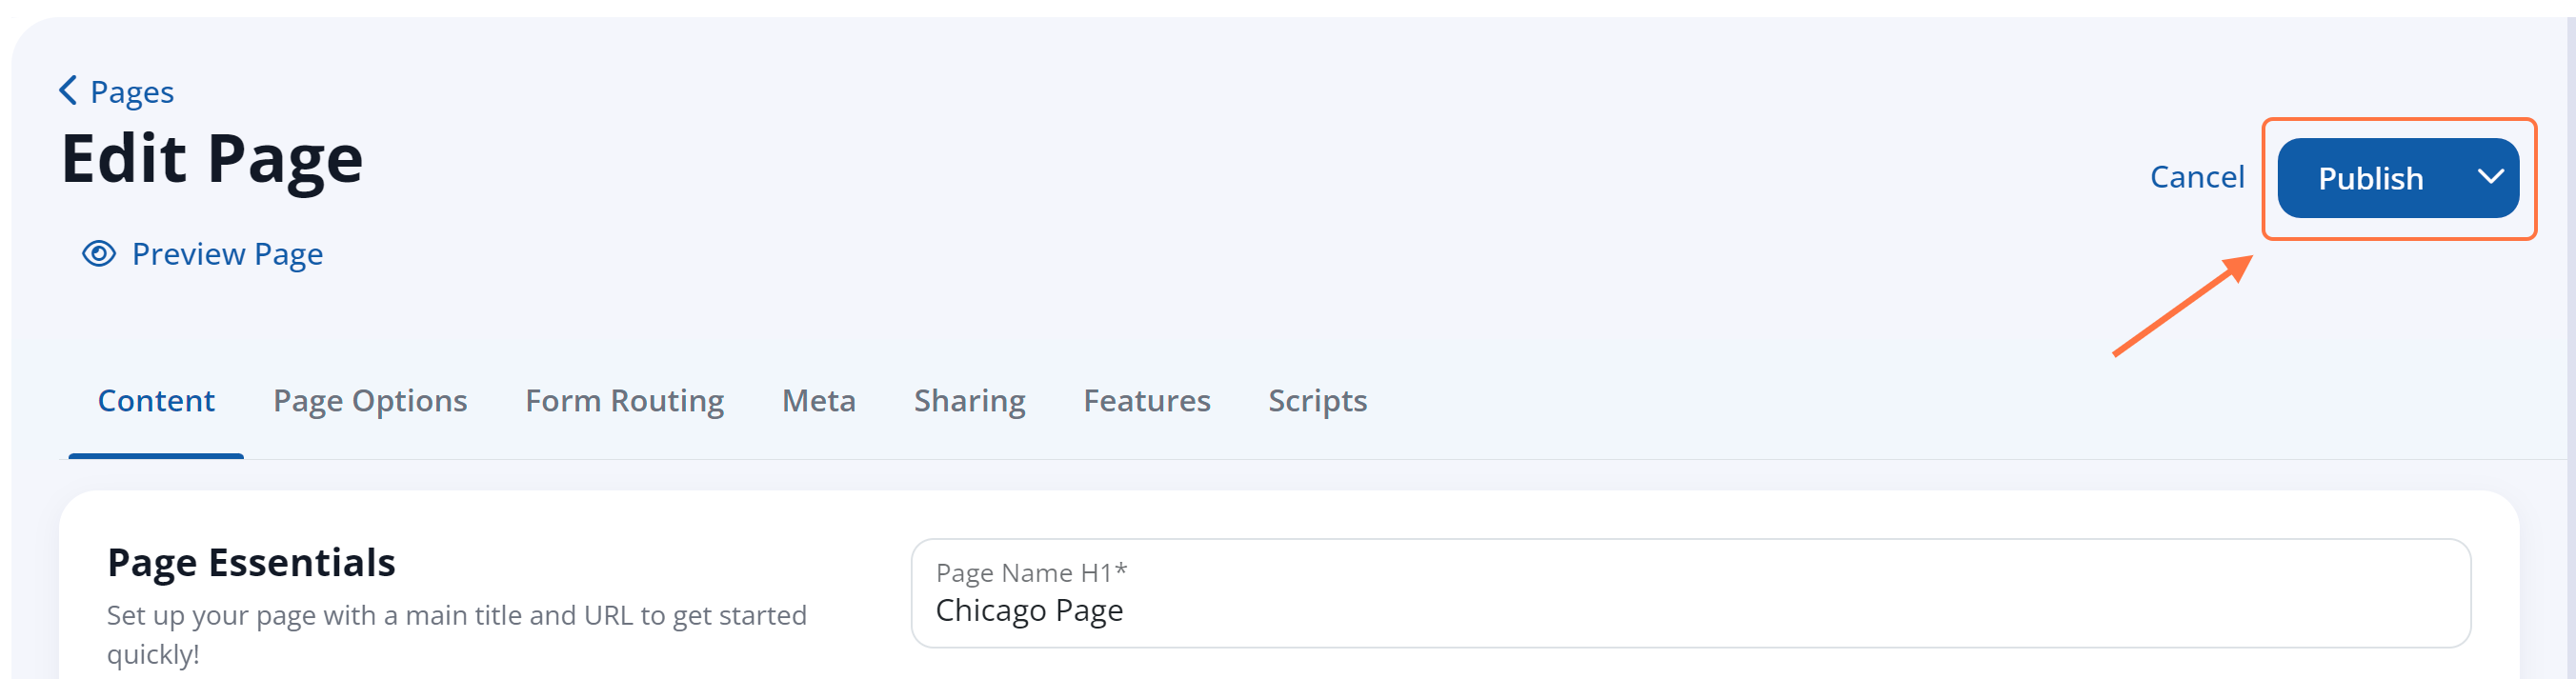
5. Save Your Changes
After you've made your selection, click the Publish button at the top of the page to save your changes.
Now you'll see your selected type of blog post displayed on this page under the quote form.