If you need a new lead reporting email outside of the 12 default templates, you can create your own custom report template at any time. Follow the instructions below.
Did you know? You can also customize an existing report template instead of creating a new one. Customizing a template is easier than creating a new one.
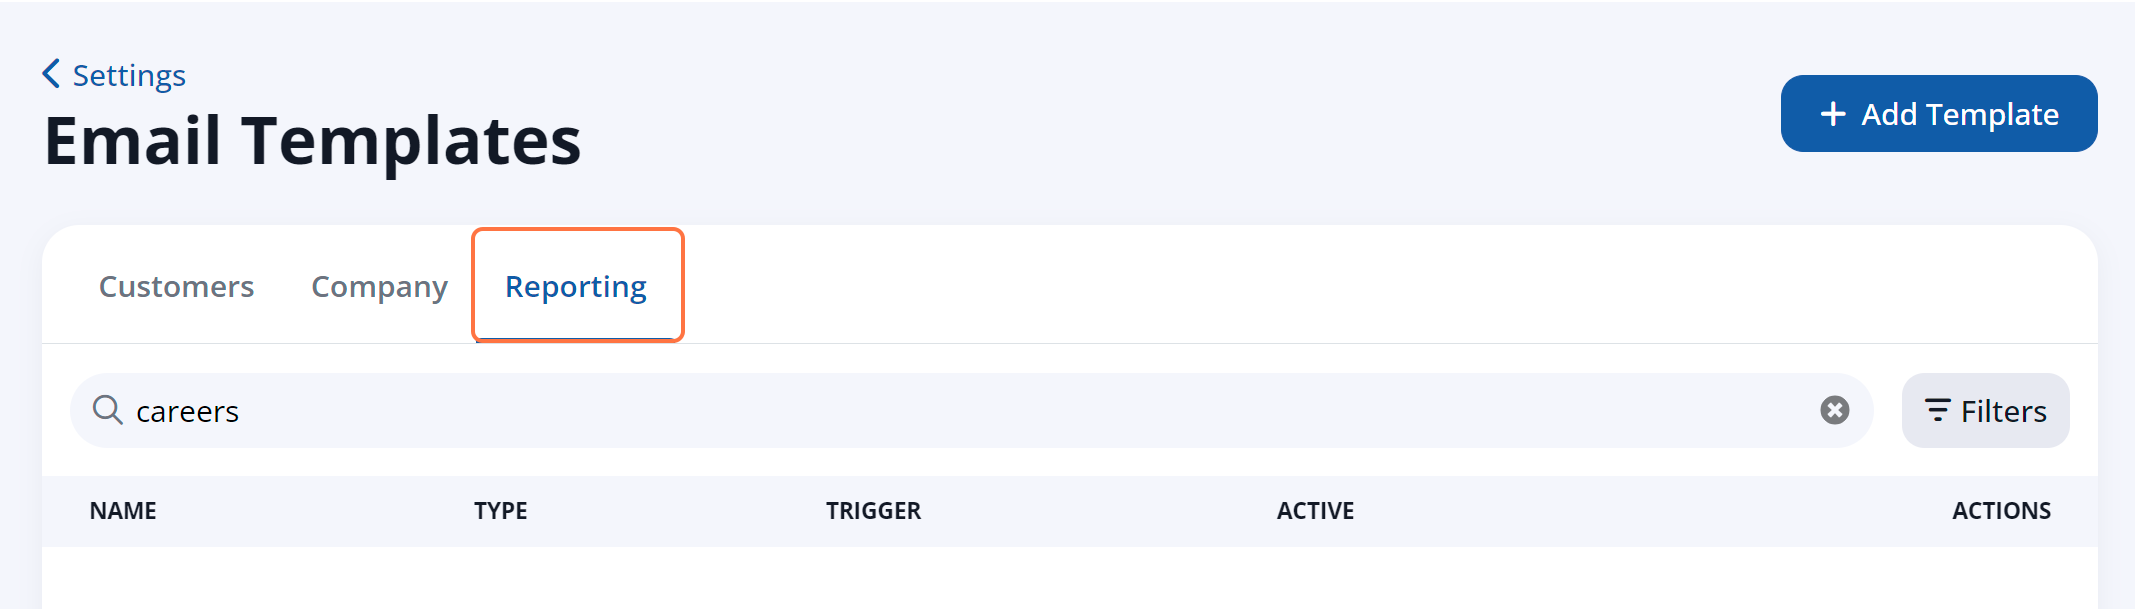
1. Go to Reporting
After logging into your LISA admin, navigate to Settings > Notifications > Email Templates. Click the tab for Reporting.
2. Create a New Template
Click the + Add Template button to create a new template.

3. Fill out the Details
On the new email template page, fill out each field:
- Name
- Subject
- Body: See step 4 for important information on this.
- Email Template
- Interval
- Additional Conditions (optional)
- Email Overrides (optional)
View step 3 of this article for more detail on the above: How to Customize a Lead Activity Report Email Template
4. Format the Body Correctly
The body of your email template must be formatted in a specific way to make sure that the reporting functionality works correctly. We recommend the following steps.
First create a two-column table and add your desired dynamic elements. (See the image below: you can create a table by clicking the table icon, and you can insert dynamic elements using the dropdown menus.)
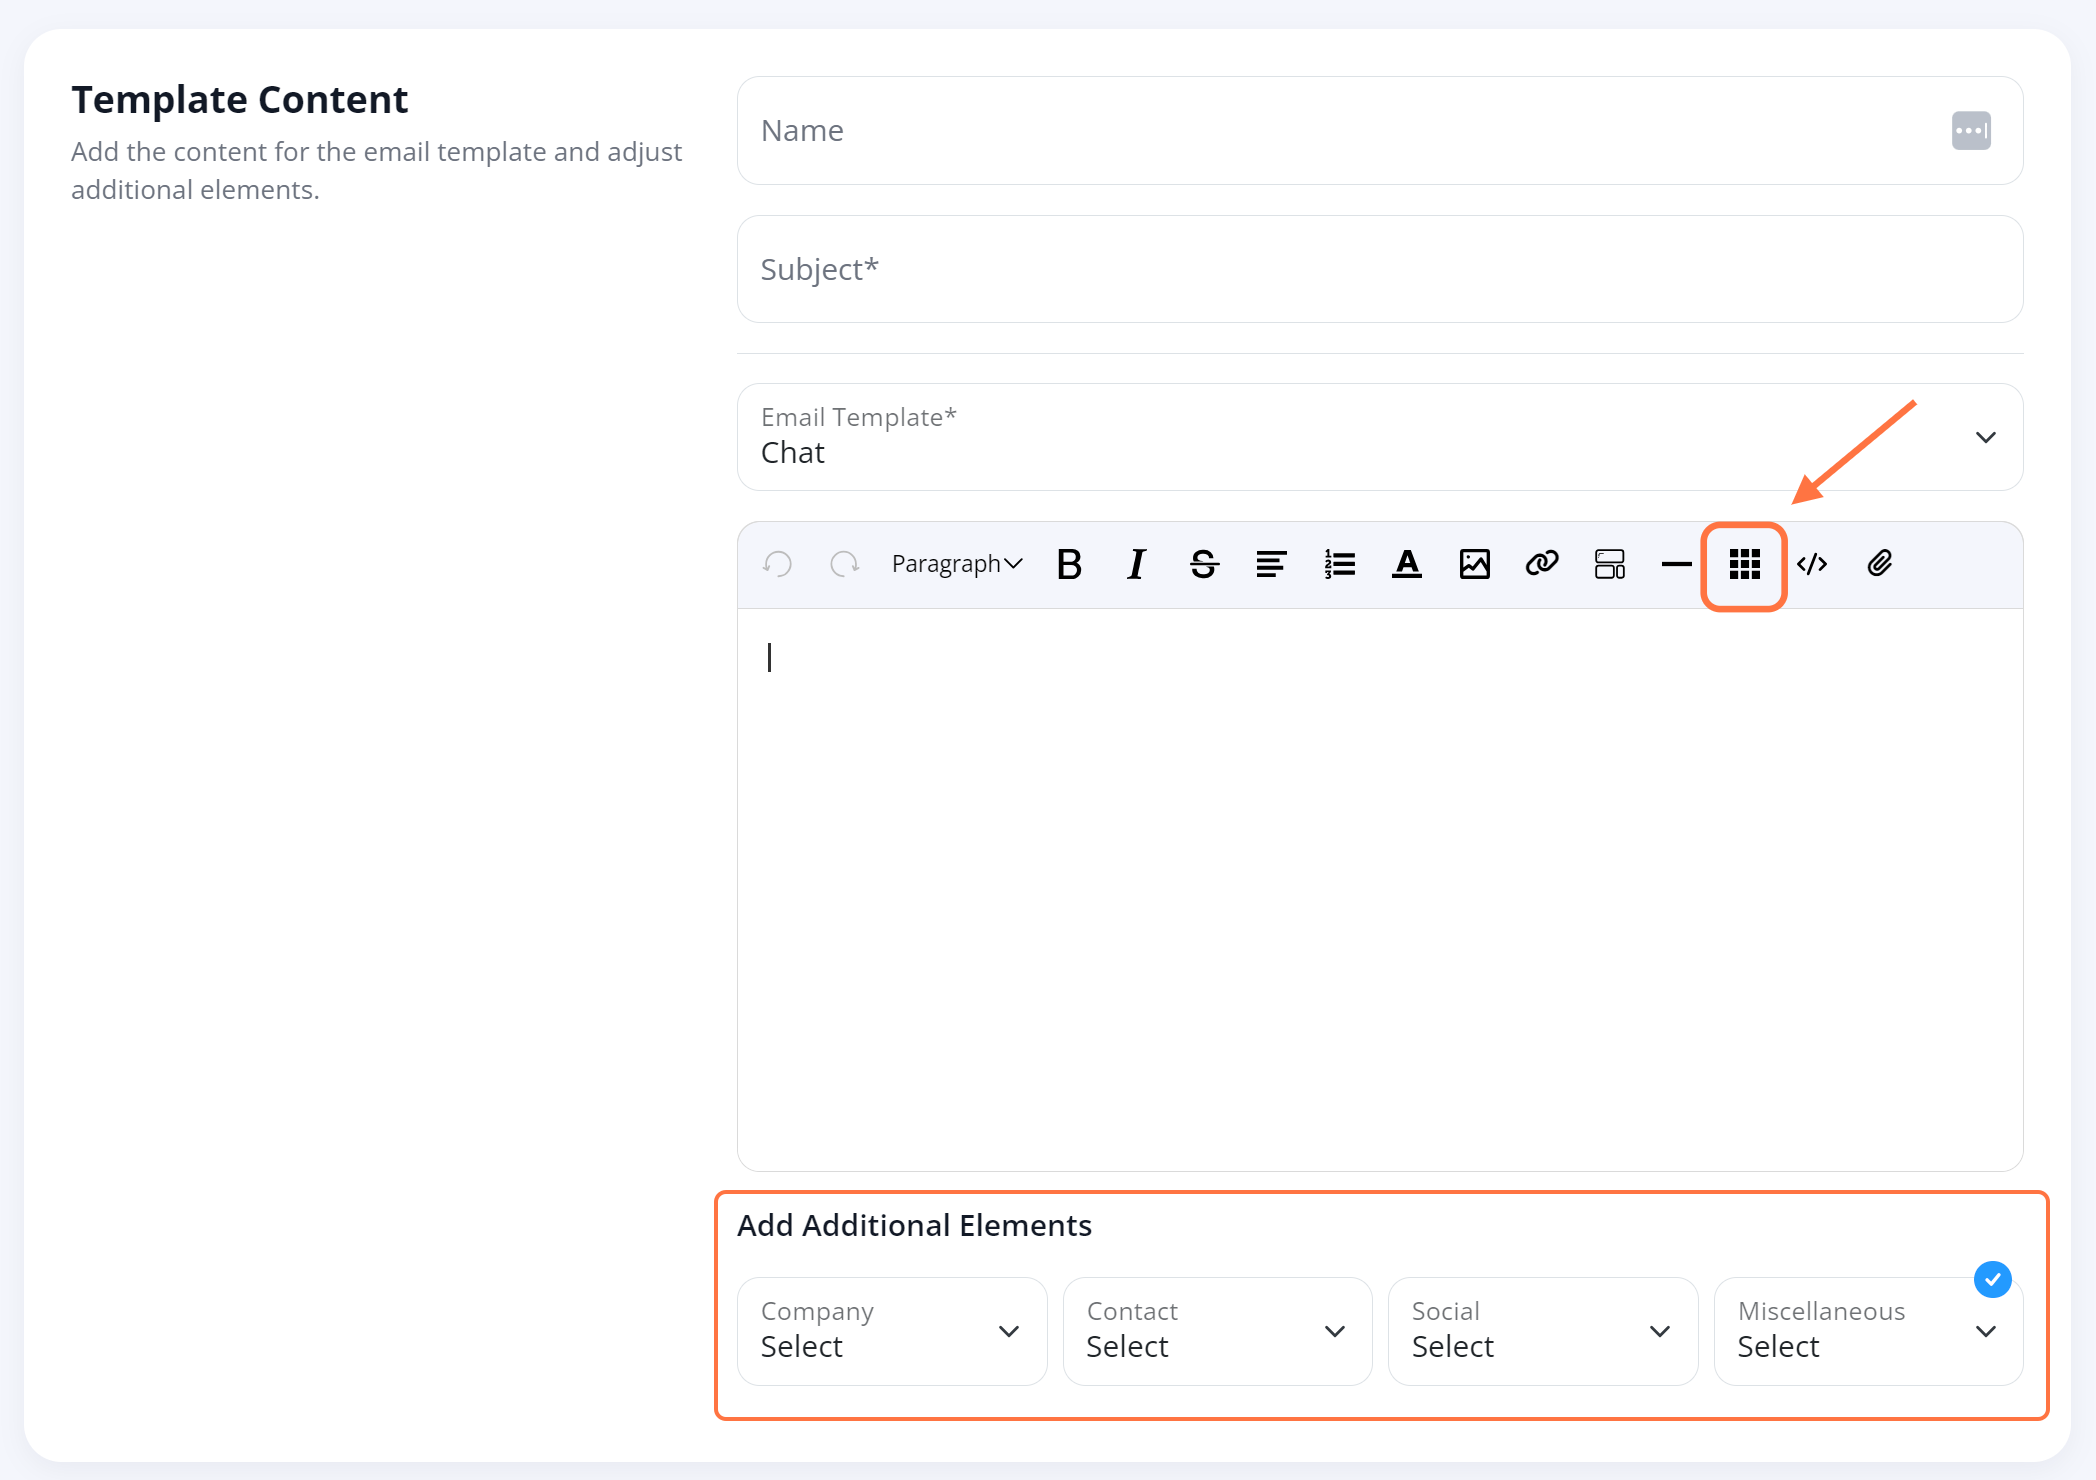
Next, open the code editor by clicking the </> icon (next to the table icon). In the code editor, make the following changes:
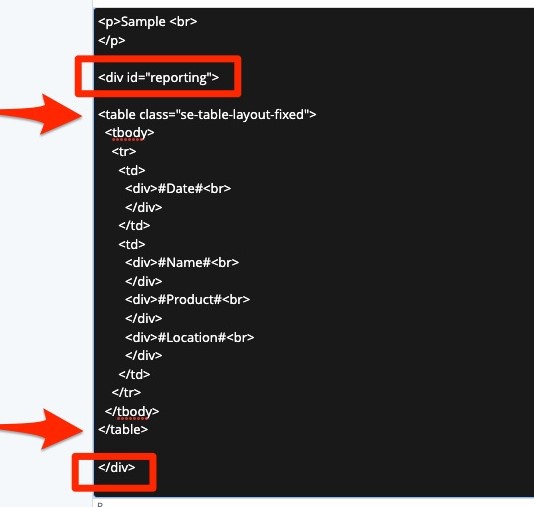
You can exit the code editor by pressing the </> icon again.
5. Save Your Changes
When you're done editing your new template, click Save to save your changes. (Your email template will be automatically activated upon saving.)