Follow ups are one of two events you can schedule between customers and representatives in the LISA admin. (The other event is an appointment.) Learn how to create a follow up below.
Please note that your team member must be a LISA Representative in order to be assigned a follow up. Learn more about the Representative role and how to set up rep access.
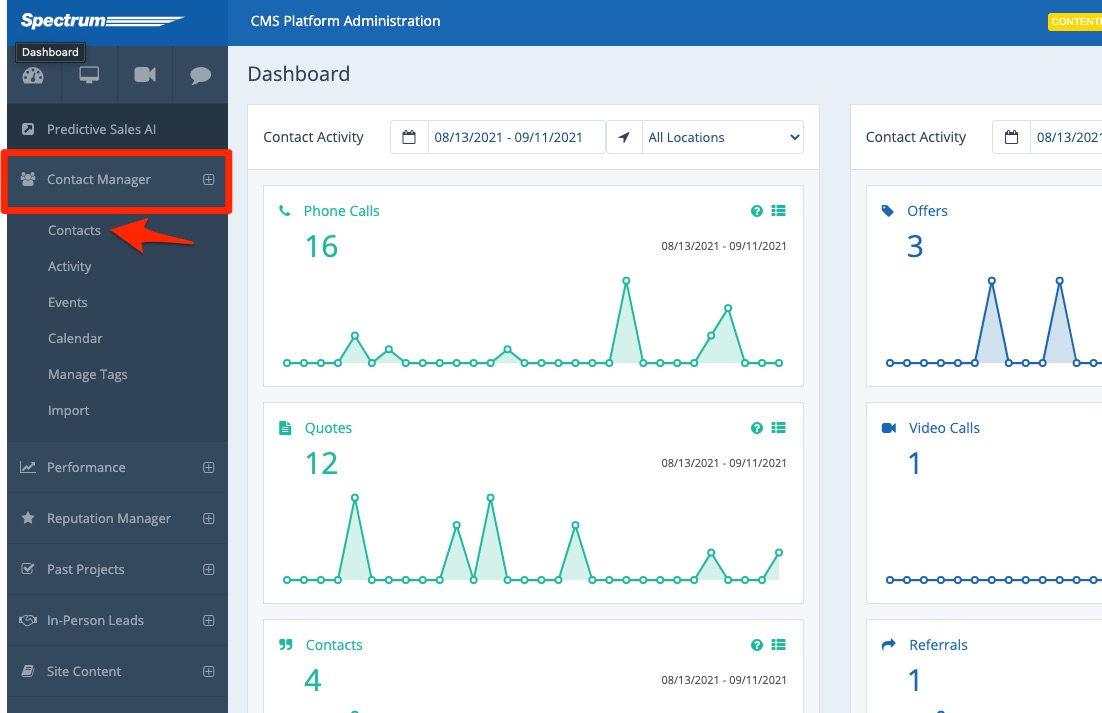
1. Go to the Contacts Dashboard
Navigate to the Contacts dashboard under Contact Manager > Contacts.
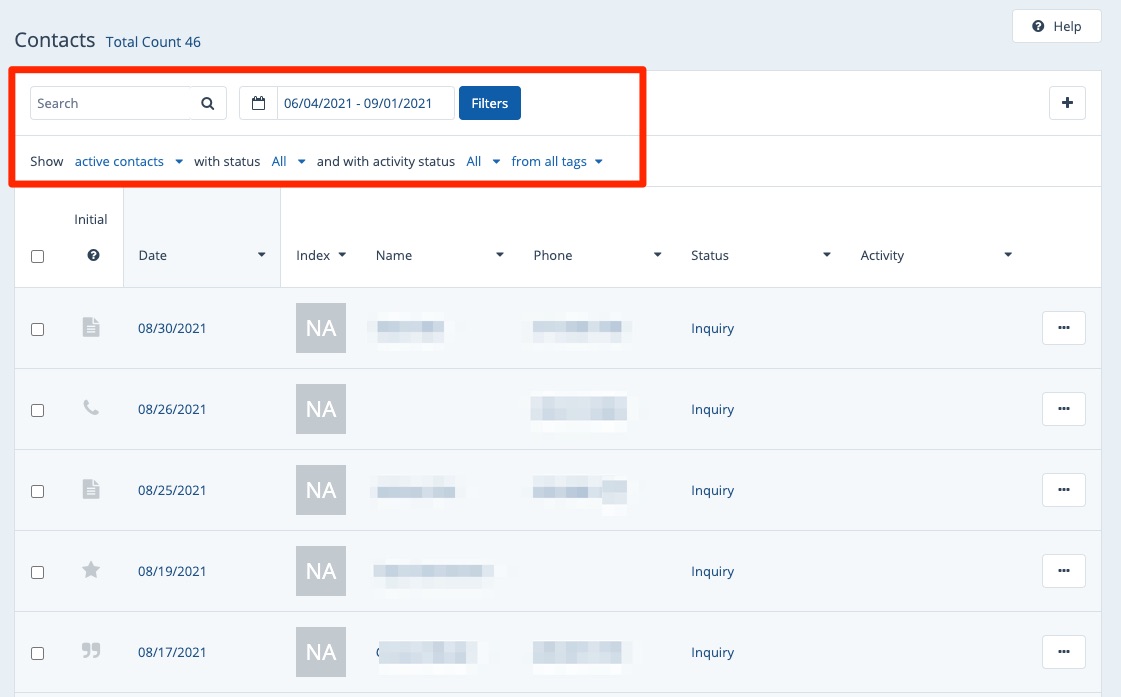
2. Find the Contact
From the Contacts dashboard, find the contact with whom you'd like to follow up. Use our tips for searching the Contacts page if you need help!
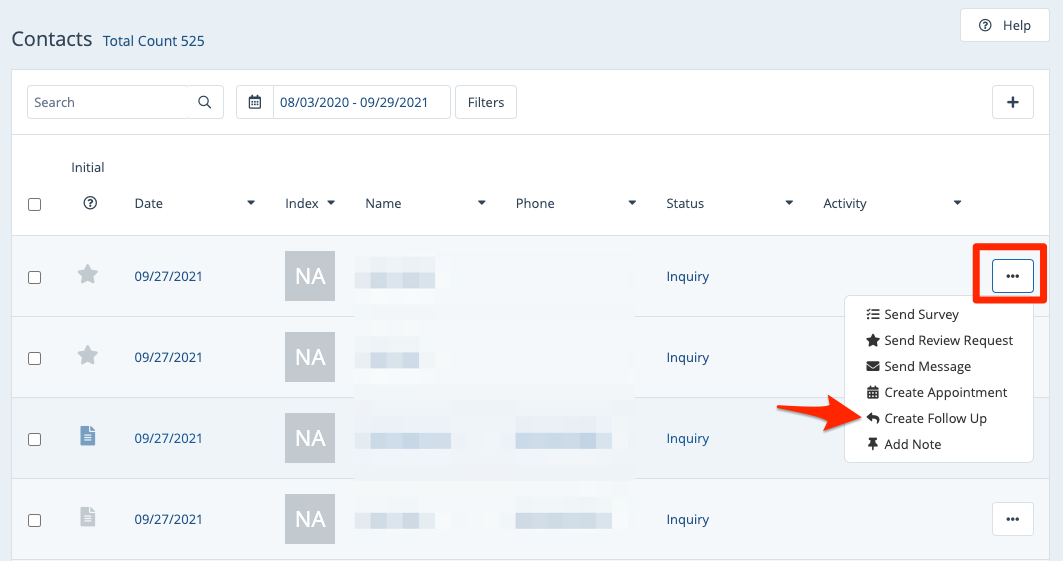
3. Open the Menu and Create Follow Up
Once you've located the contact, click the three-dots button to open the menu. Then click Create Follow Up.
4. Fill Out Follow Up Details
You'll now be brought to the follow-up screen shown below, where you can enter the relevant details for this follow up.
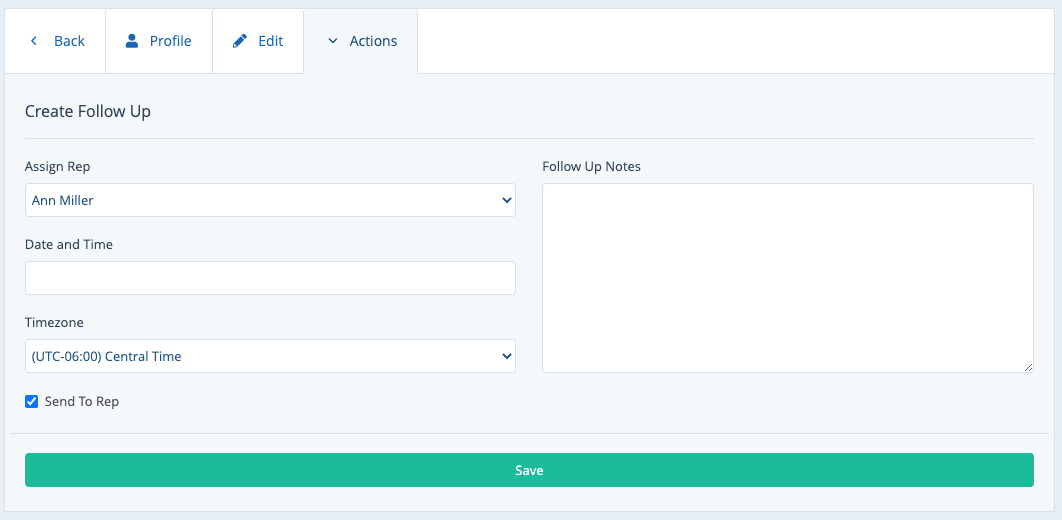
Most fields are self-explanatory, but here are some additional notes:
- Assign Rep: Choose a representative from the dropdown menu. If you do not see the correct employee, then he or she does not have the Representative role. (Learn how to set up Rep access.)
- Follow Up Notes: These are internal-only notes and will not be visible to the customer. They will be visible to the assigned representative.
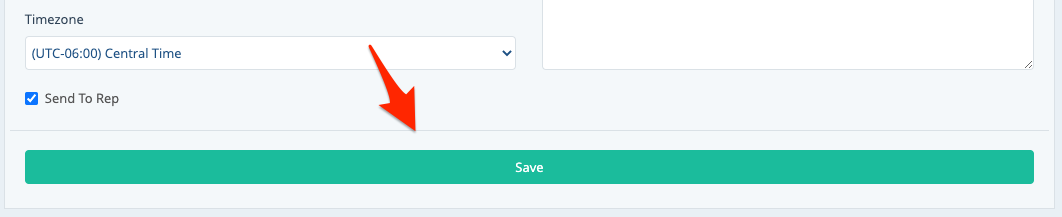
- Send to Rep: Check this box if you would like the LISA admin to send an automated email to the assigned representative, sent as soon as you click Save. (Want to edit this email? Learn how to customize the follow up email template.)
5. Save Your Changes
After completing the details, click Save to save your changes.
Once you've set the follow up, it'll appear on the Calendar and the Events pages—both for you as the Administrator and for the assigned Representative. Learn how to view upcoming appointments.