If you frequently send the same message to leads or customers, you can save yourself time by putting that message into a customer email template. By doing so, you'll be able to easily populate the message with a single click. Create a new customer email template by following the instructions below.
If you're new to messages, learn more about sending email messages through the Contact Manager. You can also get an overview of email templates here.
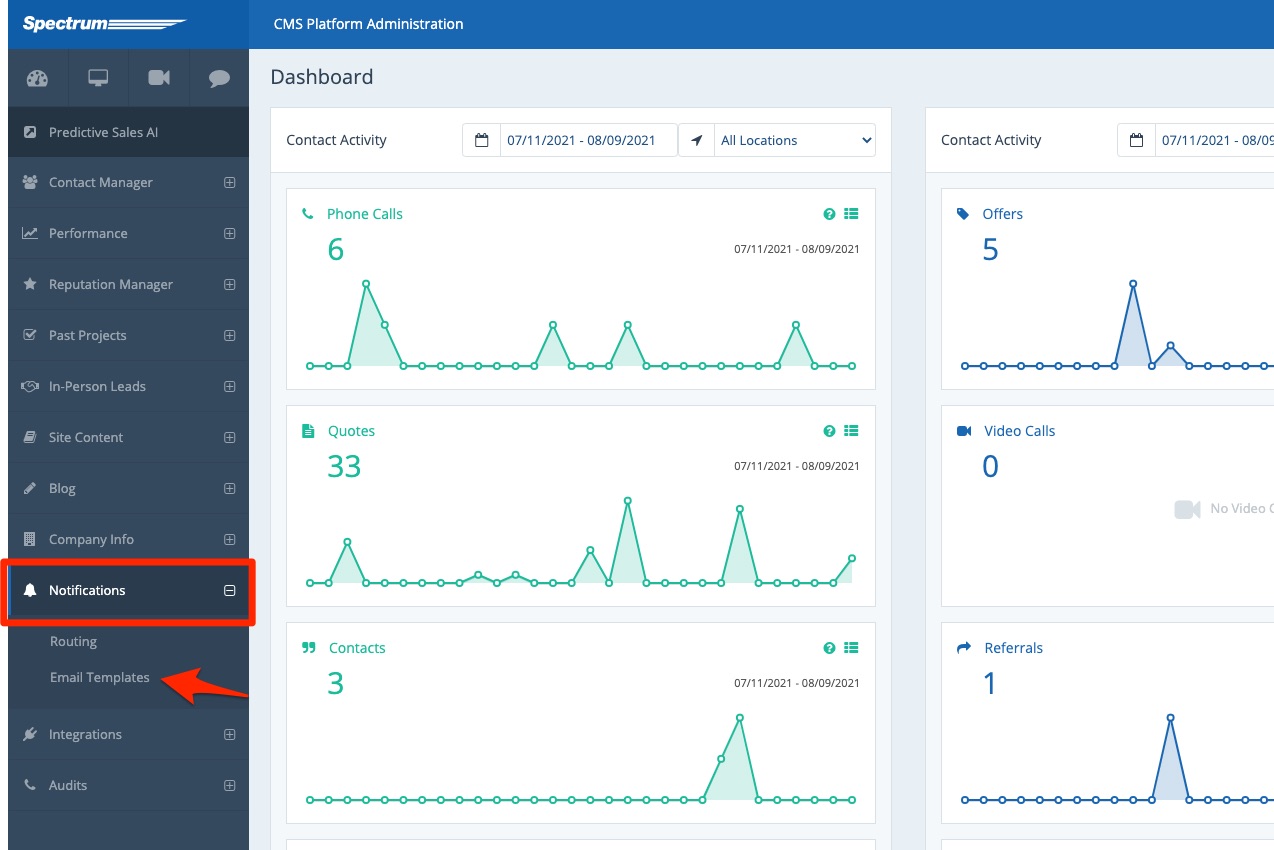
1. Go to Notifications > Email Templates
After logging into your LISA platform, navigate to Notifications > Email Templates.
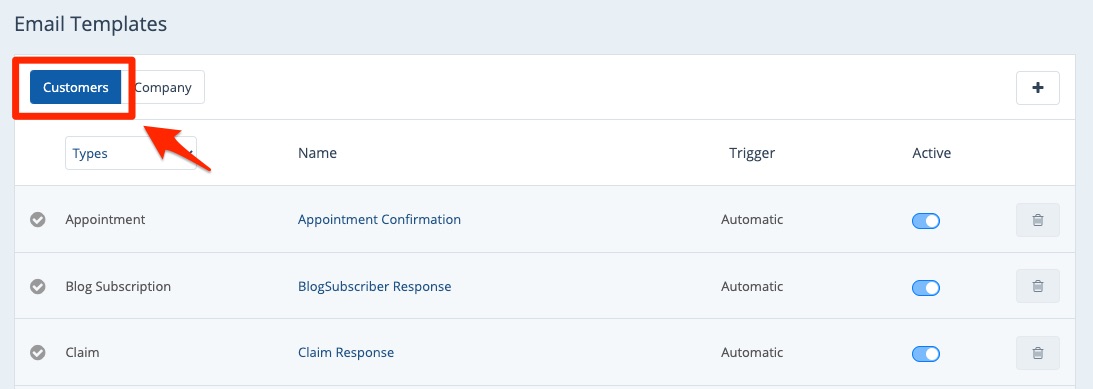
Make sure that you're on the Customers tab.
2. Click the Plus (+)
In the upper right corner, click the + button to create a new template.
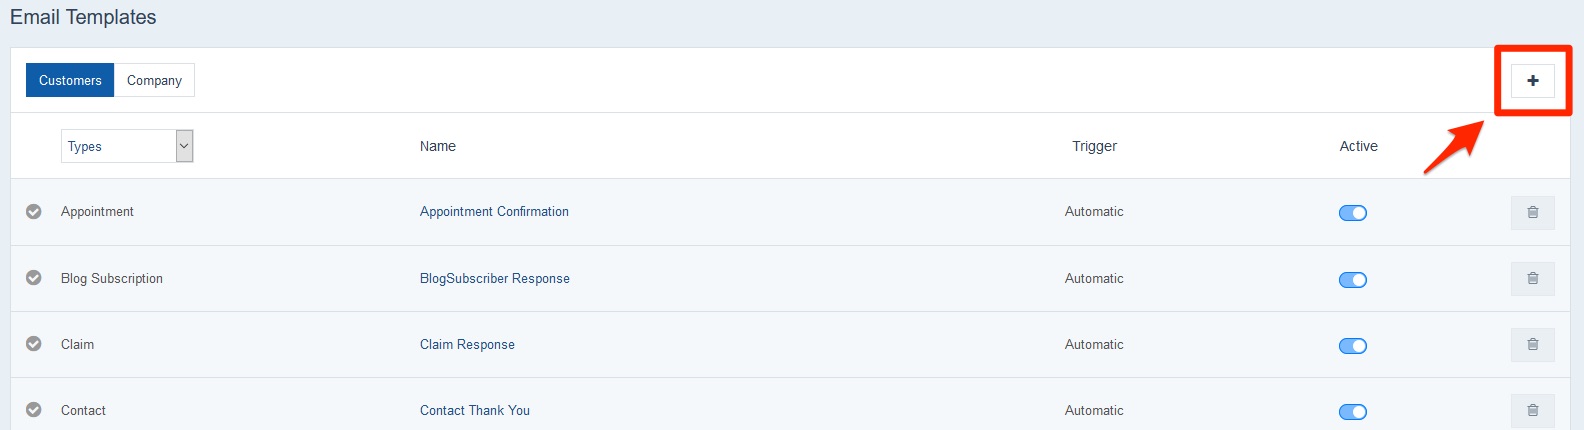
Note: Your LISA platform will come with common customer email templates already created. You can always edit an existing template by clicking it from the list (rather than creating an entirely new one).
3. Fill in Your Template Details
On the new Email Template page, fill in the details shown below. (More information on each field is given beneath the screenshot.)
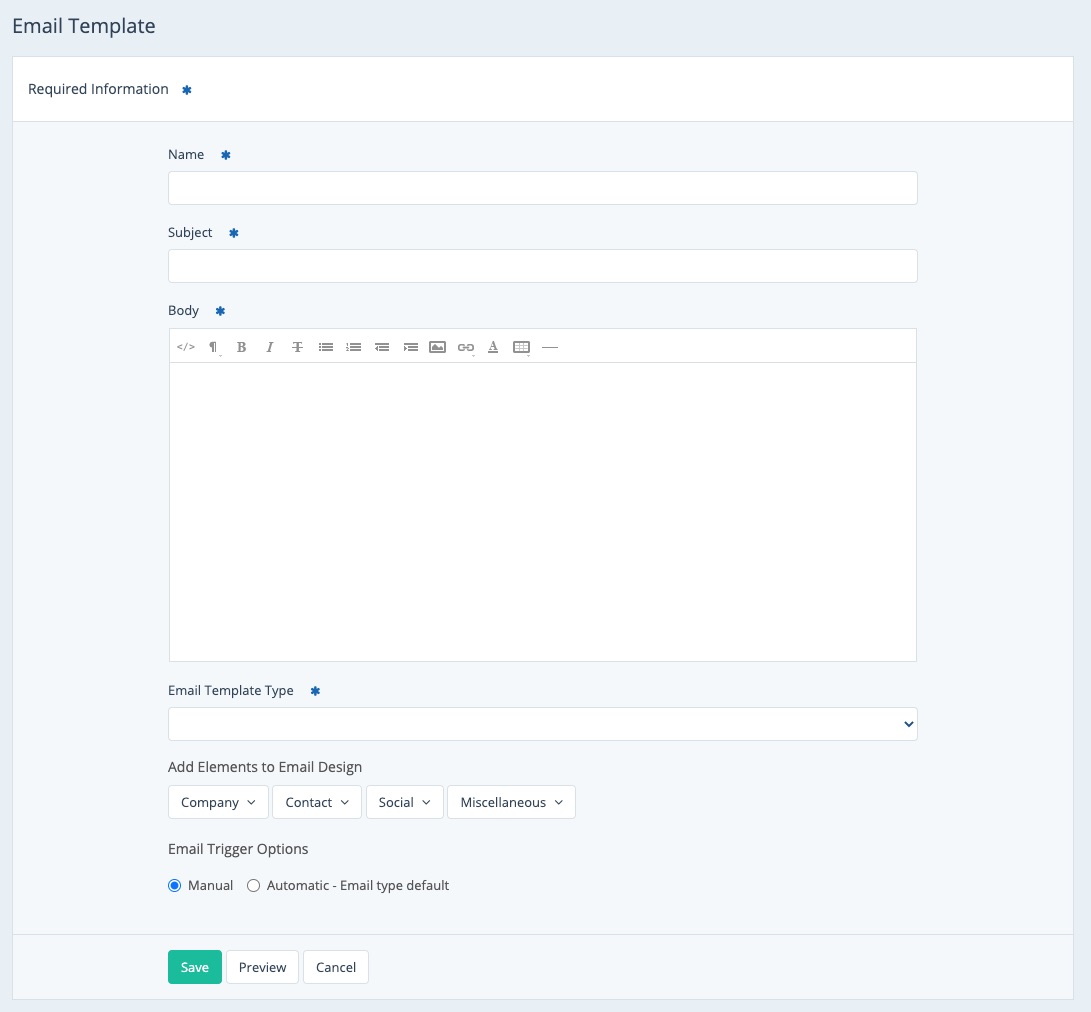
Name
This is the name of the email template that will appear on the Email Templates page. This is an internal-only name to help you organize your templates; customers will not see this name.
Subject
This is the subject line of the email. Customers will see this.
Body
Type out the message of the email, using the editing bar at the top to add styling, hyperlinks, images, tables, and more.
Email Template Type
Within the field for Email Template Type, choose the type of interaction that best fits this email's intended use.
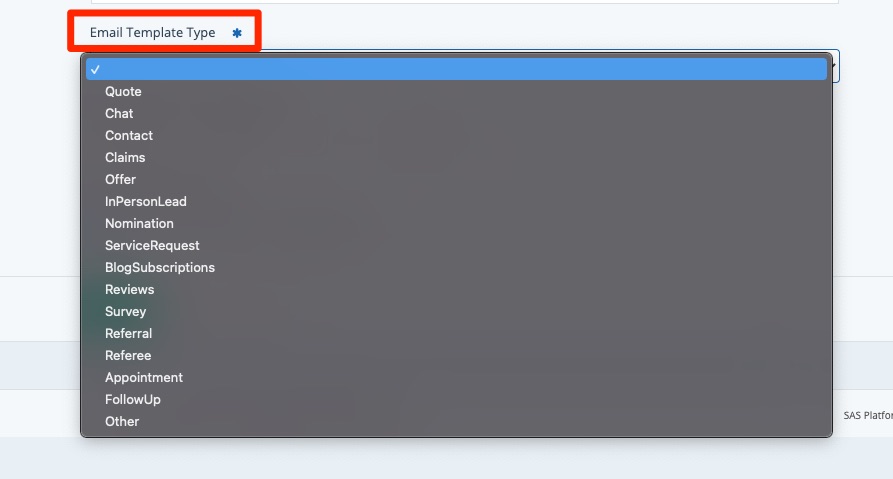
Please note that in order to work properly, the email template type should match the lead engagement. For example, an email that will be sent to a customer who leaves a review should be marked as the "Review" type.
For more detailed information on creating specific types of customer email templates, please refer to these helpful resources:
- Email Templates for Review Thank Yous
- Email Templates for Review Incentives
- Email Templates for Offers
- Survey Request Email Template
- Survey Thank You Email Template
Add Elements to Email Design
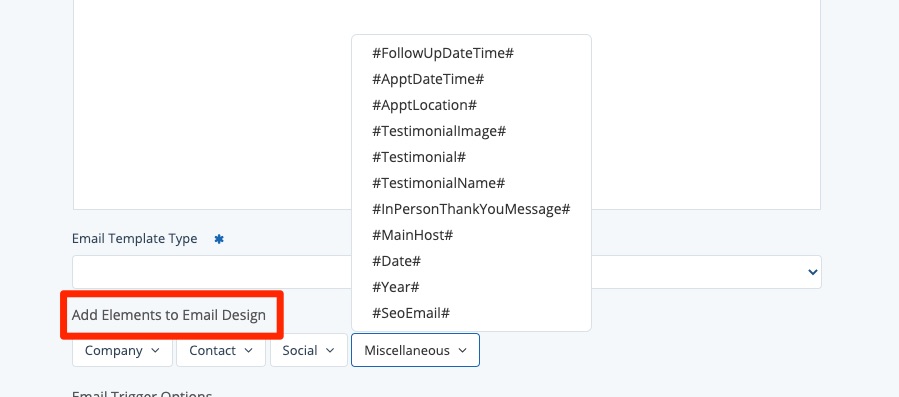
The "Add Elements to Email Design" section refers to dynamic fields that can be automatically inserted into your template. Dynamic fields save you time, allow for easy personalization, and prevent manual typos.
Please note that the elements available will vary based on the email template type you chose in the step above.
Learn more about dynamic elements.
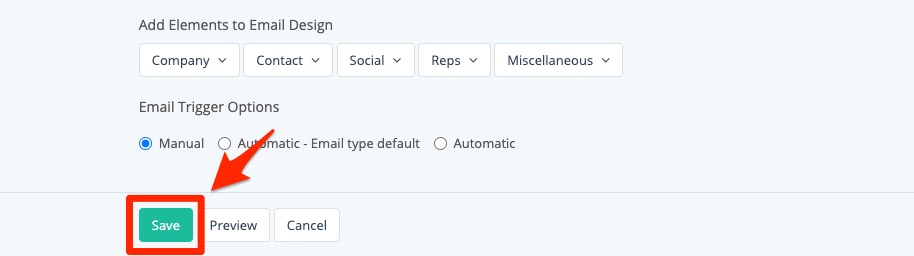
Email Trigger Options
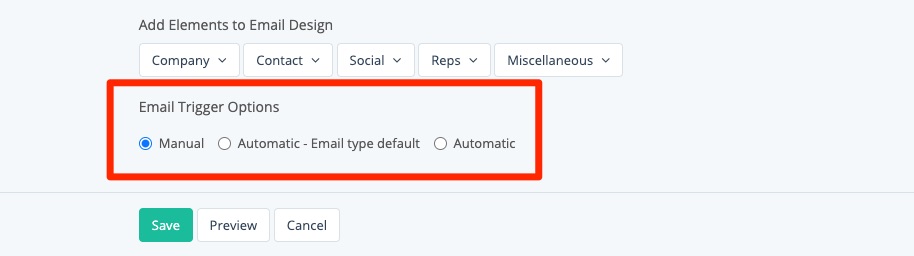
The final field available is for Email Trigger Options. This setting controls how and when this email template will be sent.
Learn more about email trigger options and how to use the automatic trigger to send different emails based on specific conditions.
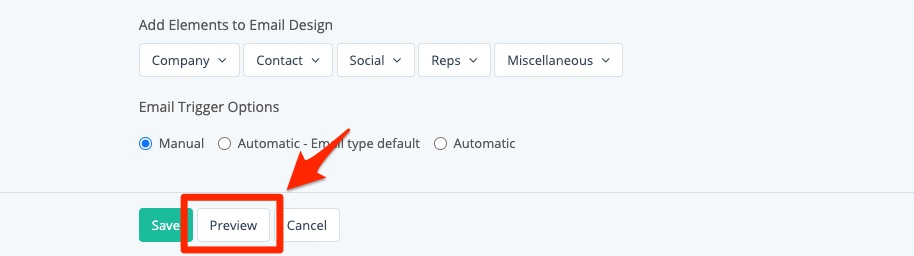
4. Preview Your Email Template
Before finalizing your email, we recommend previewing it to see how it will appear when sent to your customers. Simply click the Preview button.
Please note that any dynamic elements (such as #DefaultRep#) will not be populated in the preview, instead showing a blank space. Don't worry, the information will appear in the final email.
5. Save Your Changes
Once you're done, click Save to finalize your email template.
What happens next?
If this is an automatic email template, it will be sent automatically whenever that lead engagement next occurs. If this is a manual email template, then you can head over to the Contact Manager to start using the template right away! Learn more about messaging customers in these resources: