Setting a representative as the "default rep" allows you to automatically insert that rep's information into an email to any customer using dynamic fields. For example, you could insert the representative's name and contact information into a quote form thank you email (shown at the bottom of this article).
To set the default rep in the LISA admin, follow the instructions below.
Not familiar with "dynamic fields"? Learn more here.
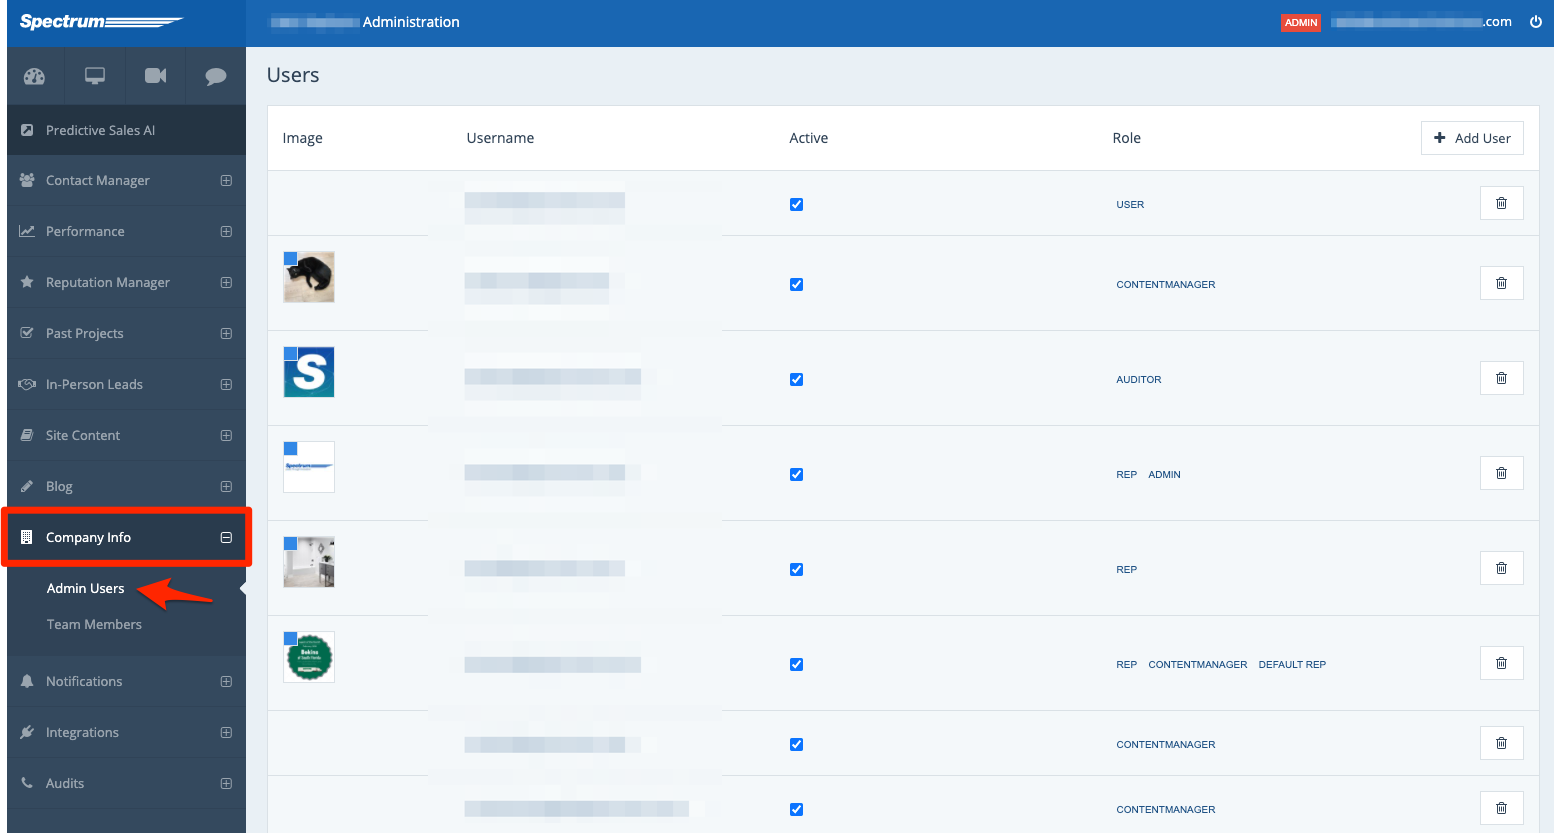
1. Go to Your Admin Users
After logging into your LISA platform, navigate to Company Info > Admin Users.
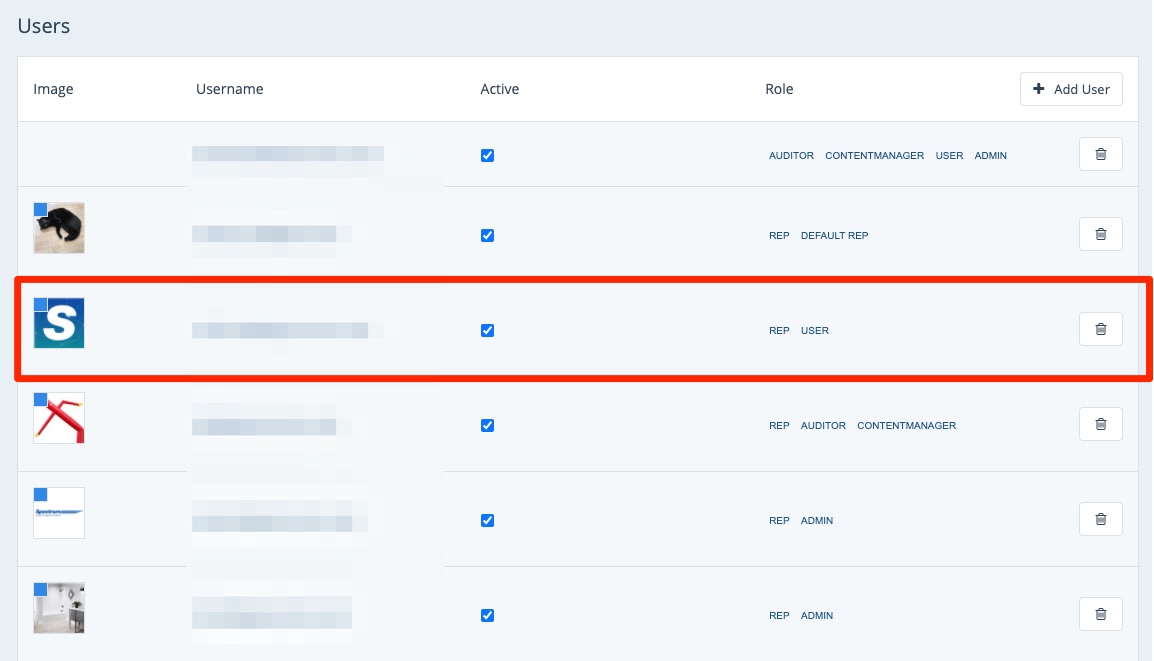
2. Find the User
From the list of users, find the rep that you'd like to set as the default and then click on their name.
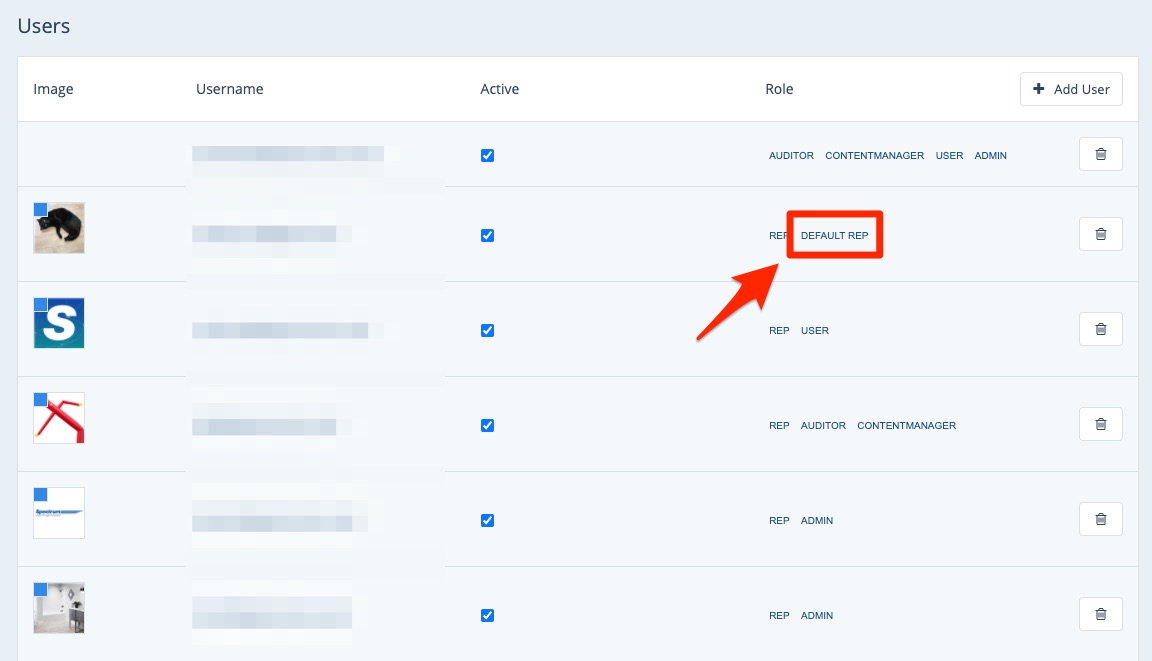
Not sure who's the current default rep? You can doublecheck from the Users page by looking for the tag of "DEFAULT REP" under the column for Role (shown below).
3. Check the Default Rep Box
On the user's page, check the box for "Default Rep."
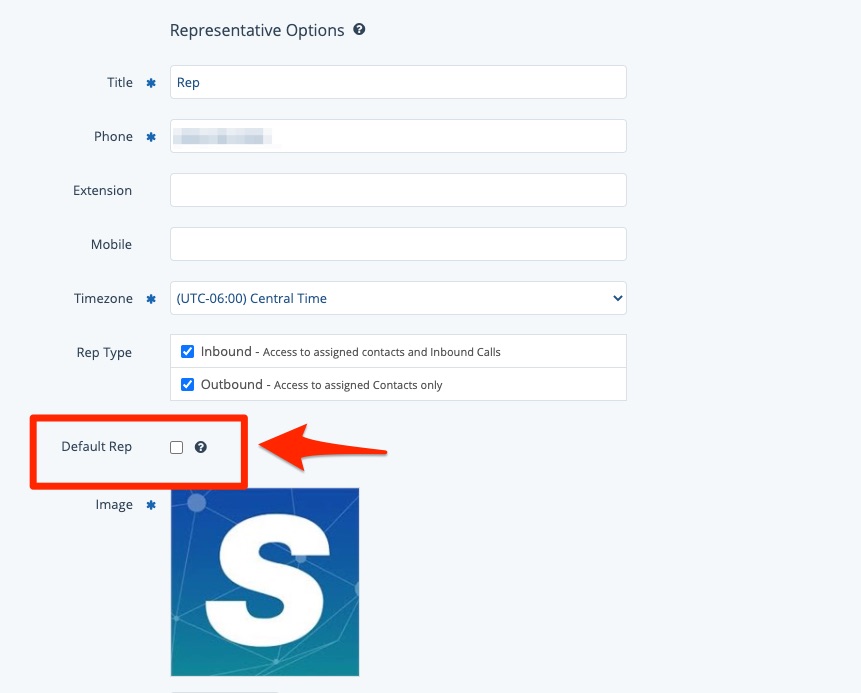
If you do not see this option, then this LISA admin user is not a representative. Scroll back up and select the user role of Representative, and these options will automatically appear.
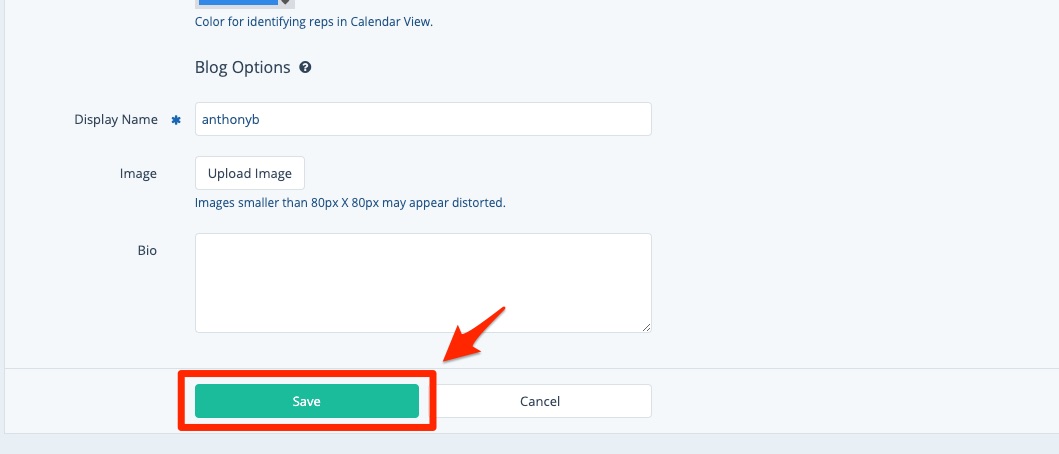
3. Save Your Changes
Be sure to scroll to the bottom of the page and save your changes when you're done.
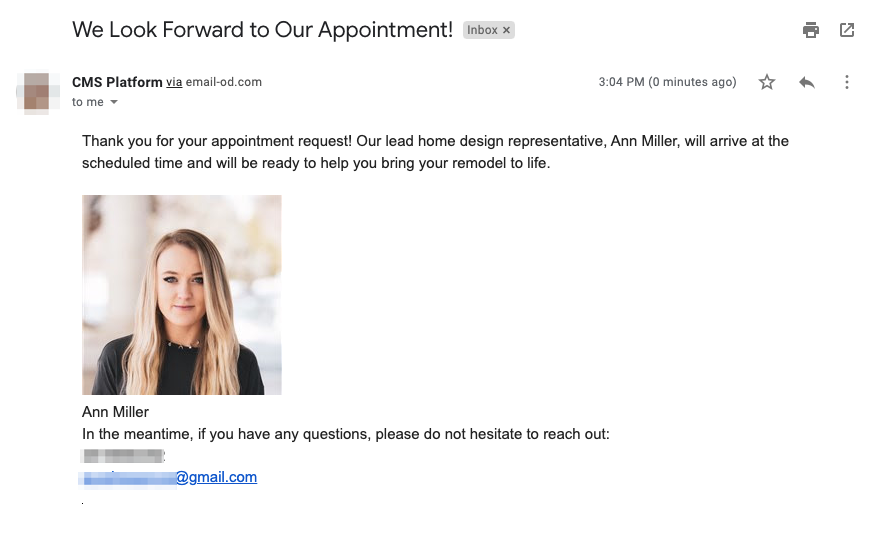
Example of the Default Rep in a Customer Email
By setting the default rep following the instructions above, you can then create a customer email template that utilizes the relevant dynamic fields.
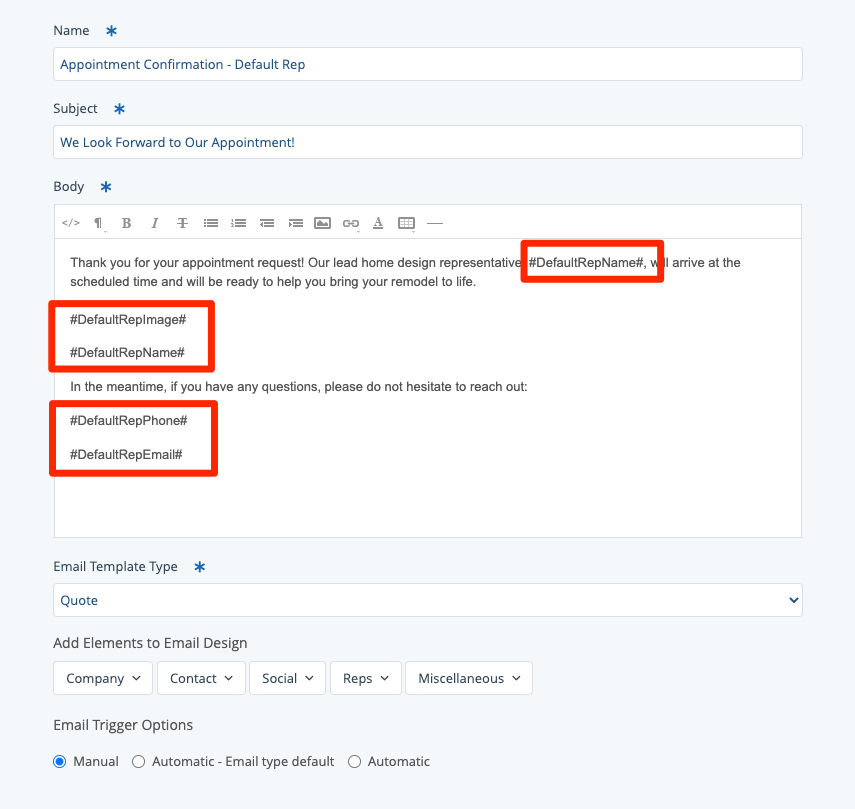
The email template above, when sent, automatically populates the information from the default rep's settings.