All past projects submitted by your team (done through the project upload form) must be reviewed and published before they will be visible on your website. To publish a project live on your site, follow the instructions below.
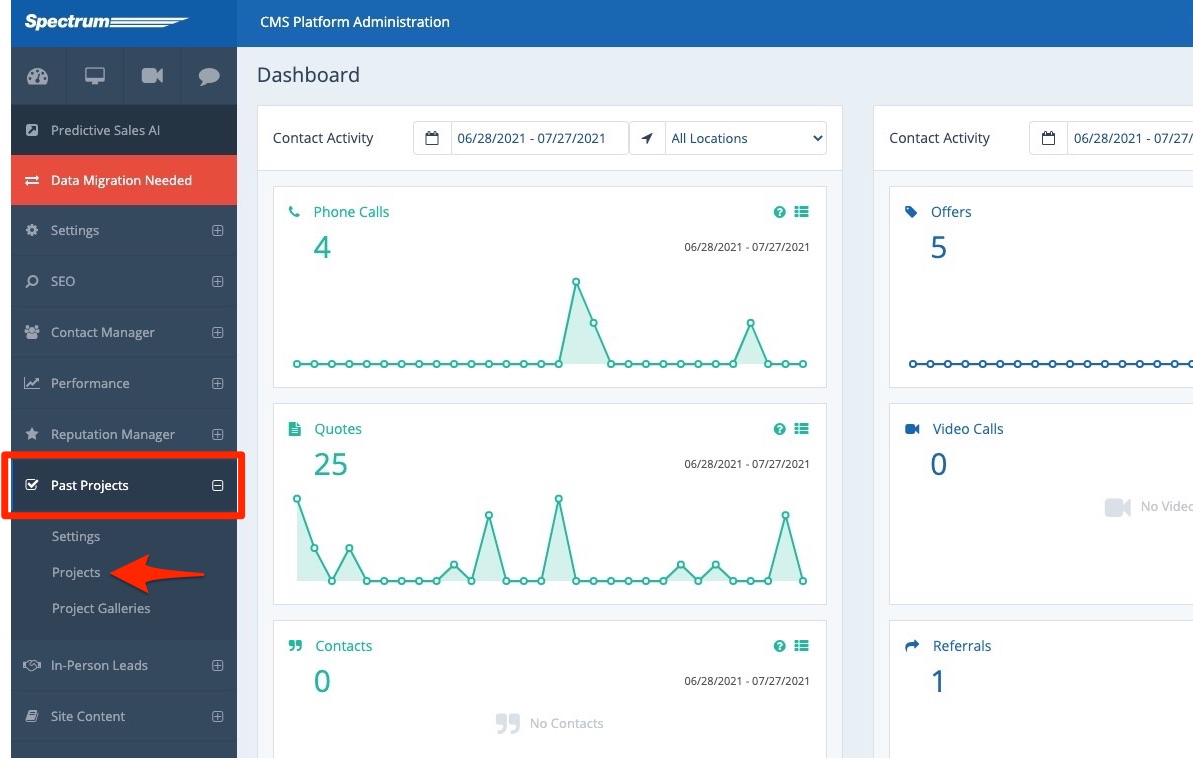
1. Go to Past Projects > Projects
After logging into your LISA admin, navigate to Past Projects > Projects.
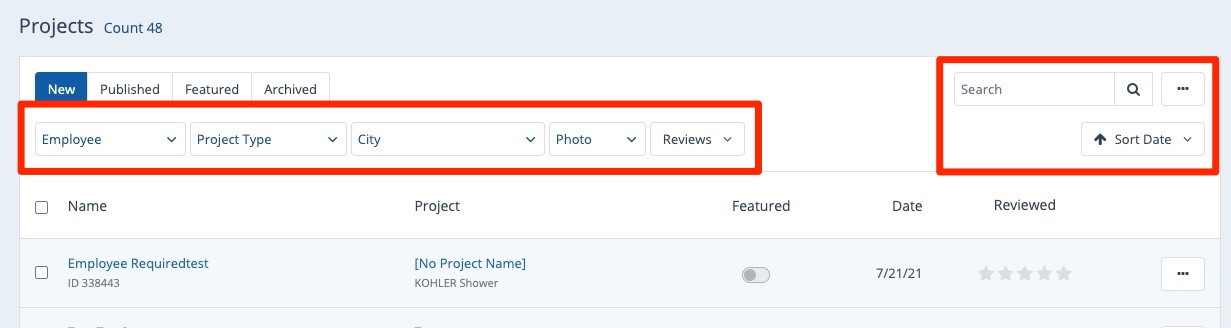
2. Find the Project
On the Projects page, find the project that you'd like to publish. You can browse manually or take advantage of the filters, search, and date sorting options to help you find the project.
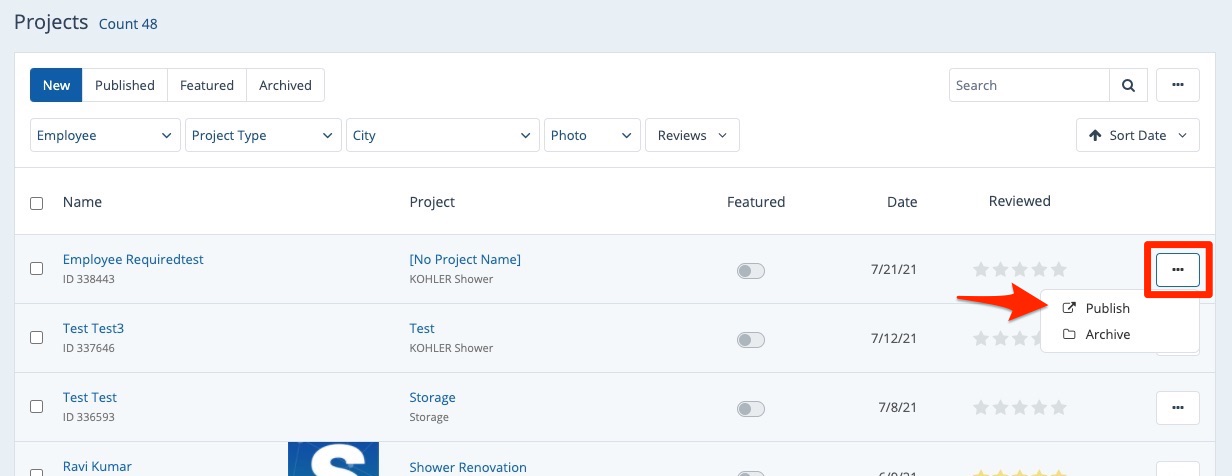
3. Publish
Once you've located the project, click the three-dots menu and then click Publish.
If you would like to edit the project before publishing it, please click on it from the list, make your edits, and then return to this page to click "Publish." (You can edit the content as well as the meta data of images.)
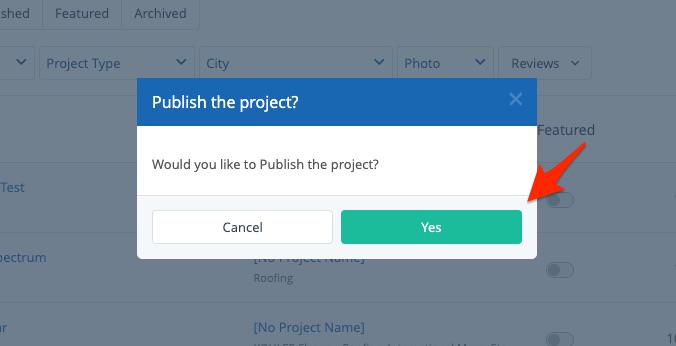
4. Confirm
On the popup, click Yes to confirm that you'd like to publish the project.
Note that if you are publishing a project that has a review, you will be able to decide whether or not to publish the review to the project as well.

By checking the box, the review will be published on the past project's detail page, as shown below.
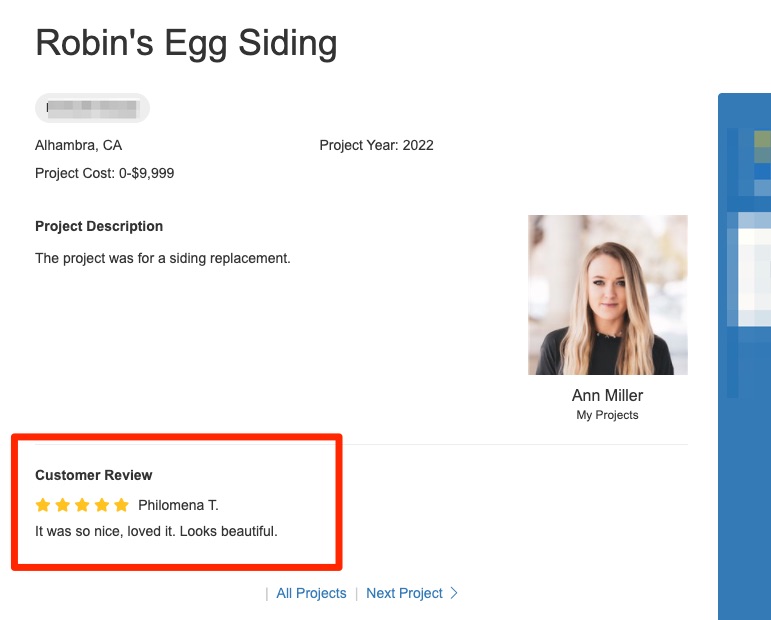
Please be aware that this review will not be automatically published on your Reviews page (/reviews). To add this review there, go to Reputation Manager > Reviews and publish the review.
As soon as you publish a project, it will be displayed on your Past Projects page (located at the URL path /past-projects). You can also adjust the settings of the Past Projects page if you'd like to, including:
- Setting projects as featured
- Changing the order of featured projects
- Setting the default view to map or photo gallery - link coming soon!