Whenever you create a new survey in the LISA admin, the first page is all about the survey settings. This article will explain each option on the Survey Settings page, starting from the top.

Survey Template
In the very first field, you'll be able to choose a prebuilt survey template, if you'd like to.
Click the arrow to open the dropdown menu and choose from the available survey templates. If you'd like to create your own survey from scratch, then leave the blank line selected, as shown below.
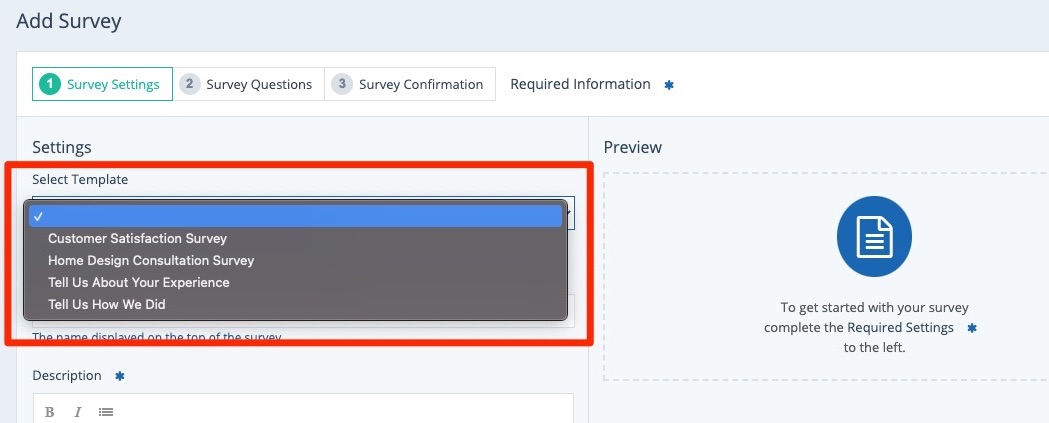
Not familiar with these survey templates? See what each template looks like here.
Title
In the next field, enter a title for your survey. Please note that this title will appear at the top of the survey landing page, meaning that customers will be able to see it.
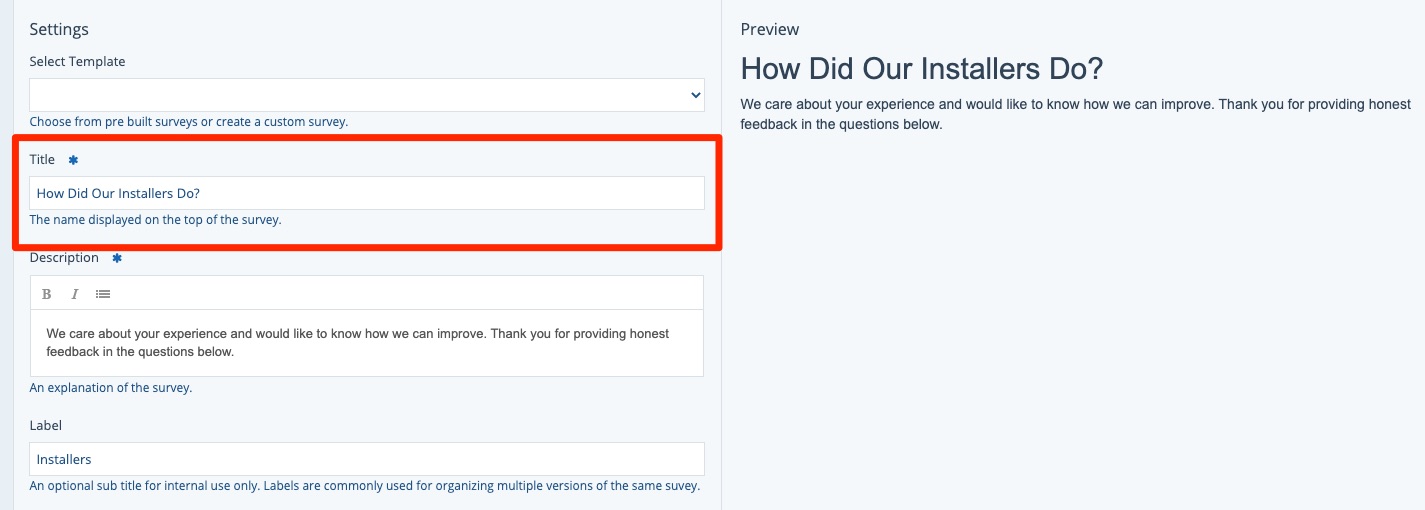
As you enter survey information in the fields on this page, the preview on the right-hand side will automatically update to show you how your survey will look.
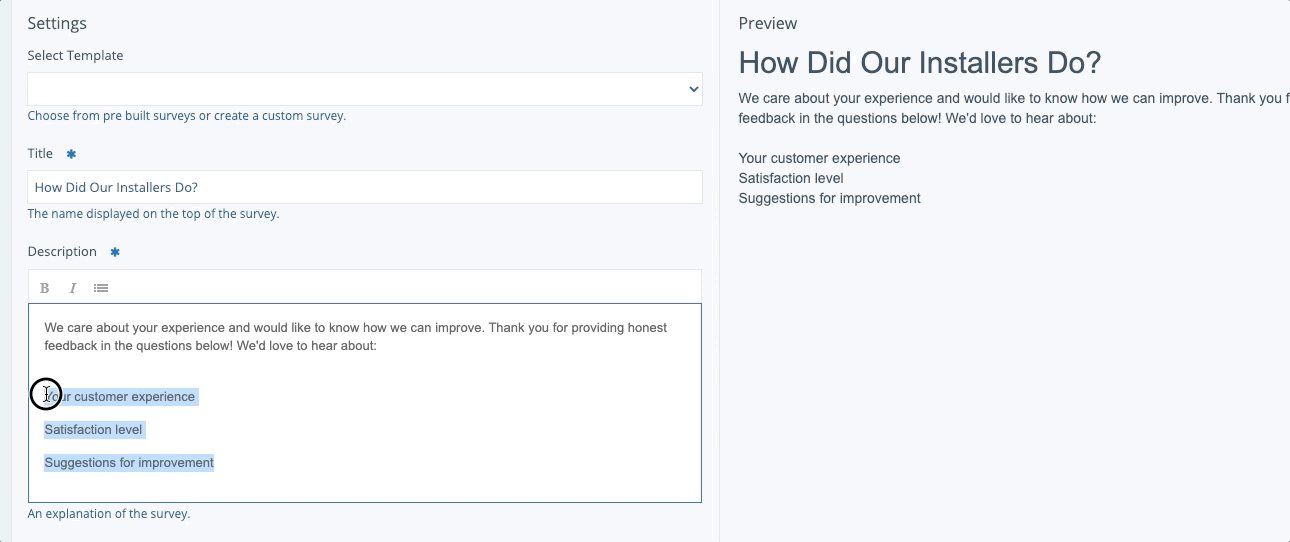
Description
The description will appear beneath the survey title and will be visible to customers. We recommend providing a brief explanation of the survey and/or a word of thanks for the customers' time.
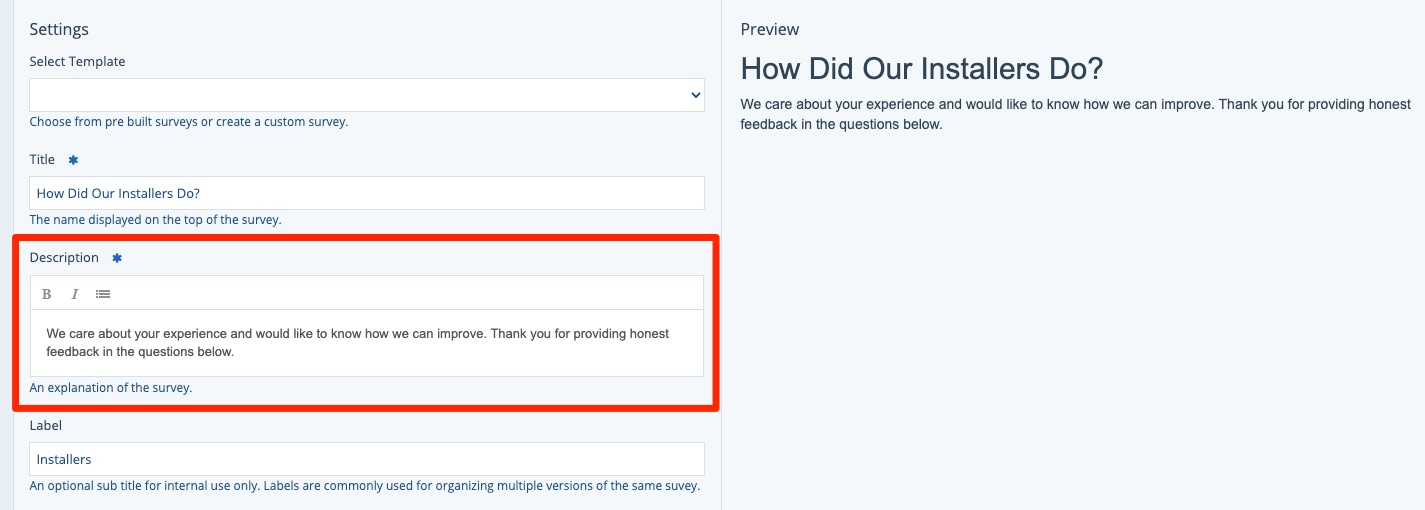
In addition to typing in text, you can use the editing options at the top of the text editor to add styling to your text, as shown in the GIF below.
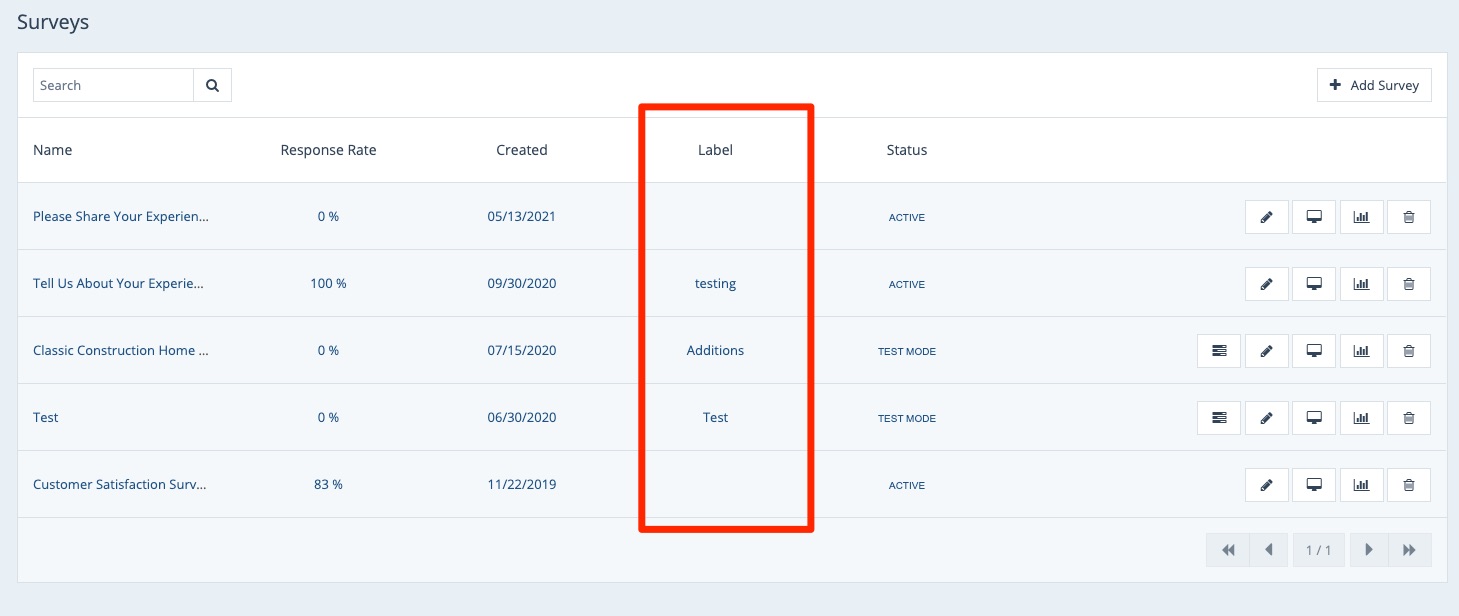
Label
Beneath the description is a field for the survey label. Unlike the previous two fields, this one is not customer-facing; it is only used to help you organize and track your surveys within the LISA admin.

As shown in the screenshot below, labels are displayed on your Surveys dashboard (under Reputation Manager > Surveys) for easy reference.
Email Message
In the field for Email Message, type in a brief email message that will be appear in the body of the email sent to request a survey from a customer.
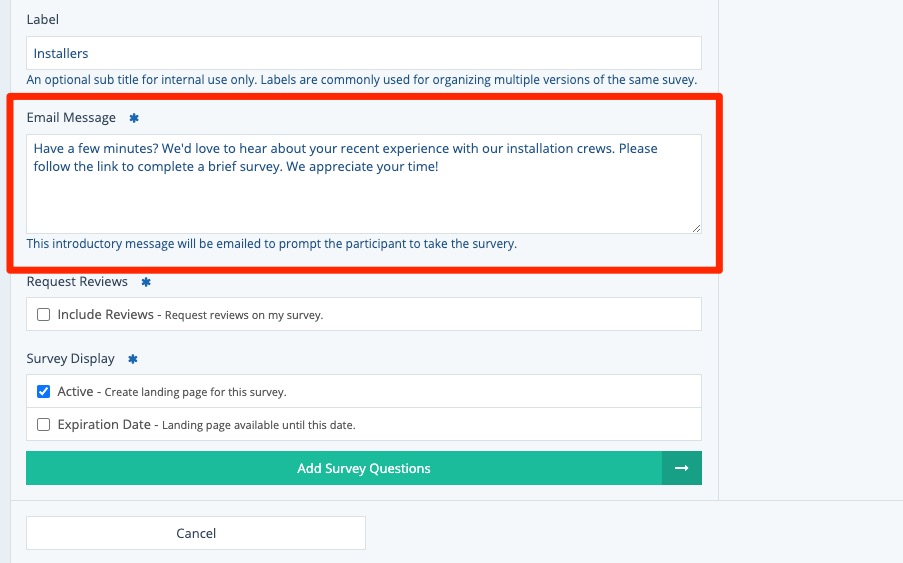
The email message that you type here will automatically populate for you whenever you use an email template to request a survey. Don't worry—if you change your mind later, you can always come back to edit the message here or within the individual emails sent through Activity Manager > Contacts.
Learn more in these resources:
- How to Send a Survey Request
- How to Create a New Survey Request Email Template
- Overview: Company and Customer Email Templates for Surveys
Reviews
The Request Reviews field allows you to add a review to the bottom of your survey. If you're looking to get more customer reviews on your website, then adding a review is a great option!

Once you check the box to enable the review, you can even choose whether or not you'd like the review to be required.
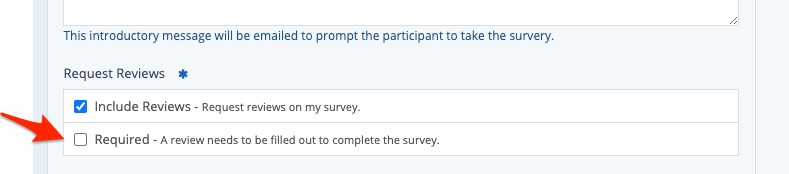
You don't have to worry about getting a negative review by making it required. Remember that you always get to decide what to do with a review when it comes in: publish it, archive it, or publish it with a reply. Learn more in our beginner's guide to reviews.
Survey Display
The final section on the Survey Settings page is for Survey Display.
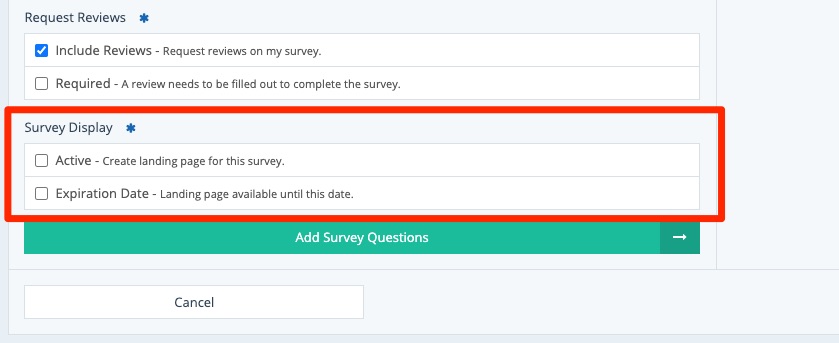
Here's what each checkbox does:
- Active*: Check this box if you would like your survey to be active as soon as you finish making it. Uncheck the box if you would like your survey to go into test mode instead of becoming active. (You can learn more about test mode here.)
- Expiration Date: Check this box if you would like the survey landing page to be automatically removed from your website on a certain date. If the box is unchecked, then the survey will be accessible at its link indefinitely.
*The Active checkbox is important because once you've published a survey, you cannot later change it back to test mode. We recommend unchecking the "active" box so that you can test the survey before publishing it.
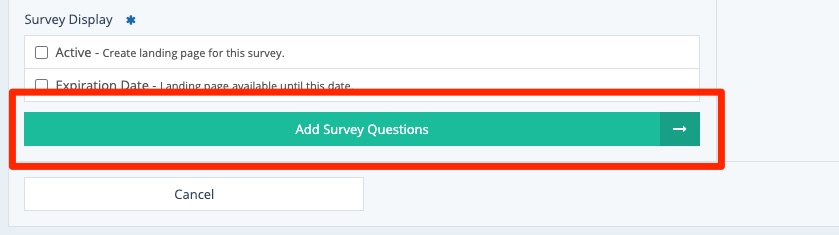
What's next? Once you've chosen your survey settings as described above, you can click "Add Survey Questions" to move onto the next step of creating your survey.
Learn more about the Survey Questions page.