Through the LISA admin, it's easy to choose exactly how you'd like your review incentives to work. You can display an incentive to encourage on-site reviews, you can display an incentive to encourage reviews on external sites like Facebook, you can do both, or you can do neither. It's completely up to you.
However, please note that even if you do not want to display your incentives anywhere on your website, you will still need to set them up in the LISA admin in order to be able to send them by email.
Follow the instructions below.
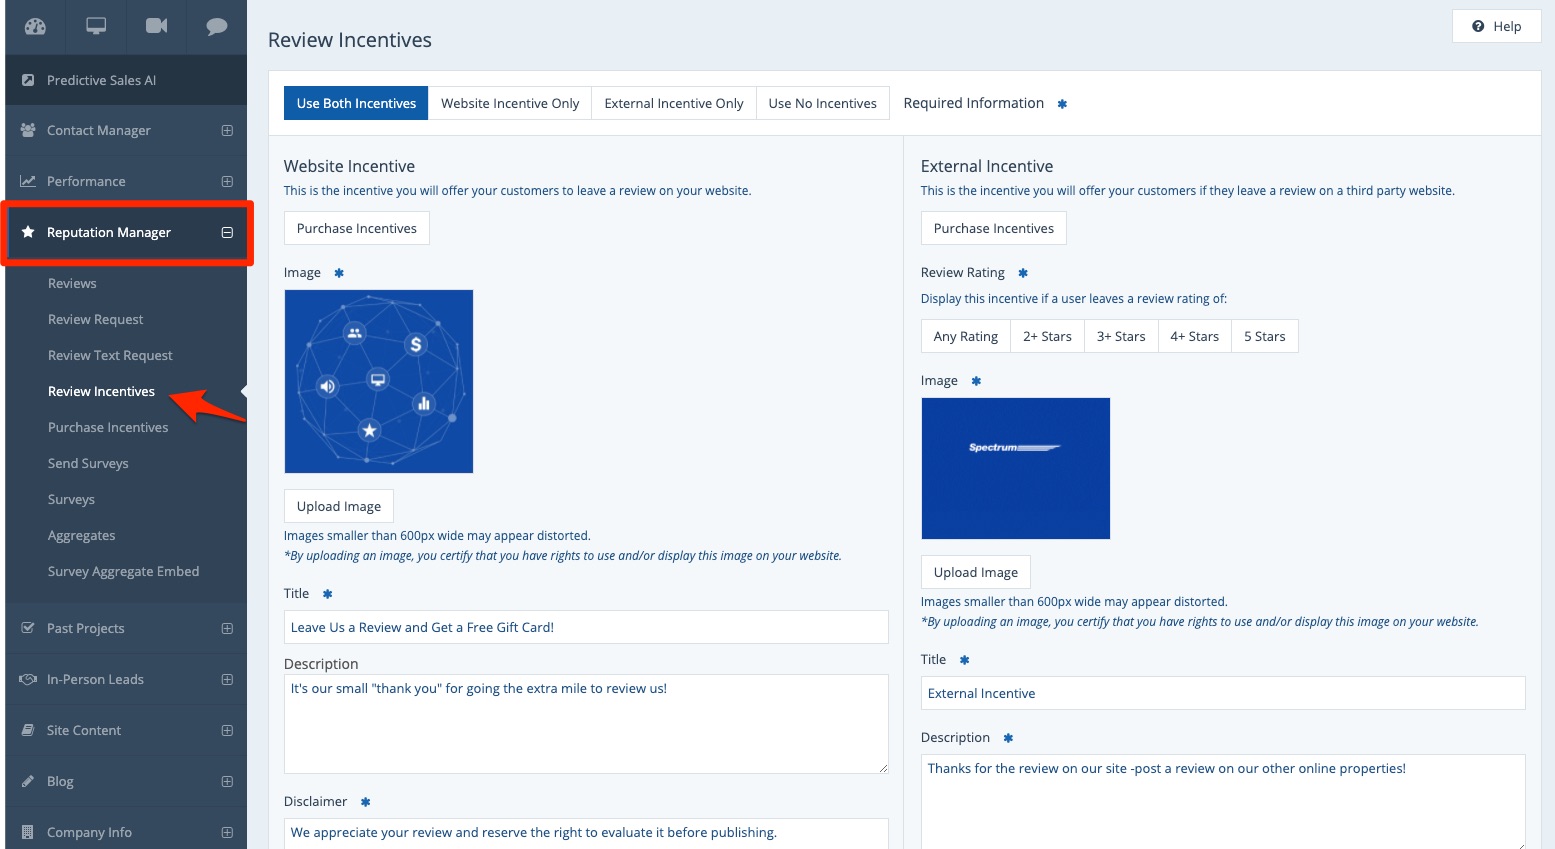
1. Go to Reputation Manager > Review Incentives
Log into your LISA platform and go to Reputation Manager > Review Incentives.
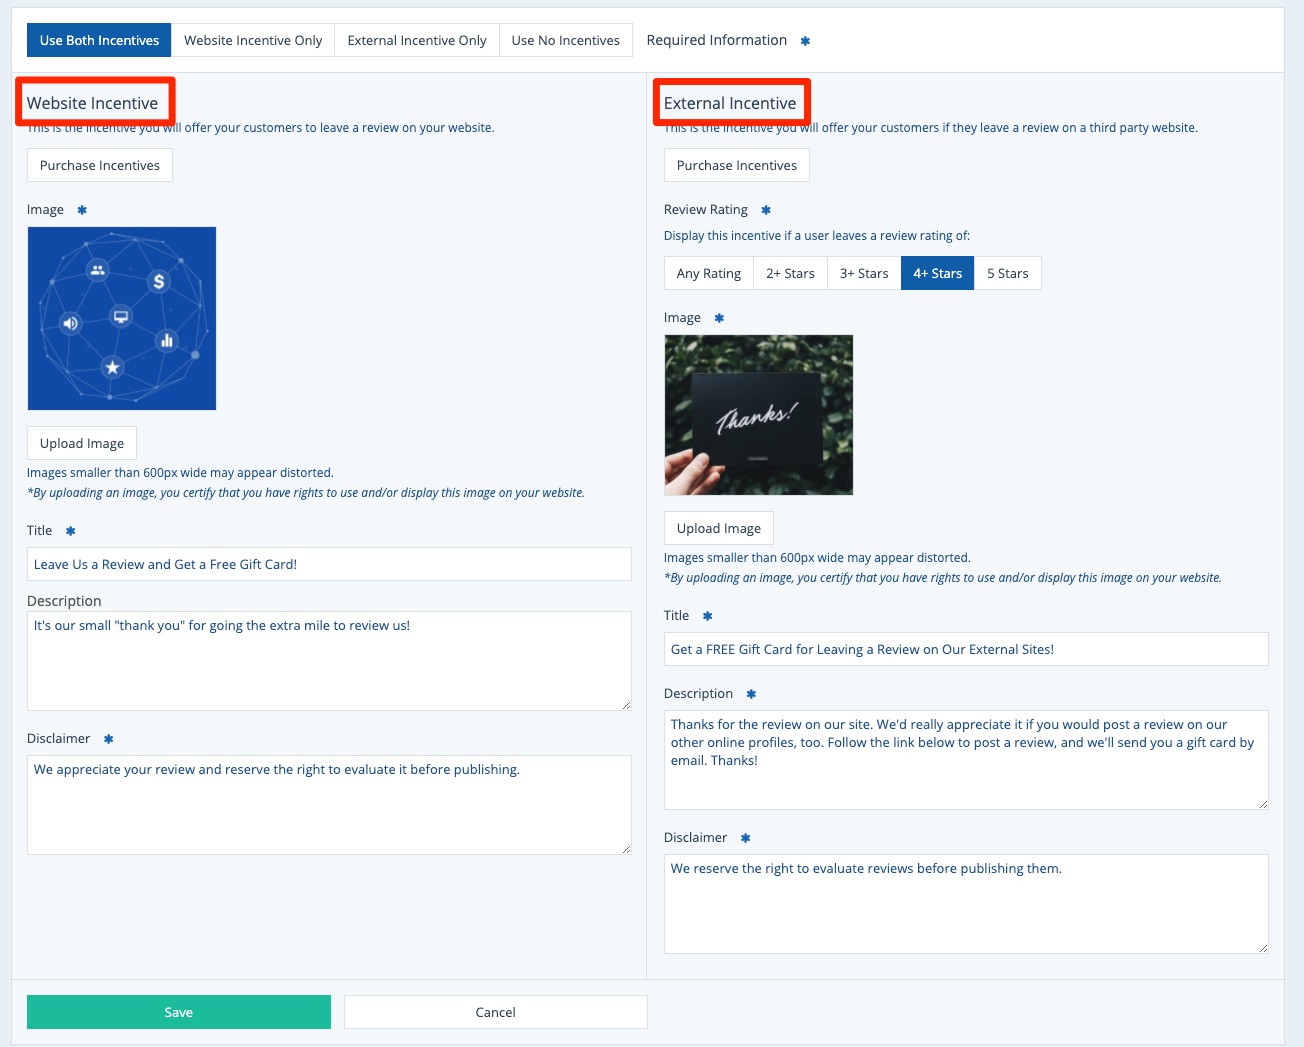
2. Set Up Your Incentive Details
On the tab for "Use Both Incentives," fill out the information for both website incentives and external incentives.
Don't worry that you don't plan to actually showcase these incentives on your website; by adding the details here, you will be able to use the information in your email templates (without displaying the incentives anywhere).
Learn more about the above options for editing your review incentives, or see examples of both types of incentives on a real website.
3. Click into the "Use No Incentives" Tab
Once you've filled in the information for website incentives and external incentives, click into the tab for "Use No Incentives."
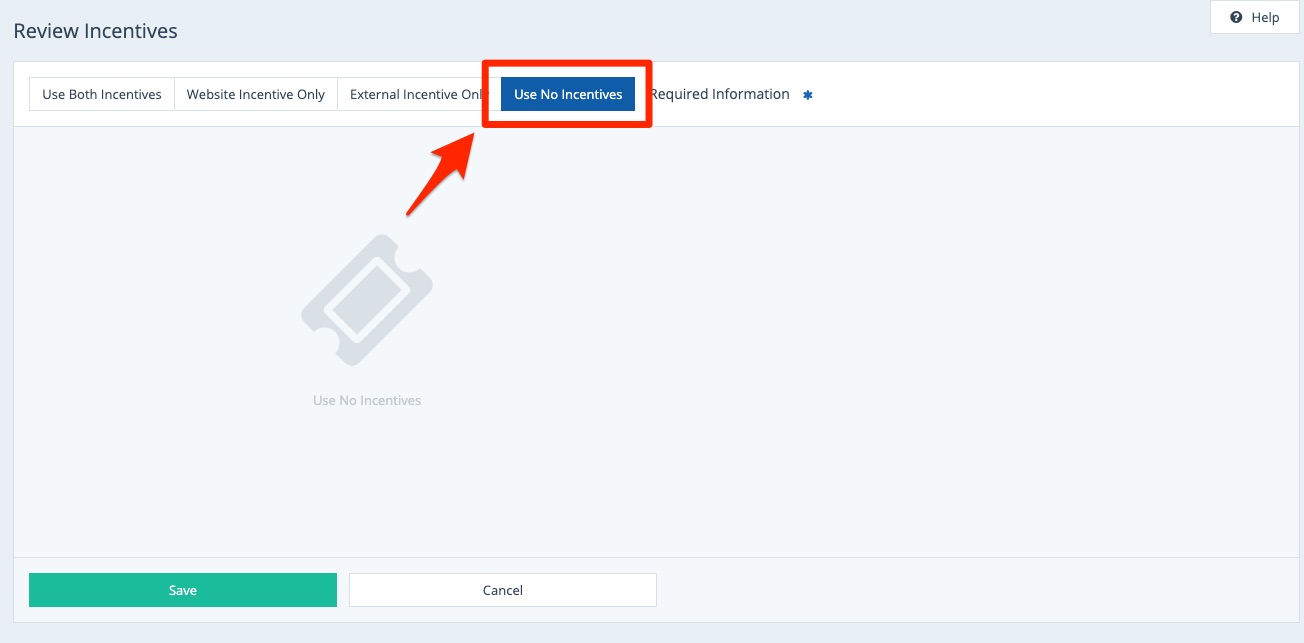
4. Save Your Changes
From the Use No Incentives tab, click the "Save" button to save your changes. (It's important to save from the Use No Incentives tab to ensure that your incentives are not shown on your website.)

That's it! Now that your incentives have been established in the LISA admin (with the right titles, images, etc.), you will be able to utilize this information in your customer email templates—making it easy to send a review incentive to any customer by email.
Learn more in the resources below:
If you change your mind and want to display these incentives on your website, you'll already have the information saved and ready to go! Just return to Reputation Manager > Review Incentives, choose your preferred set-up using the tabs at the top, and then click Save again.
You can also follow along with these instructions: