Through the LISA admin, you can create different email templates to be sent to different customers based on the number of stars they've rated you in their review. Follow the instructions below.
1. Decide the Number of Templates
To implement this email strategy, you will need to create multiple customer email templates of the "review" type. The total number of templates—and each template's individual conditions—will depend on how you want to segment customers. It's completely up to you.
For example, you might want two review thank you emails: one for reviews of 3 stars and below and one for reviews of 4+ stars. Or you might prefer a unique thank you email for every single star rating, 1 through 5.
There's no right or wrong answer here, but planning the strategy upfront will make it easier to create the individual email templates and set the correct conditional rules.
2. Create the First Email Template
Once you've mapped out your plan, you can create your first customer email template.
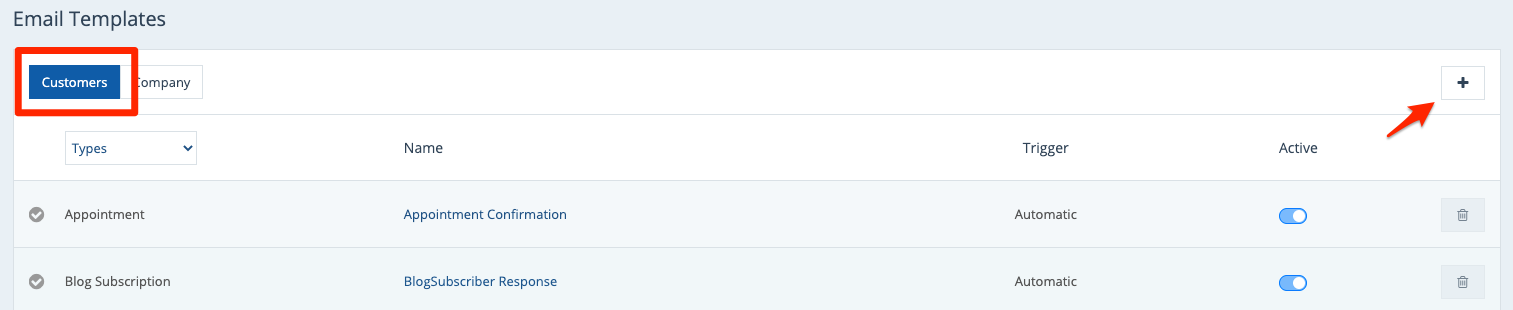
Create your first email template by going to Notifications > Email Templates and then clicking the plus (+) sign within the "Customers" tab.
For more guidance, check out our instructions on creating a new review email template for customers.
3. Fill in Your Email Template Content
On the Email Template page, fill out the details of your new email template.
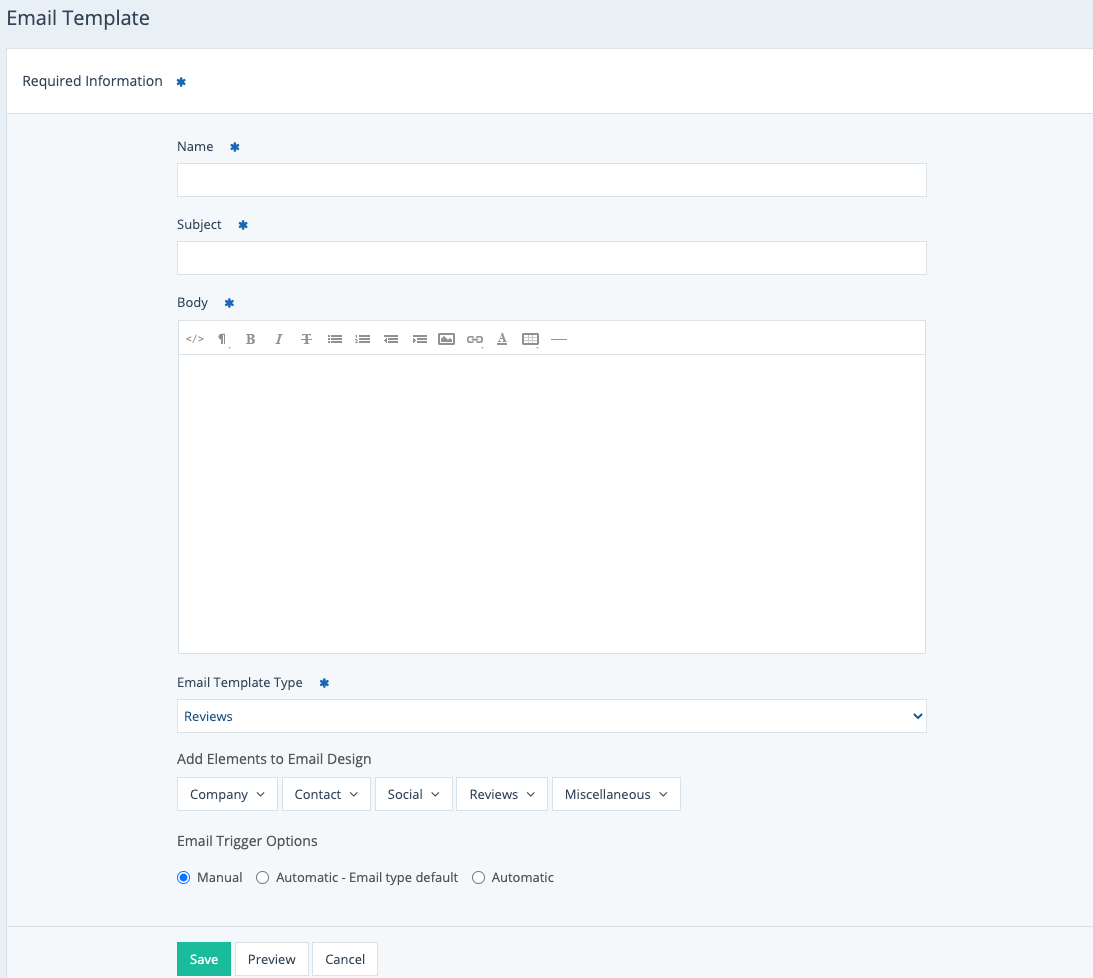
To ensure that this template can be used as a review thank you message and can be sent to specific customers based on their review rating, the most important settings are the following:
We also recommend choosing a clear name to prevent confusion as you create multiple customer email templates. For example, you might name this template "4 and 5 Star Reviews."
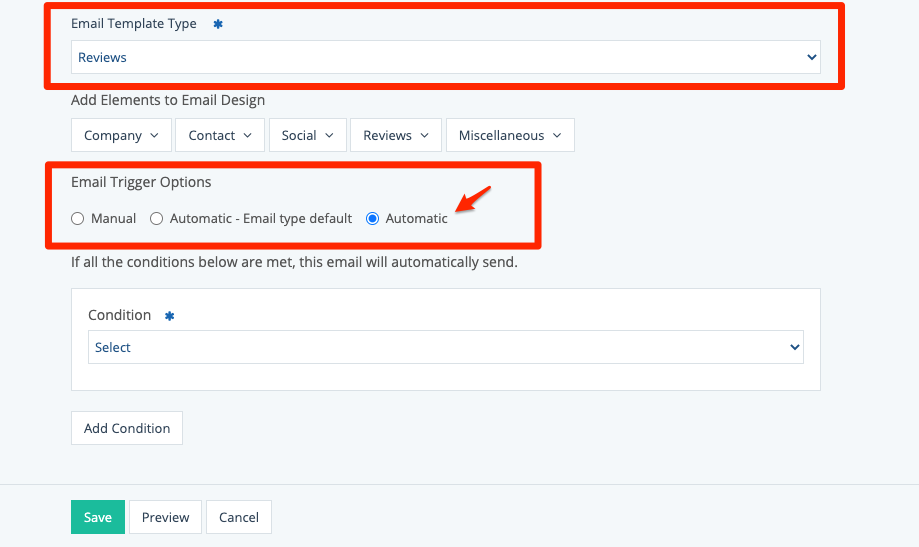
4. Add Your Condition(s)
As soon as you select the "Automatic" type of email trigger, another dropdown menu for "Condition" will appear. Here you can set the exact rules you want for this email template.
First, click into the "Condition" dropdown menu and select "Review."
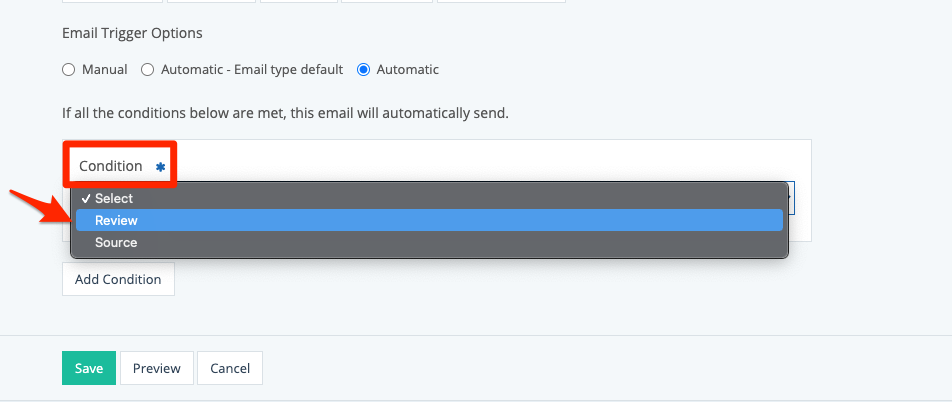
Then set your specific rules in the dropdown menu below.
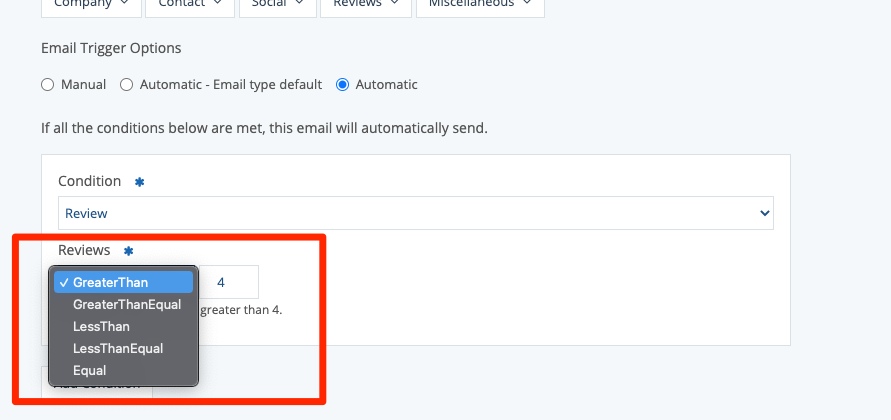
Using the logic statements, you can choose exactly who will receive this message after submitting a review on your website.
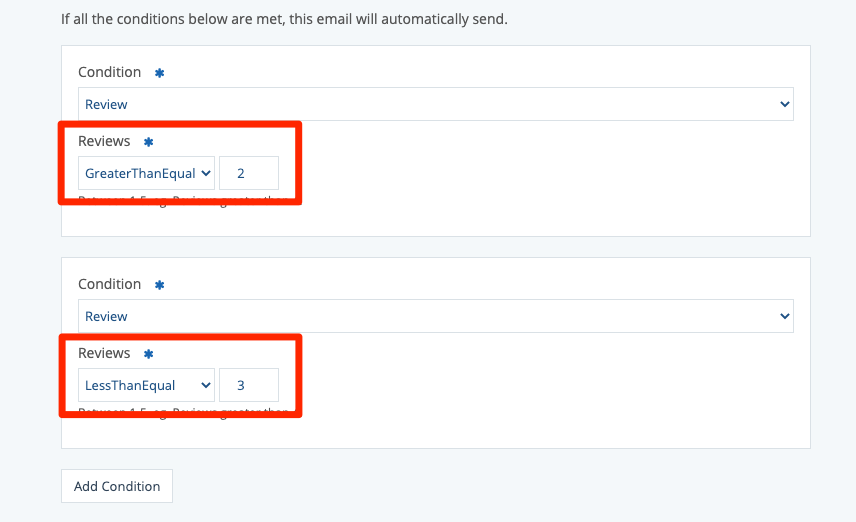
If necessary, you can apply multiple conditions to the same email template. For instance, if you wanted to send the same email to reviews of 2 and 3 stars, you could create two conditions as shown below.
5. Save Your Changes
Once you've completed your email template and have added the appropriate condition(s), save your changes using the button at the bottom.

6. Repeat for Remaining Templates
After you've saved your first email template with the first condition, you'll simply repeat the process above for each of the additional rules you'd like to have.
For tips on how to approach both very positive and very negative reviews, check out our best practices for review thank you messages and more. (Links coming soon!)