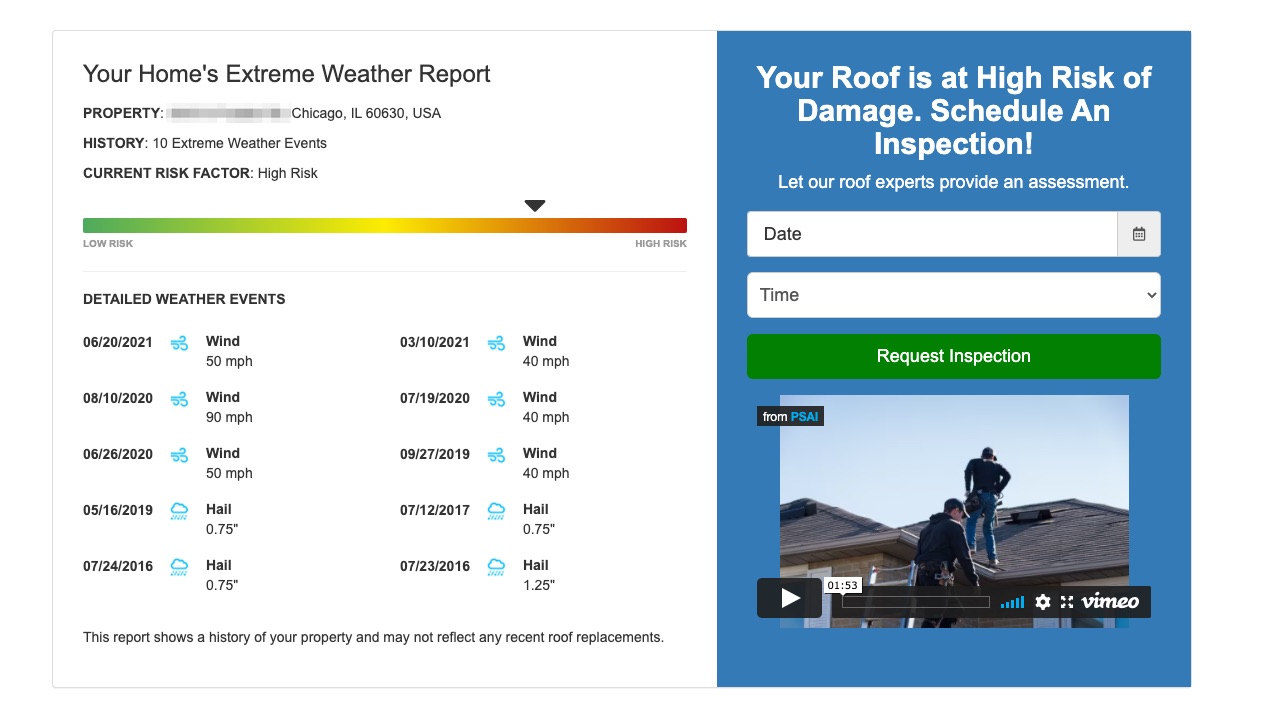
A weather landing page includes a special form that, once submitted, presents to the user an extreme weather report detailing the most recent weather events to affect the specified address. The weather report will look similar to the one below, encouraging the user to take the next step of scheduling an inspection.
To create a weather landing page, you'll simply create a new site page using the settings described below.
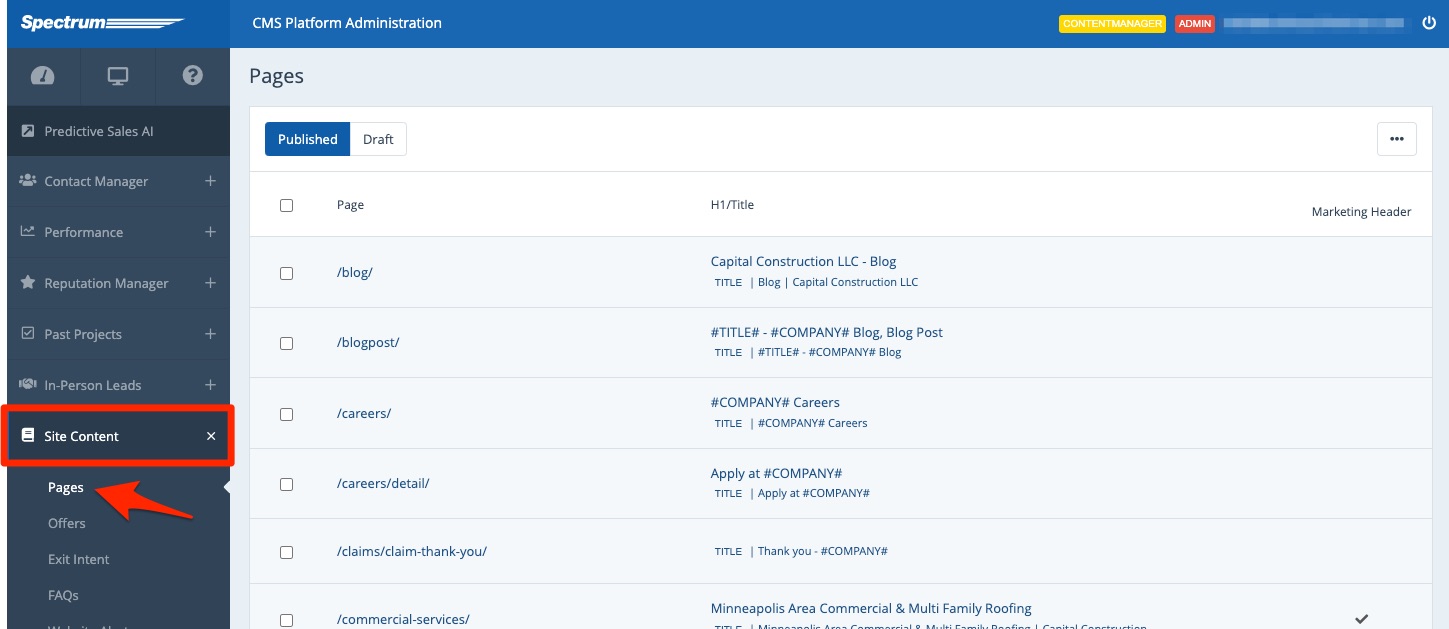
1. Go to Site Content > Pages
After logging into your LISA admin, navigate to Site Content > Pages. (Please note that you must be a LISA admin user with the Content Manager role to access this section of the admin.)
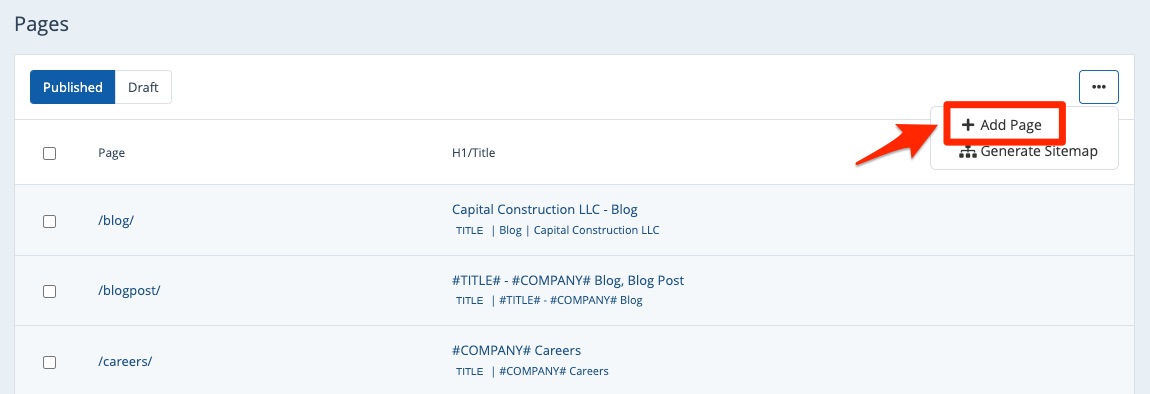
2. Create a New Page
From the Pages list, click the three dots in the upper right and then click "Add Page."
If you'd like to edit an existing page and turn it into a weather landing page, you can do that, too. Simply click on it and continue to follow the rest of the steps below.
3. Choose the Weather Page Template
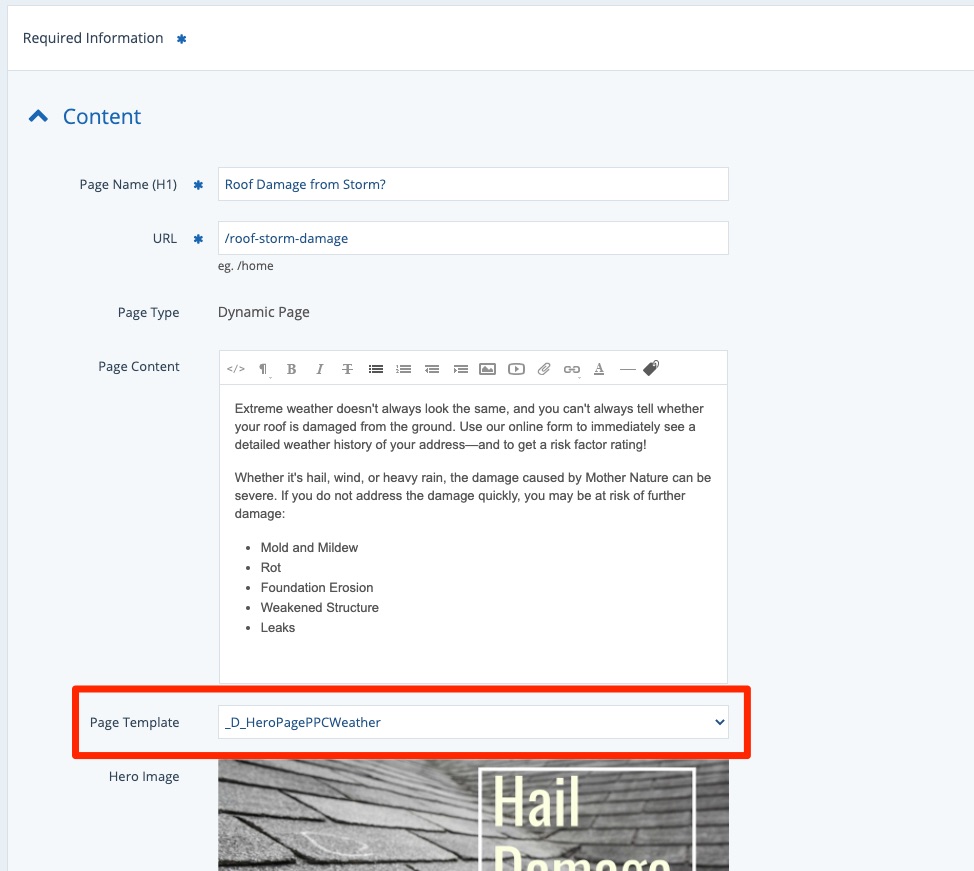
Under the Content section at the top of the page editing options, choose one of these two Page Templates: _D_HeroPagePPCWeather or _D_2ColumnPPCWeather.
As the template names imply, the hero version has a large image at the top of the page, while the two-column template looks more like a standard two-column page.
4. Doublecheck the Thank You Page
Whenever you select any of the weather landing page templates, the correct thank you form will be automatically selected for you.
You can confirm that the correct landing page is selected under the section for Form Result: /thank-you/quote-thank-you-weather/.
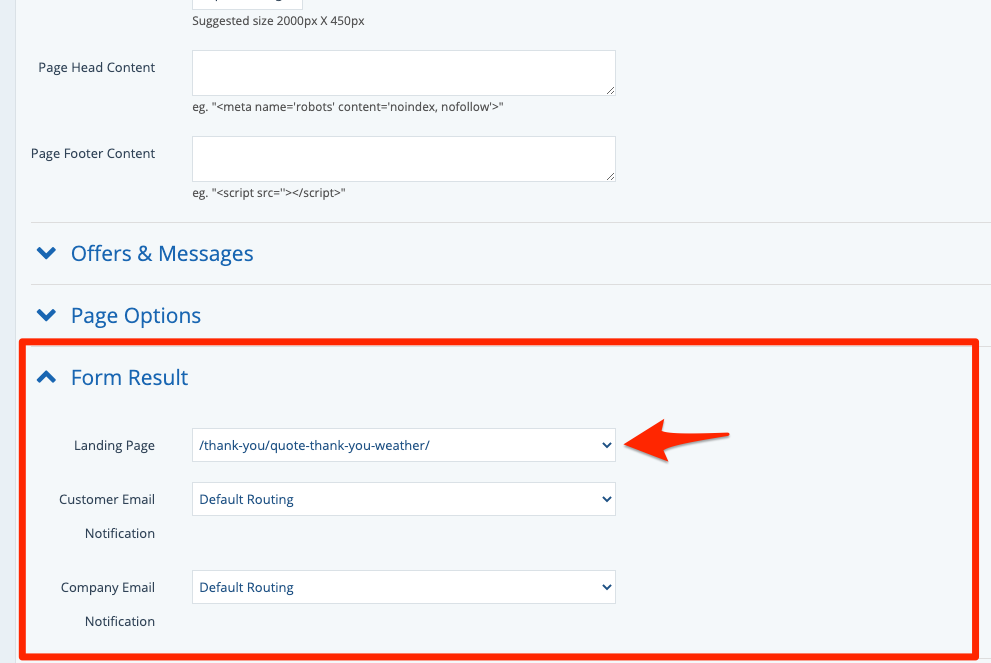
Here you can also choose which email template will be sent to the customer and the company. Learn more about email templates here.
5. Fill in the Rest of the Page
Once you've chosen the correct page template (step 3) and the correct landing page (step 4), the rest of the page settings can be customized however you'd like.
For more guidance, please refer to our article on page editing options.
6. Save Your Changes
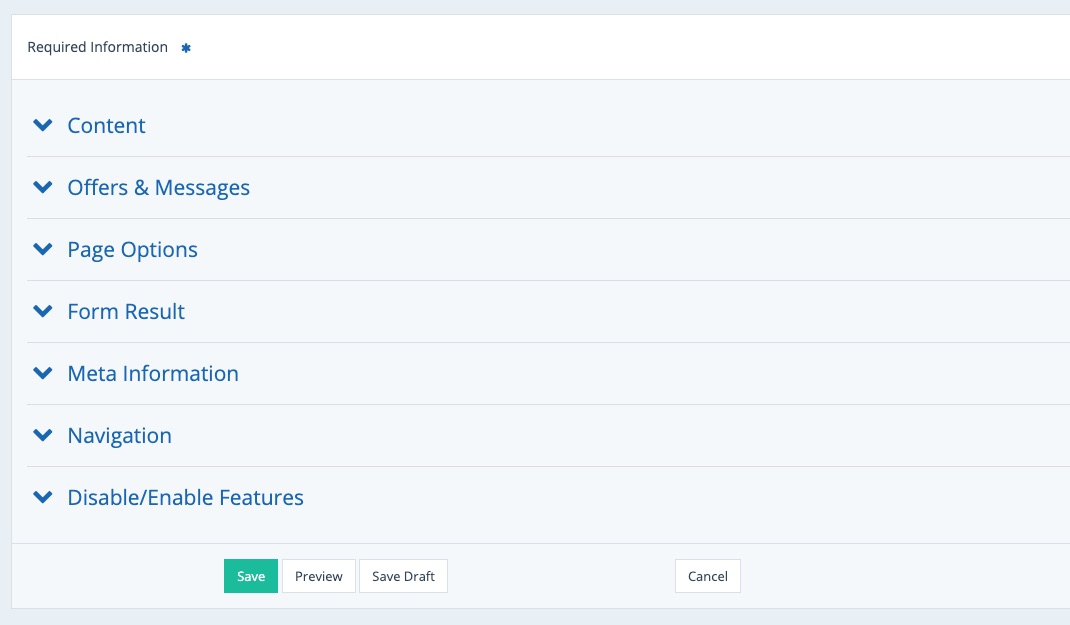
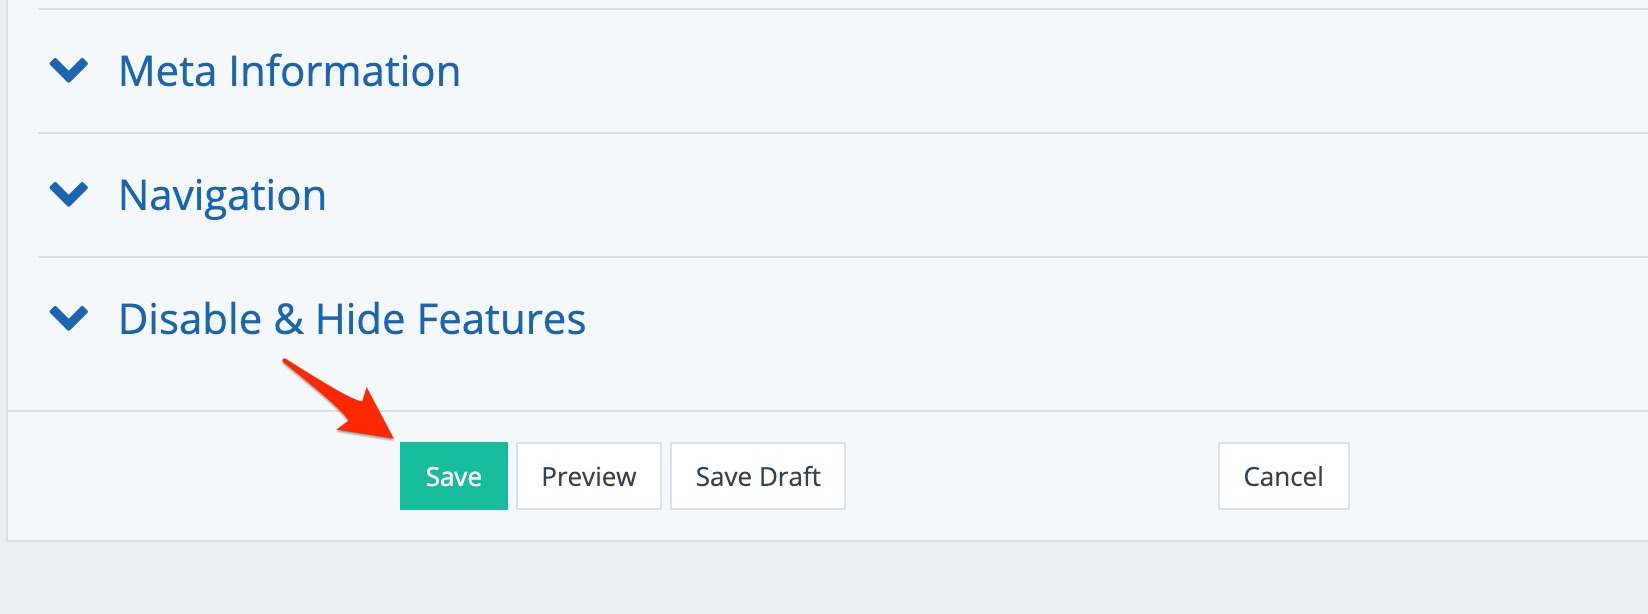
Scroll down to the bottom of the page and click Save to save your changes.
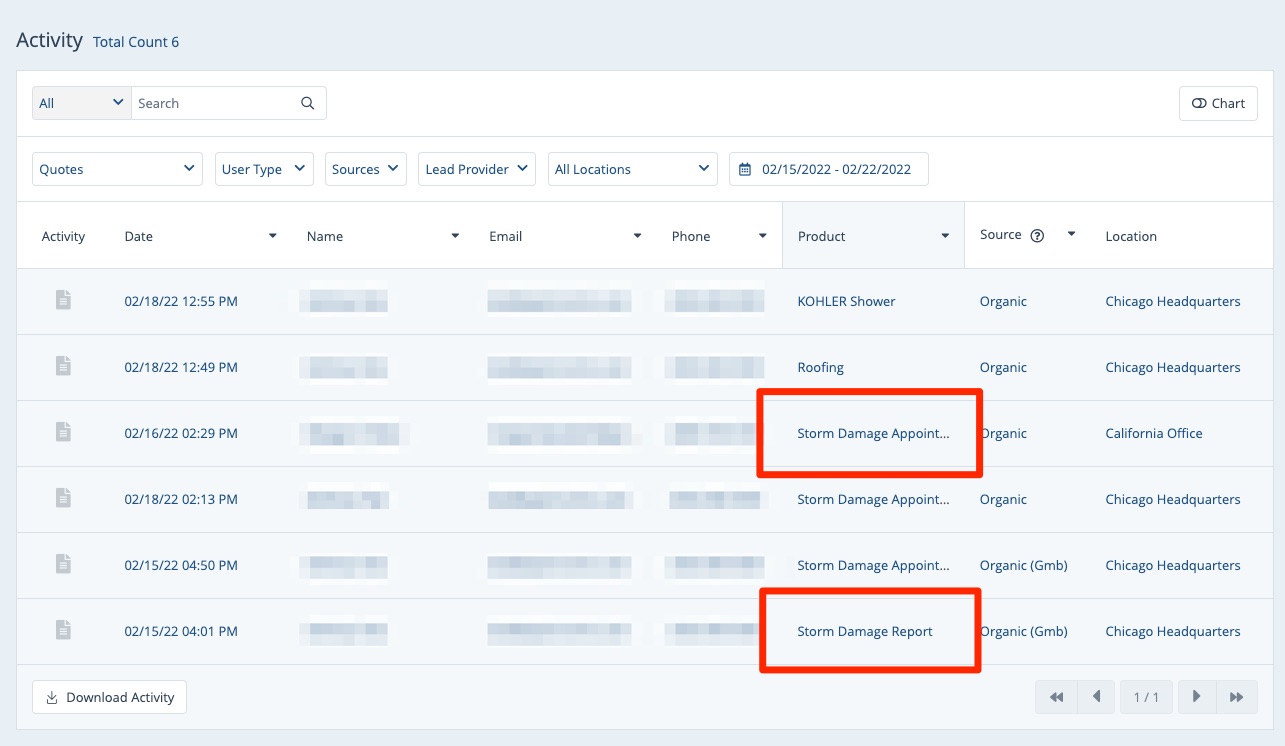
Note About Weather Landing Page Leads
Leads flowing in from a weather landing page will be marked with one of two specialized products/services in the Activity dashboard:
- Storm Damage Report: If the customer filled out the first form to get their weather report.
- Storm Damage Appointment: If the customer filled out the second form to select a day and time for their appointment.
You can see an example of both products below.