If you'd like to create an offer but not display it on your website until a future date, this is very easy to do. Follow the instructions below.
1. Go to Your Offers Dashboard
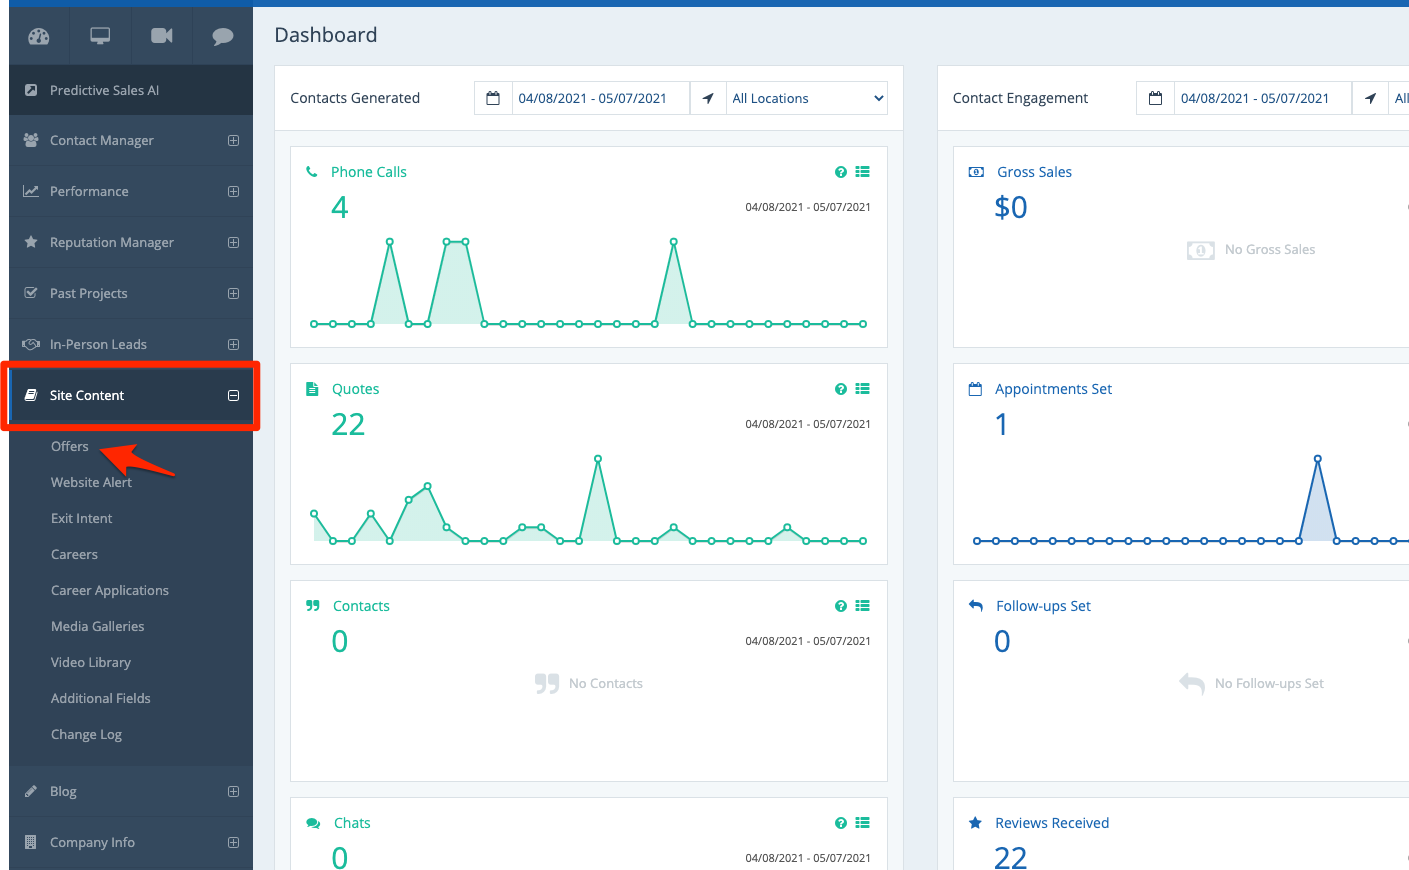
After logging into your LISA platform, navigate to Site Content > Offers.
2. Create a New Offer (or Choose an Existing One)
From the list on your Offers dashboard, click the plus (+) button to create a new offer. (Follow our instructions if you need help creating a new offer.)
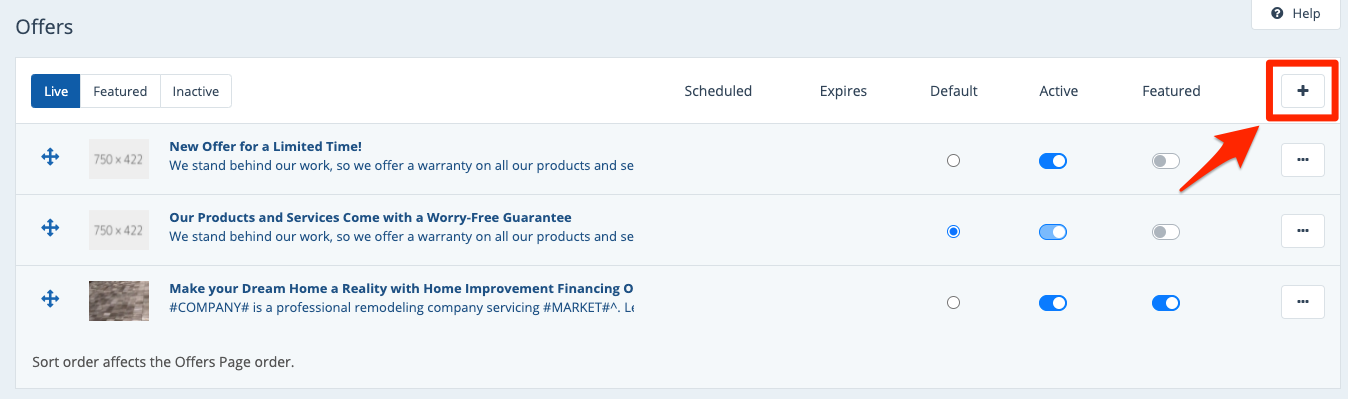
You can also edit an existing offer to add a scheduled date. In that case, simply click on the offer from the list. Note that if the offer is currently live, adding a future date will remove it from display until the scheduled date arrives.
3. Add a Scheduled Date
Once you've either created a new offer or clicked into an existing one, you can add your date in the field for "Scheduled Date."
Either type in your date manually (using the mm/dd/yyyy format) or click the calendar icon to use the date picker.
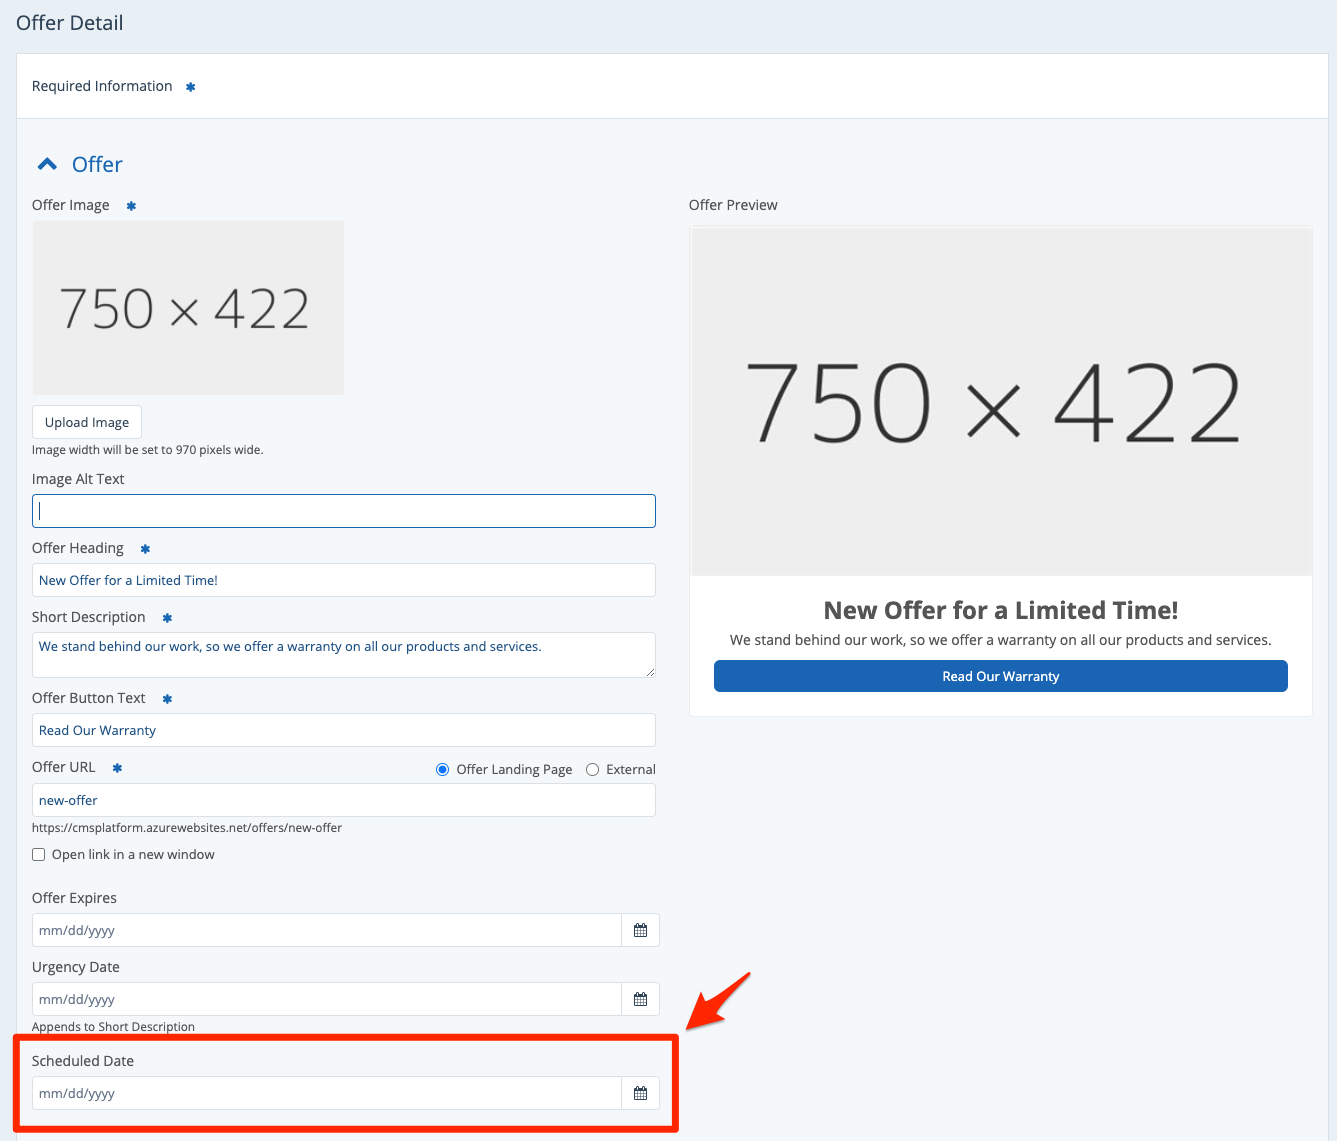
In the field just above the scheduled date, you can also add an expiration date to create a sense of urgency for website visitors.
4. Save Your Changes
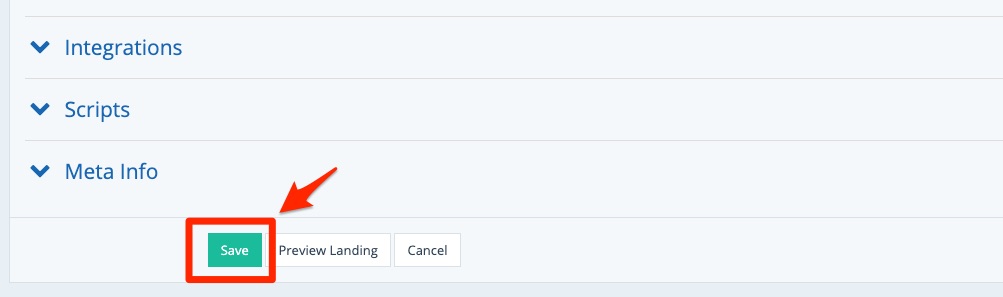
Once you've chosen your date, scroll to the bottom and save your changes.
While you're adding your scheduled date to your offer, you can edit any of the other fields you'd like to! For more information on the sections on this page, check out our article on editing your offer or sweepstakes.