The Past Projects page is an excellent way to engage your website visitors and get them interested in taking the next step with your company. Through a simple form on your website, it's easy for anyone to add past projects to this page (which you can review before publishing).
No LISA login is required to follow the instructions below, and we recommend having your installers do this before they leave every job site.
Already logged into the LISA admin? Then you can also add a new project directly from the admin if you prefer. Doing so will bring you to the same page and form as below.
1. Go to the Project Submission Page
To access this page, first navigate to your website in any internet browser. Then in the address bar of your browser, copy and paste this path to the end of your website's URL:
/past-projects/add-job/
This will bring you to a form similar to the one shown below.
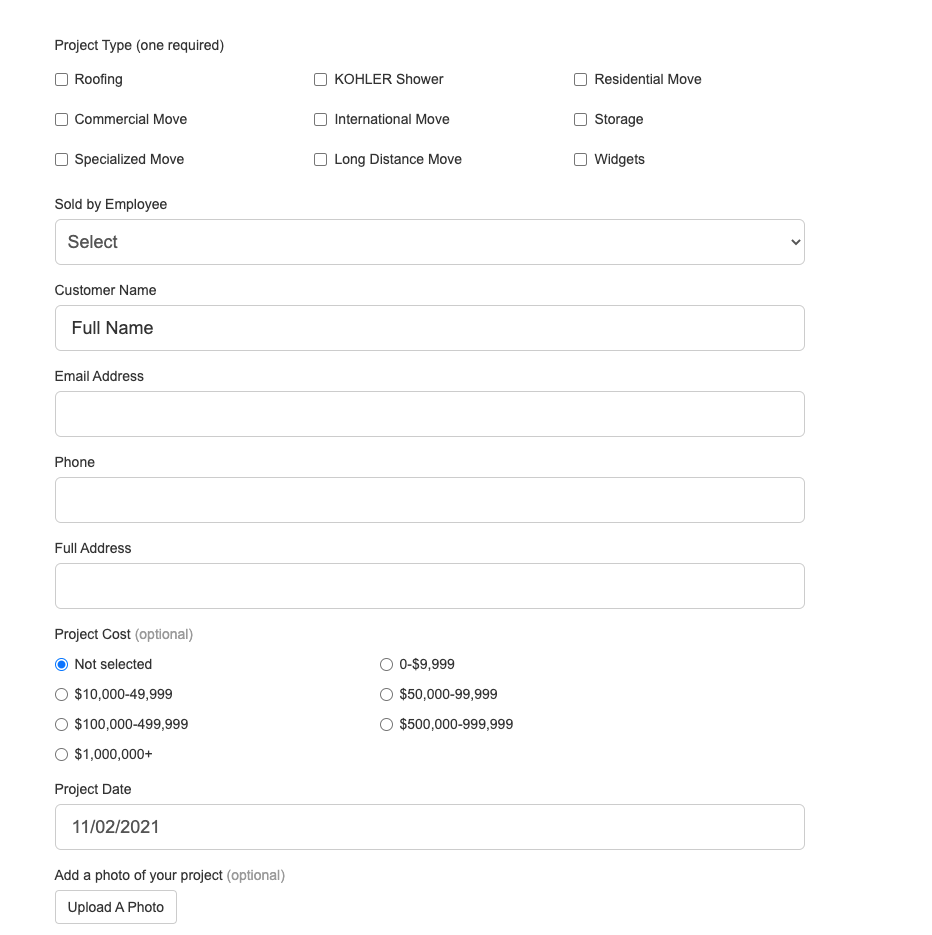
2. Complete the Form
Fill out the form shown above with the required and optional information.
Required Fields
The required fields include the following:
- Project Type: Select at least one project type. The project types you assign here will be visible as tags and can also be used as filters on the Past Projects page.
- Sold by Employee: Select the relevant employee from the dropdown menu. (Under Past Project Settings, you can choose whether this field is required or optional. Link coming soon!)
- Project Date: Enter the date of completion.
- Customer Contact Information: In the next fields, enter the customer's full name, email address, phone number, and full address.
Optional Fields
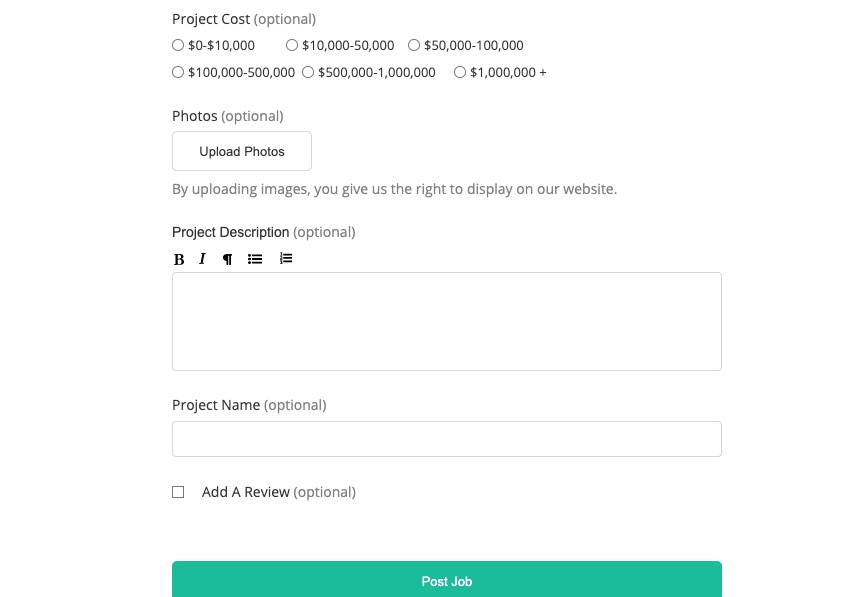
Optional fields include the following:
- Project Cost: Adding a cost can set a realistic expectation for website visitors and may help pre-qualify leads as they self-select based on price.
- Photos: Upload photos to showcase your work. The higher-quality the images, the stronger your project gallery will be in terms of engaging website visitors and building trust. (You can always edit these photos or add meta data later.)
- Product Description: Add a description of the project to explain the purpose, the scope, the products, the timeframe—anything that might help visitors get a better idea.
- Project Name: Give your project a compelling name to set the tone for your work. For example, is it "High-End Kitchen Transformation" or "Affordable Cabinet Refacing"?
- Review: There's no better time to get a glowing review than when you've just walked the homeowners through the job and they're ecstatic about the results. Your installers or field reps can hand their mobile device to the customer to add their review right there on the spot.
If you're unable to get a customer review at this time, no worries. You can always request a review by SMS or by email later.
3. Finish the Upload
Once you've completed the form, click Post Job.
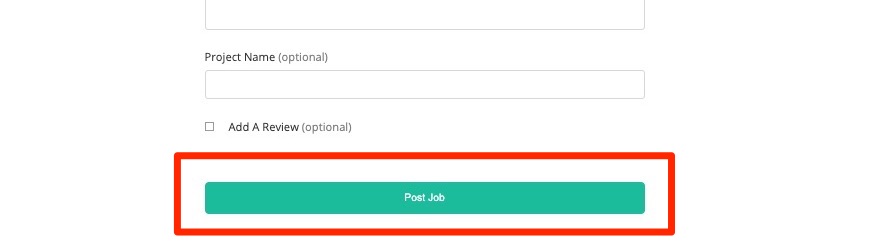
This will send the project to your LISA admin, where you'll have full control over reviewing it, editing it, and ultimately archiving or publishing it.