If you have many past projects to upload at the same time, you can save time by uploading a bulk .xlsx spreadsheet file instead of adding new projects one by one. Please follow the instructions and note the important tips below.
Did you know? You can also make certain bulk changes once the projects have been uploaded.
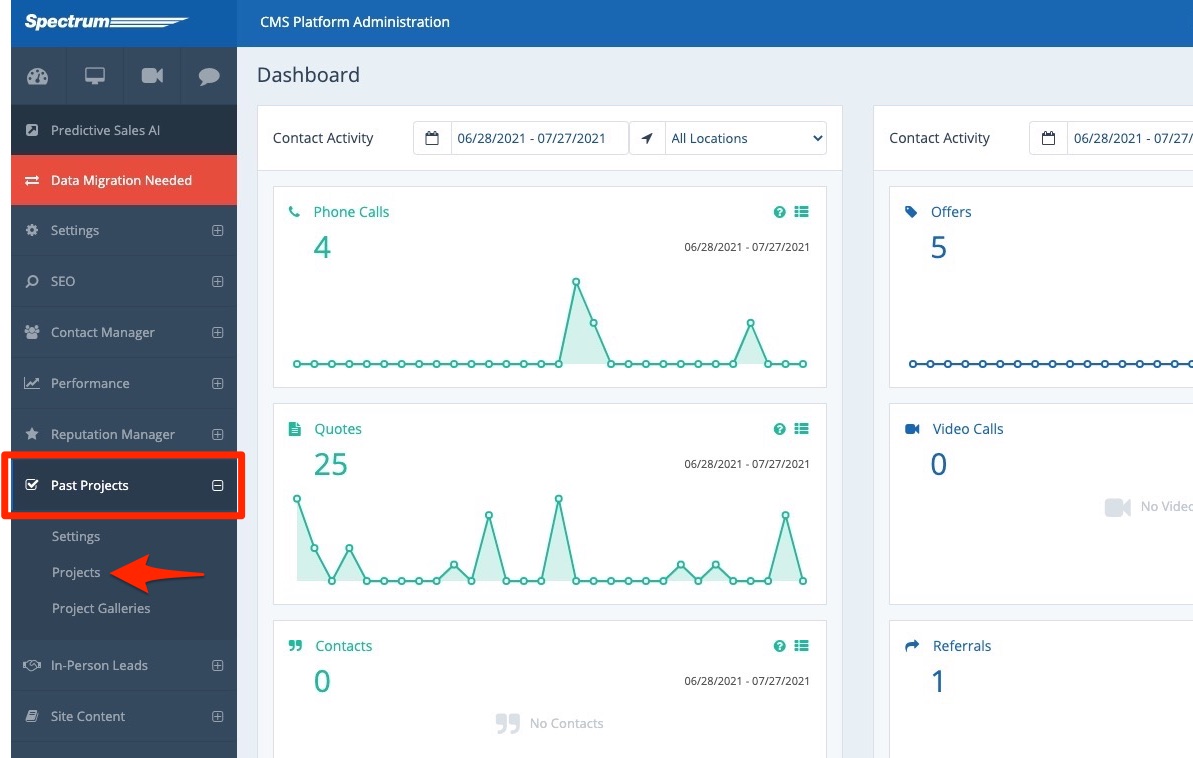
1. Go to Past Projects
After logging into the LISA admin, go to Past Projects > Projects.
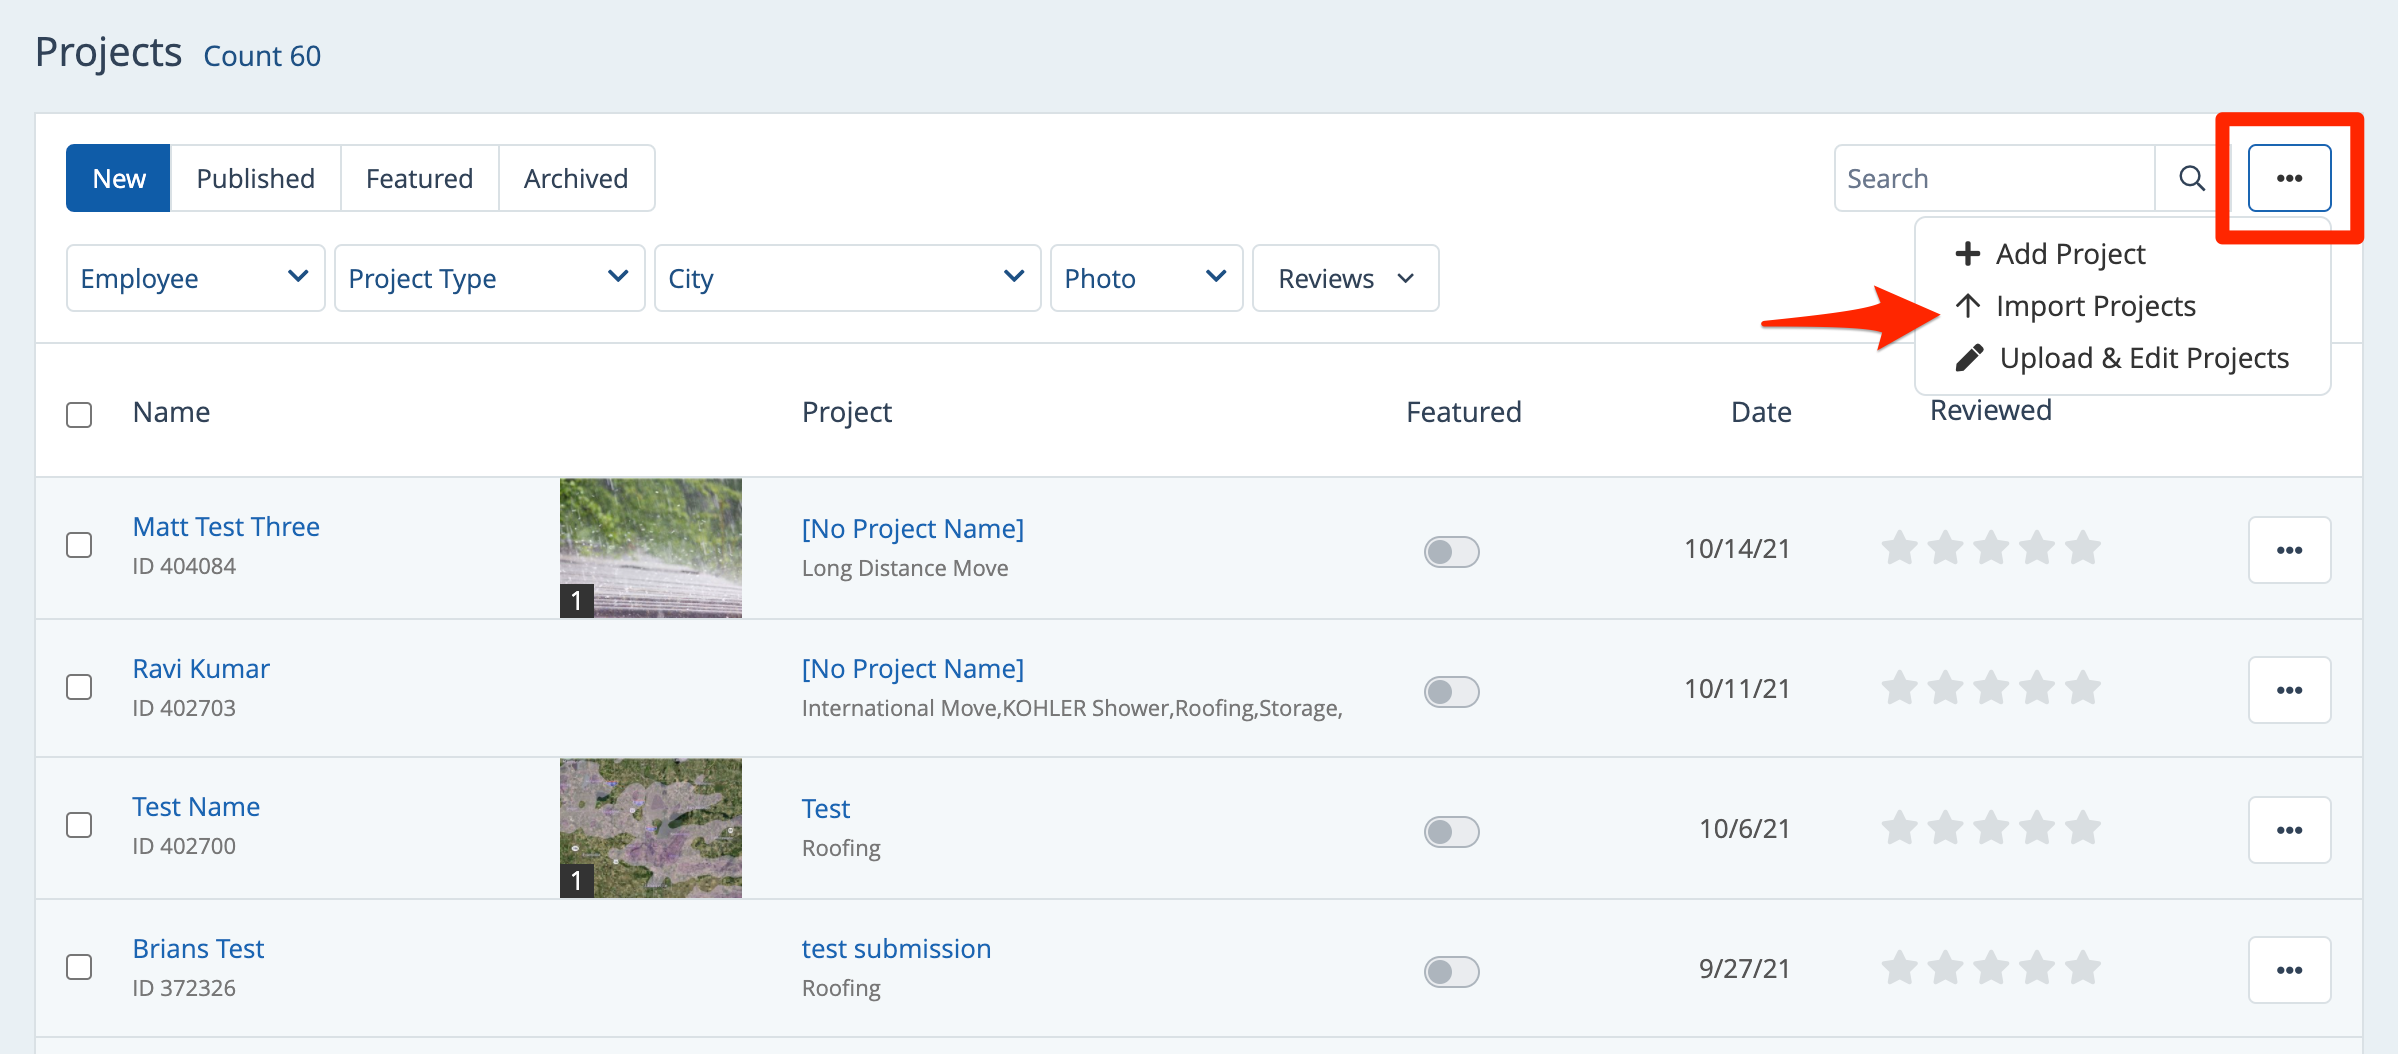
2. Click Import Projects
From the Past Projects dashboard, click the three-dots menu in the upper right. Then click Import Projects.
3. Download the Template
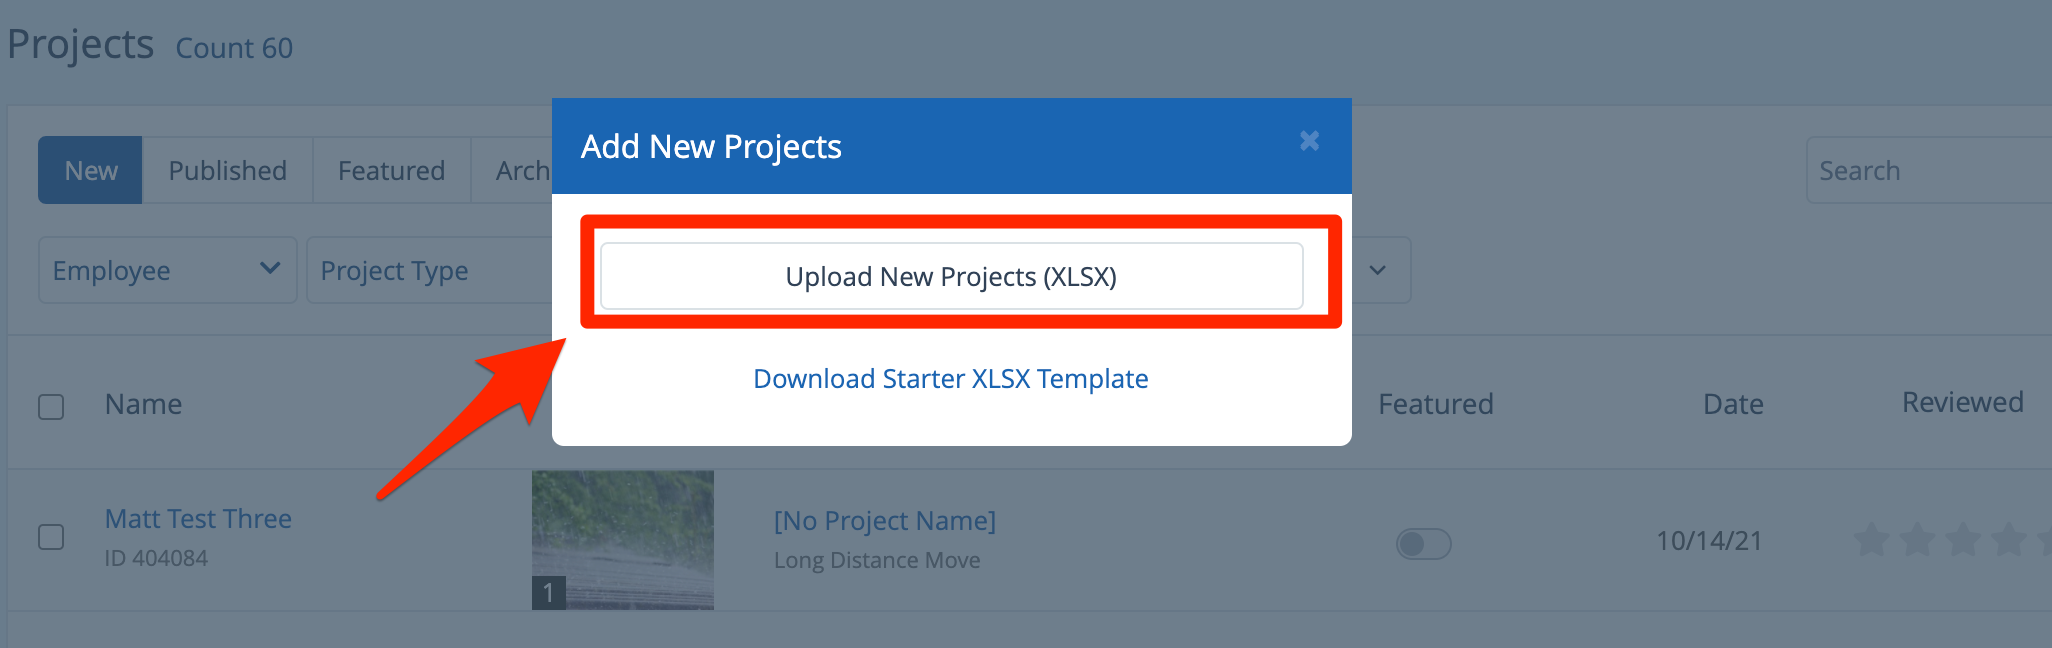
From the modal that pops up, click Download Starter XLSX Template.
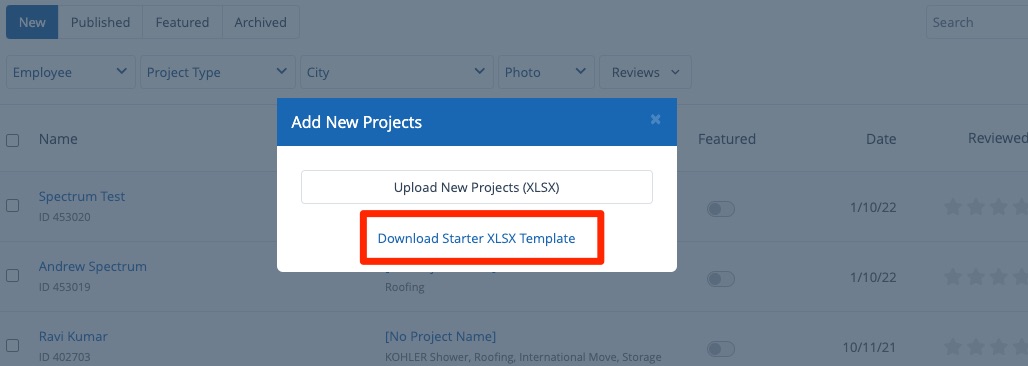
If you already have the spreadsheet file ready and do not need instructions filling out the template, you can click Upload New Projects (XSLX) here instead.
4. Fill Out the Template
The template you download will look like the one below. In each column, enter the data associated with that project, following the sample "John Doe" project on the first row.

General Tips
As you complete the past projects bulk upload template, please keep these tips in mind:
- You cannot import photos via the spreadsheet. (You must upload the bulk spreadsheet first and then upload the photos to individual projects through the admin.)
- Please strip out all special characters from the data (#, &, %, etc.).
- Do not delete the column headers from the template or the import will fail.
- Your spreadsheet will completely overwrite what currently exists in the admin. Doublecheck that you are uploading the right projects.
Tips for Each Column
Use the notes the below to guide your data entry and ensure a smooth upload.
Column Title | Required? | Notes |
Name | Yes | Please write the customer's first and last name. |
Email | Yes | |
Phone | Yes | Phone numbers must be stripped of extra characters and spaces. (111-222-3333 will not work, but 1112223333 will.) |
Address | Yes | |
Zip | Yes | |
City | Yes | |
State | Yes | |
County | No | |
ProjectType | Yes | To view all of the project types, go to the Past Projects dashboard and click into the Project Type dropdown menu. 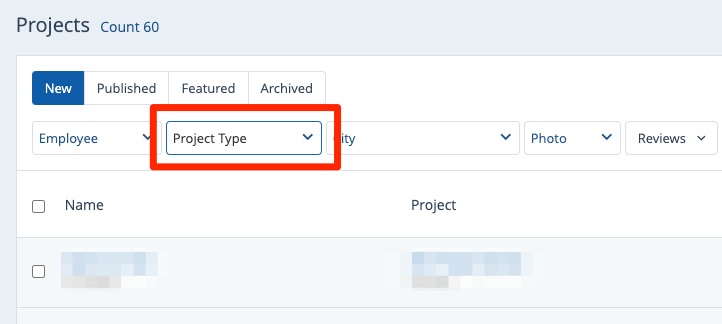 |
ProjectDate | Yes | The date column must have leading zeroes if the month is a single digit. (1/5/2020 won’t work, but 01/05/2020 will.) |
Details | No | |
RepId | No | The Rep ID is taken from the URL string on the Rep's user page (under Company Info > Admin Users). Copy the string that immediately follows ?id=.  Note that this field is required if "require employee field to add a job" is checked under the Past Project Settings. |
HasReview | No | Use TRUE or FALSE to indicate whether the project has a review associated with it. |
ReviewId | No | This field is required if HasReview is TRUE. The review ID is taken from the URL string on the review's page (under Reputation Manager > Reviews > Review Details). Copy the string that immediately follows ?id= and precedes &reviewtype. 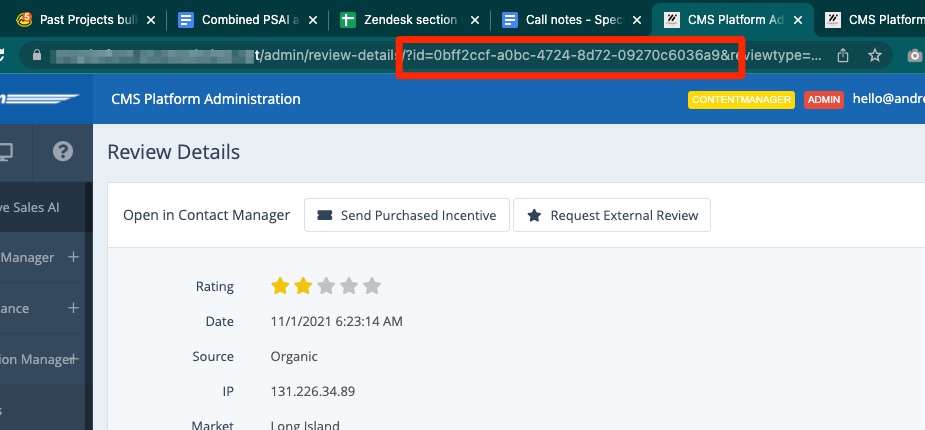 |
ReviewRating | No | This field is required if HasReview is TRUE.
|
ReviewLocation | No | This field is required if HasReview is TRUE. |
ReviewTitle | No | This field is required if HasReview is TRUE. |
Comments | No | This field is required if HasReview is TRUE. |
ProjectName | No | |
ProjectCost | No | |
Featured | No | Type TRUE if you would like to feature this project. |
If you are a moving company on the mover platform, then additional spreadsheet columns include the following: ToAddress, ToCity, ToState, and ToZip. All fields are required if any one of them is filled.
5. Upload the Saved Template
After you've added your projects and saved your template, go back to the LISA admin. From the Past Projects page, open the menu and click Import Projects (as explained in step #2).
In the modal, click Upload New Projects.
From your computer's file browser, choose the spreadsheet you just updated.