If you prefer not to use the Restaurant.com gift cards available through the LISA admin as your review incentive, you are free to use your own incentives instead. Most of the same functionality will be available to you regardless of which incentives you use.
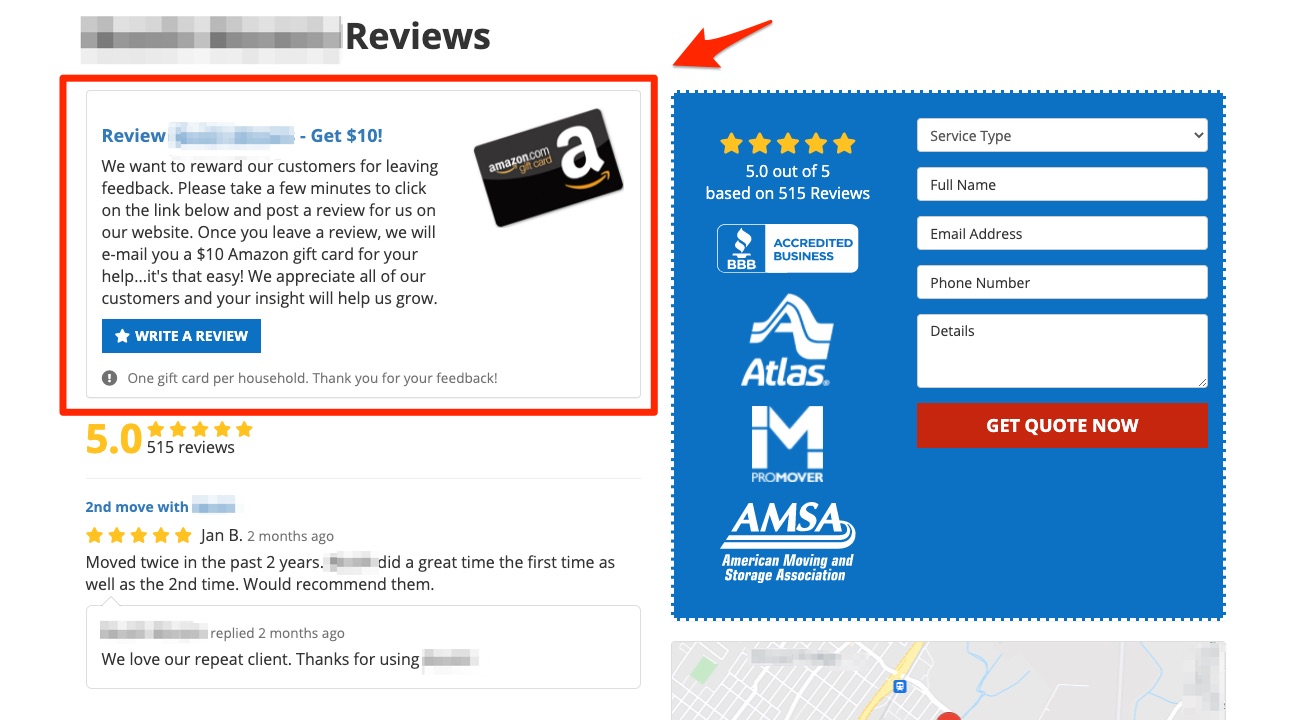
The company below, for example, uses an Amazon gift card as their incentive.
Learn more about using your own incentives below.
Step 1: Set Up Your Incentive
Similar to incentives purchased through the LISA admin, the first thing to do to use your own incentive will be to set it up under Reputation Manager > Review Incentives.
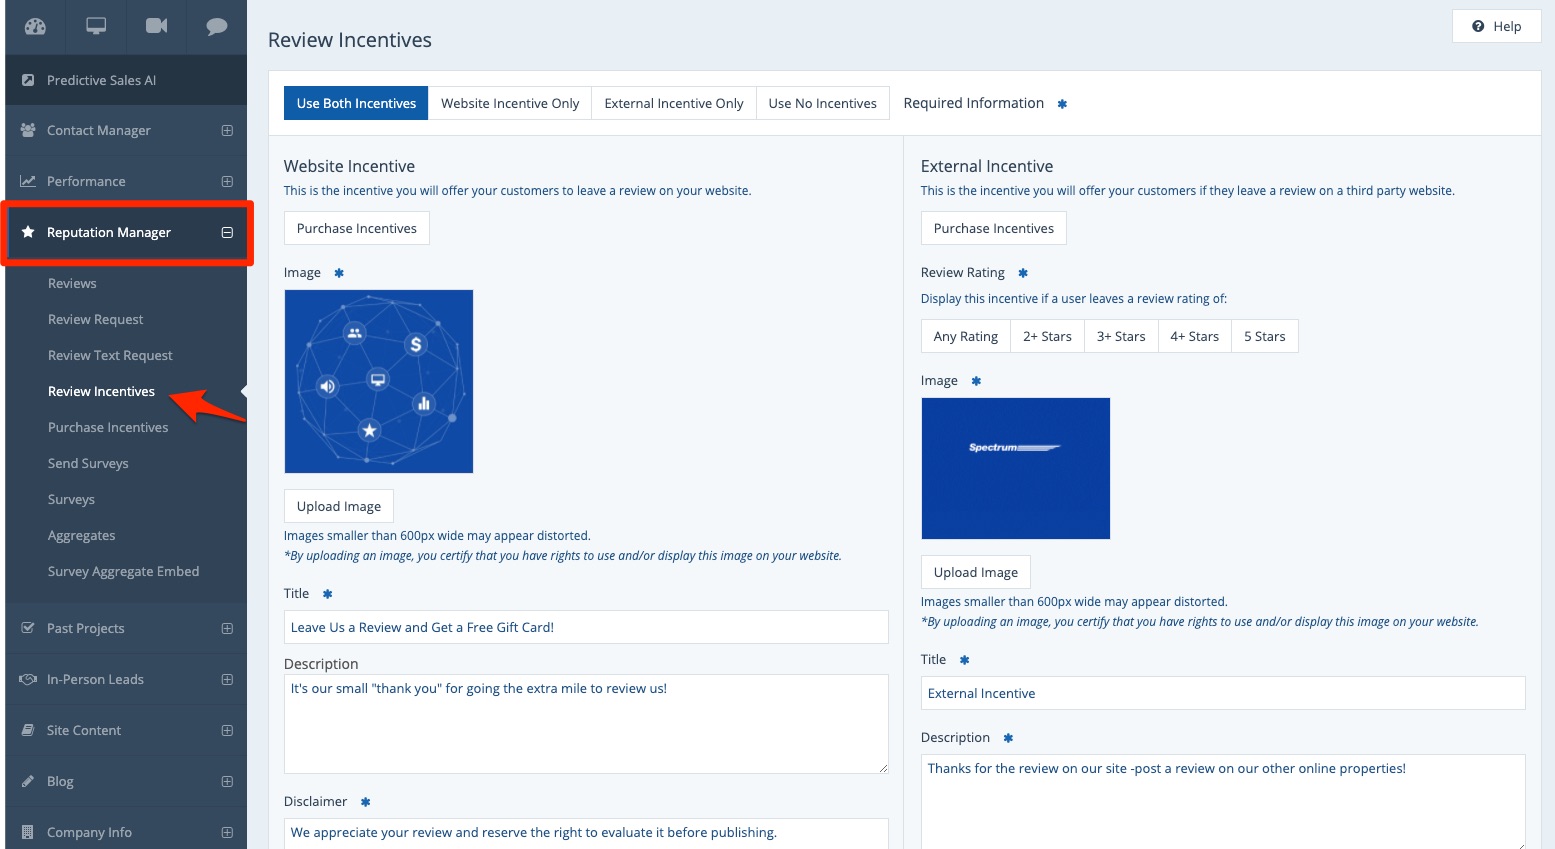
Depending on if and how you'd like to display your incentive on your website, check out these instructions for further guidance:
- How to Display an Incentive on Your Reviews Page (To Get More On-Site Reviews)
- How to Display an External Review Incentive (To Get More Third-Party Reviews)
- How to Set Up Review Incentives to Send by Email (Without Displaying Them on Your Website)
Step 2: Use Email Templates
Once your incentive is set up in the LISA admin, it's ready for customers!
Whenever a customer submits a review for which you've advertised an incentive, the next step is to email the customer to thank them and to provide the incentive code. You can use the LISA admin's email templates to easily email the customer, as shown below.
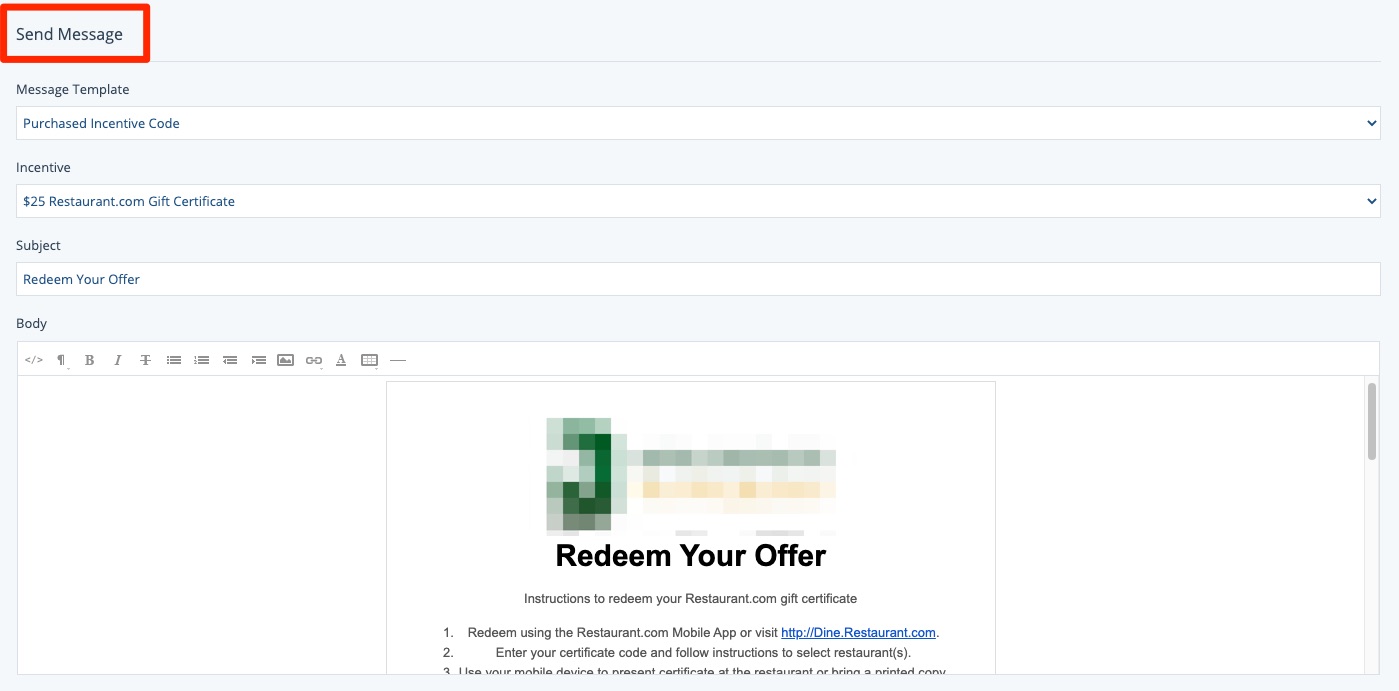
Because you are using your own incentives, however, it's important to delete "dynamic fields" such as #IncentiveCode# that only work for incentives purchased through the LISA admin. Learn more in our instructions for customizing your review incentive email template.