Through the LISA admin's In-Person Lead tool, it's easy to capture leads who visit your booth or speak with your sales reps. Simply set up an in-person lead event, and all leads will flow directly into the admin for easy tracking and follow-up. To set up an in-person event, follow the instructions below.
Note that you must be a LISA user with the Admin role to complete these steps. In order to add your event successfully, you may also want to add Event Reps and/or add event products first.
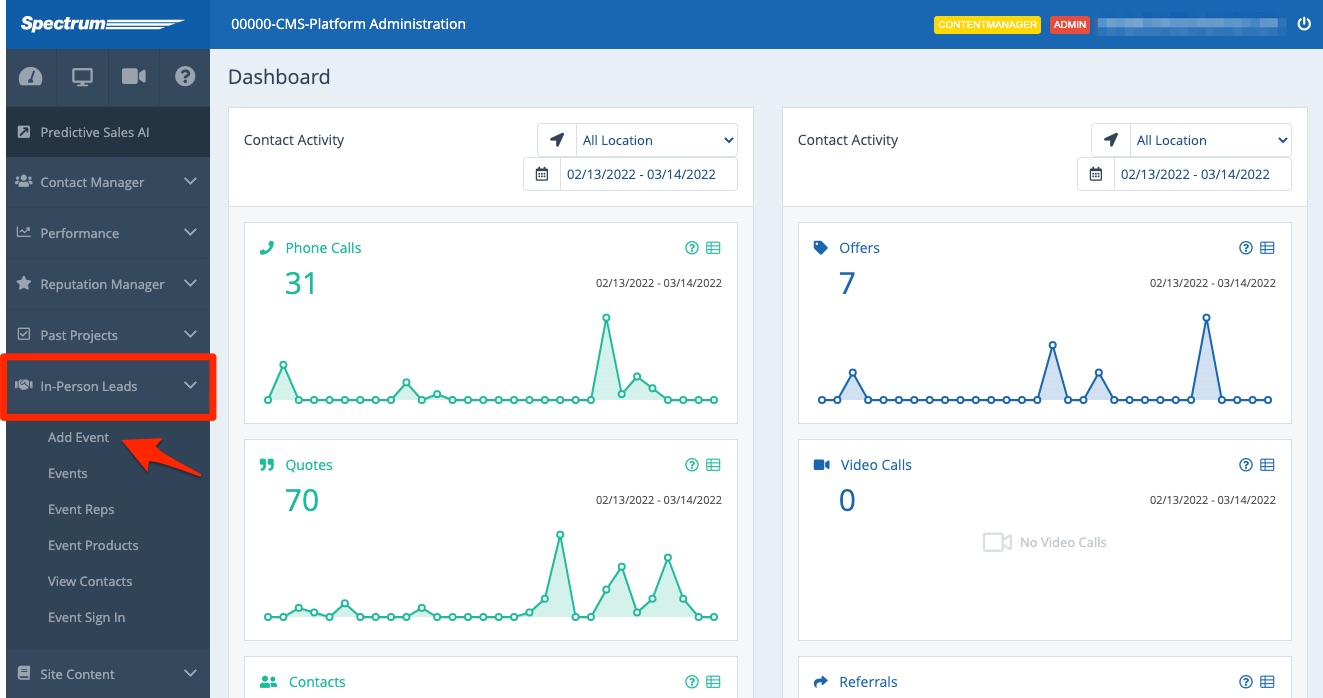
1. Add an Event
In the admin, navigate to In Person Leads > Add Event.
2. Fill Out the Details
Use the fields on the next page to create your event. (To see how these fields might impact your event form, check out this example.)
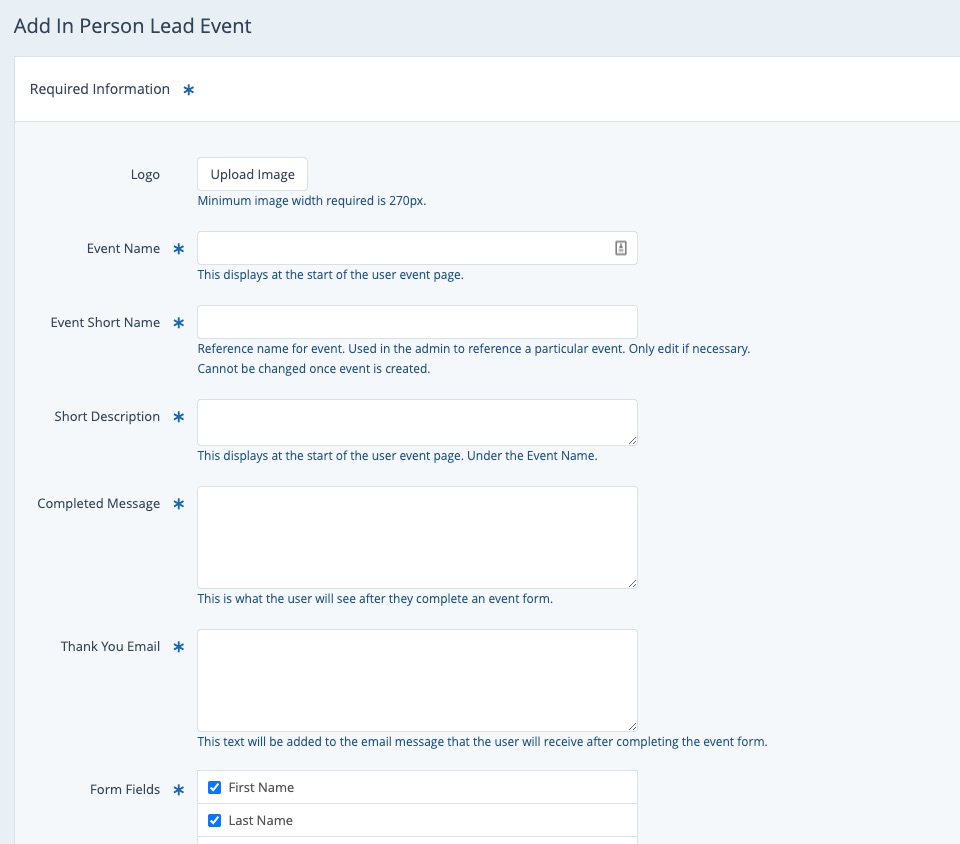
Here's a bit more information on each of the fields on this page:
- Logo: Add a logo if you'd like to display one on the event sign-in.
- Event Name: This is customer-facing and will appear on the event sign-in. To prevent errors, please do not use any punctuation besides dashes (-), ampersands (&), and parentheses (()).
- Event Short Name: This is internal only and does not need to be edited.
- Short Description: This is customer-facing and will appear on the event sign-in.
- Completed Message: This will appear on the event sign-in screen after the form is submitted.
- Thank You Email: This message is sent to the lead after form submission. Enter a custom message here related to the event or what to expect next.
- Form Fields: Check any and all boxes to designate the fields on your event form.
- For proper lead tracking, you must select first name and last name along with either phone number or email address.
- If you select Request Appointment, the customer will be presented a date picker as well as a general time preference: Early Morning, Morning, Noon, Afternoon, Early Evening, or
Evening. - If you select "When are you planning to do this project?" the answer options will include Within 3 months, 6 months, 1 year, or 2 years.
- Available Products: These boxes will only appear if you've selected "Product interested" as one of your form fields. (Missing products? Add them as event products.)
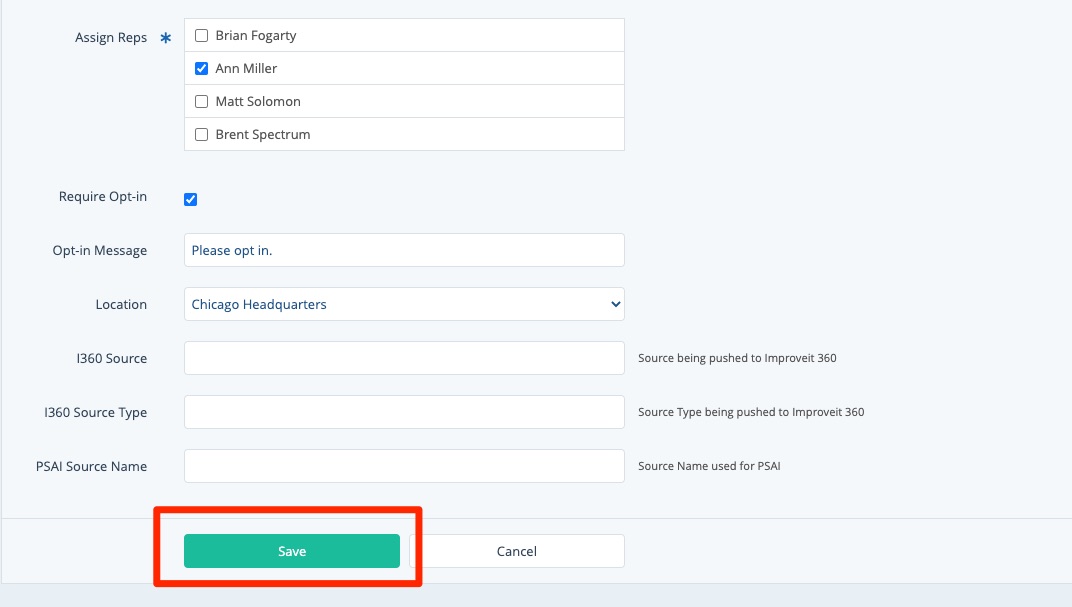
- Assign Reps: Add all of the reps who should have log-in access to this event. Only reps selected here will be able to access the event. (Don't see the right team members? Add them as Event Reps first.)
- Require Opt-In: If you choose to require an opt-in, then an opt-in checkbox will be presented on the first panel of the customer form.
- Opt-in Message: Add a headline to explain why someone might opt in.
- Location: If you have multiple office locations, choose the one these leads should be tied to.
- CRM Integration Fields: If you have a CRM integrated with the LISA admin, add a unique identifier to push leads into your CRM with a specific label.
3. Save Your Event
Once you've filled out the page, click Save.
What's next? Once you've created the event, you'll probably want to share the access code with the Event Reps. This can be done any time before the event starts.