Whenever a customer submits a survey response, the LISA admin can automatically send an email to thank them for their input. To create a customer email template for this purpose (or to edit an existing one), follow the instructions below.
Need a refresher? Then start with our overview on survey email templates.
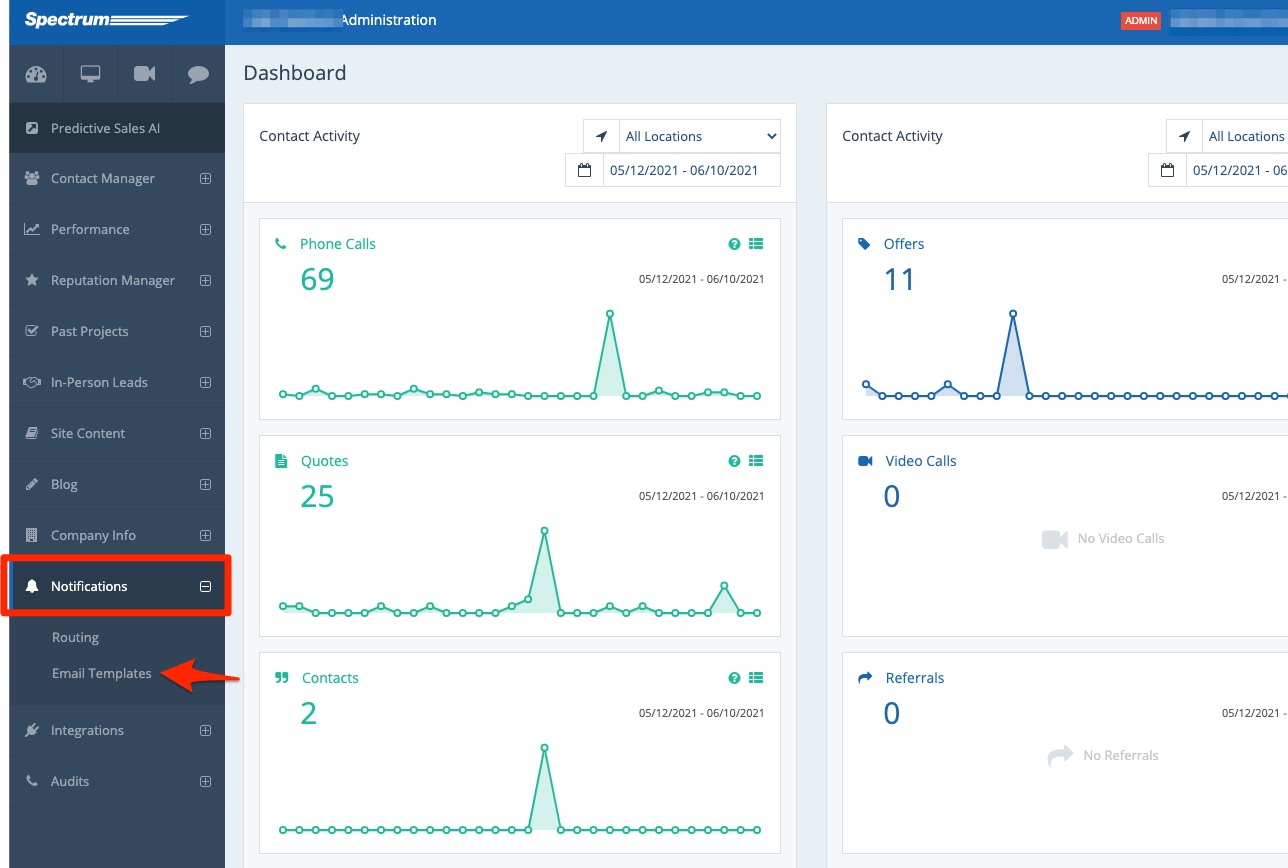
1. Go to Notifications > Email Templates
Log into your LISA admin and navigate to Notifications > Email Templates.
To be able to manage customer email templates, you need be an Administrator or a User. Check out the different LISA admin roles here.
2. Add a New Template
From the Email Templates dashboard, first doublecheck that you are on the tab for "Customers."

Then click the + button to create a new customer email template.
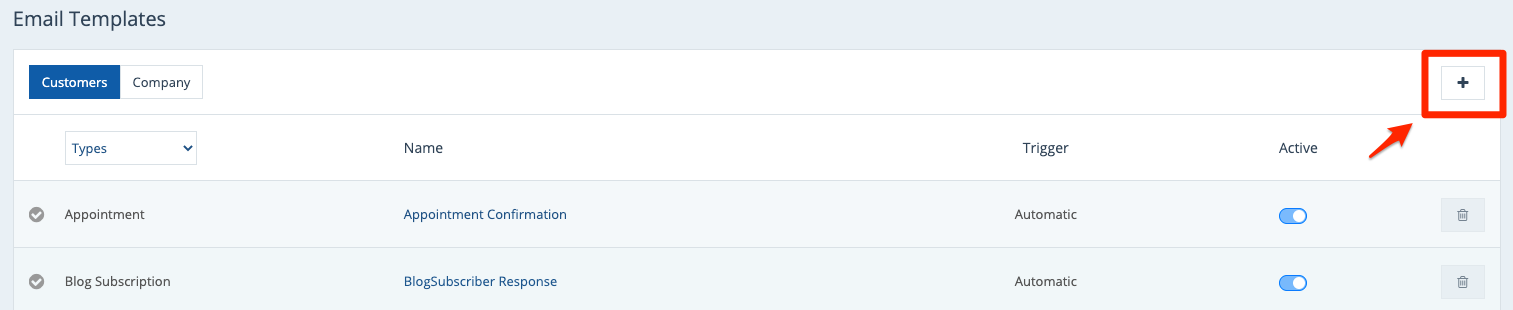
If you'd like to edit an existing template rather than create a new one, simply click on it from the list. Your LISA admin comes with several default templates, so you likely have at least one survey thank you template already made.
3. Complete Your Template Details
Whether you're creating a new customer email template or editing an existing one, simply fill out the fields on the Email Template page.
For a survey thank you email template, the most important fields are the following:
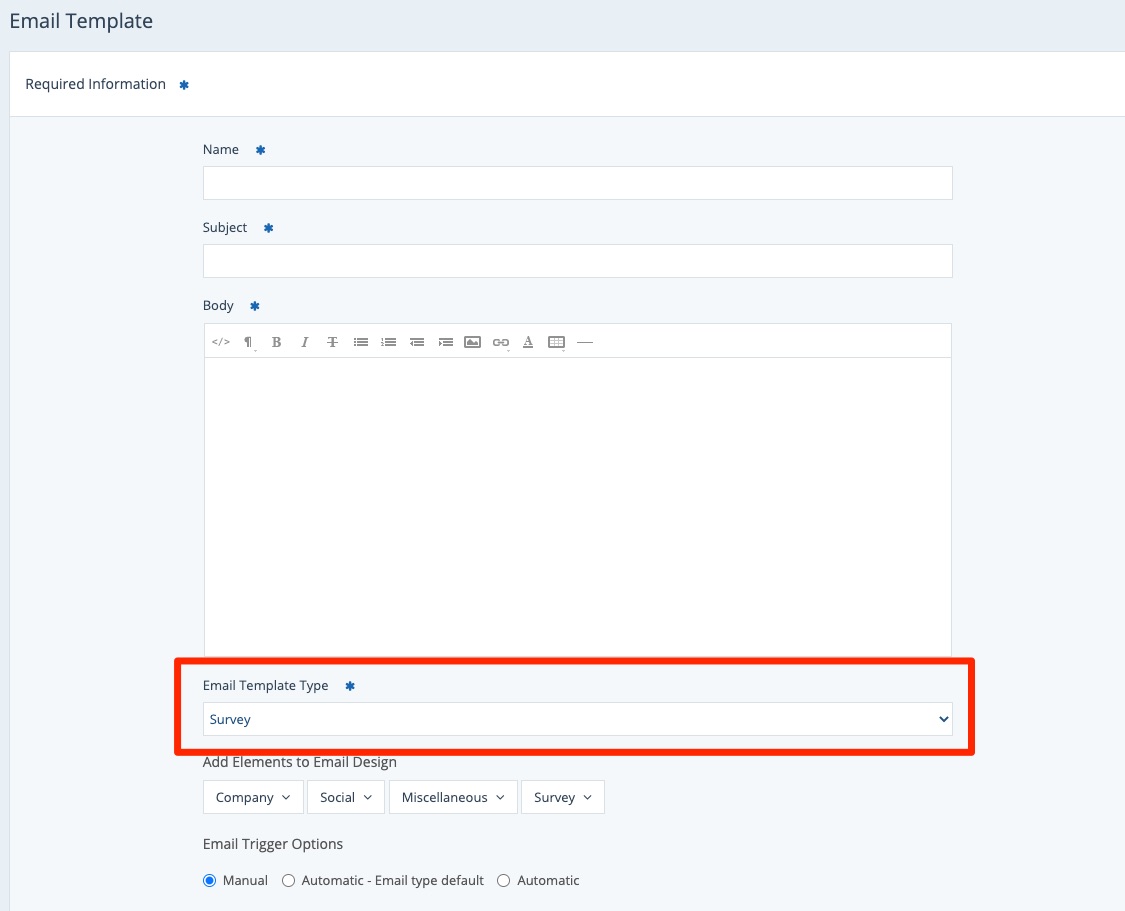
Email Template Type
In this field, be sure to select "Survey." (This is what allows your survey settings to be automatically populated in your emails.)
Add Elements to Email Design
The section for "Add Elements to Email Design" allows you to automatically populate the data that you set when you originally created the survey.
Click the "Survey" dropdown menu, and you can choose from a variety of survey data, as shown below.
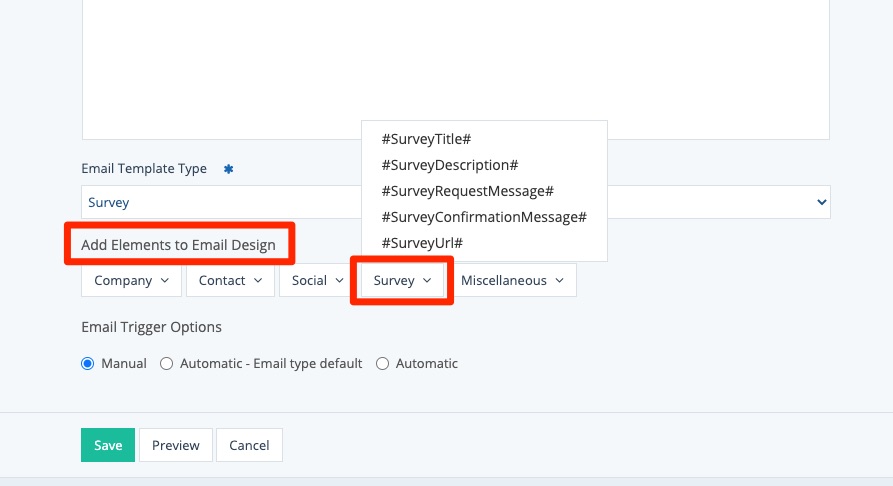
For a survey thank you email, you'll most likely want to use:
- #SurveyTitle# - set on the Survey Settings page
- #SurveyDescription# - set on the Survey Settings page
- #SurveyConfirmationMessage# - set on the Survey Confirmation page
By inserting these dynamic elements into your email template, every customer will receive an email with the correct information (title, description, thank you message) based on what you've set up for that specific survey.
For a review, refer to our resource on how to create a new survey, which covers each of these settings in detail. You can also learn more about dynamic elements here.
Email Trigger Options
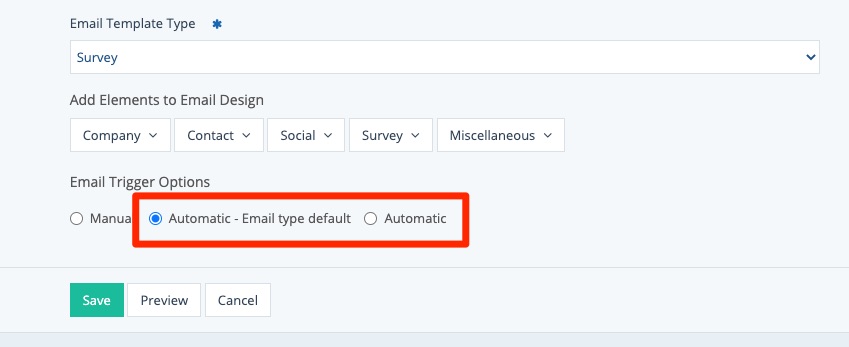
For this field, you can technically choose any of the three options. However, by choosing "Manual," you will have to manually send the thank you message—so we do not recommend this.
It will be much easier to choose either of the two automatic settings:
- Automatic - Email type default: Automatically send this thank you email to all survey respondents.
- Automatic: Automatically send this thank you email only to survey respondents who meet specific conditions that you set. (For example, only send it to respondents of a certain survey.)
If you aren't familiar with conditions, learn more about how conditions can be used with survey email templates.
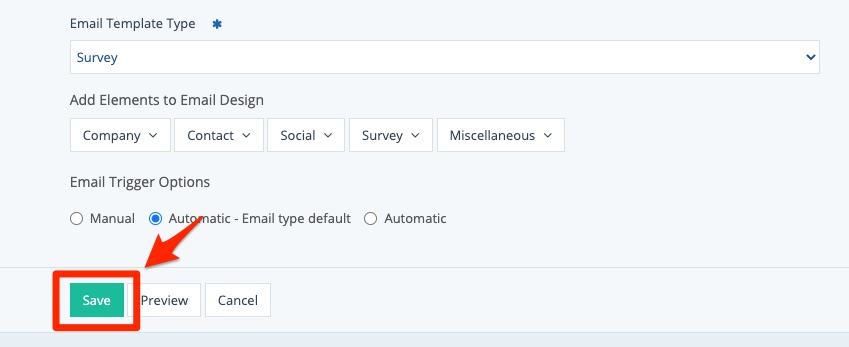
4. Save Your Changes
Once you have finished customizing your email template, click "Save" to save your changes.
That's it! Once you've saved your email template, it will be automatically sent to a customer whenever they submit a survey response. You can return to this page to edit your email template at any time, or to create a new one.
Here's what else happens when a survey response comes in:
- Your team gets notified according to the survey lead notification rules you've set.
- The survey report gets updated.
- You can view individual survey responses.
- You can download a full spreadsheet of survey Q&A data.