On your Past Projects page, you can set the map display to center on your preferred service area, customizing both the center point of the map and the default zoom level. Follow the instructions below.
1. Go to Past Project Settings
Log into your LISA admin and navigate to Past Projects > Settings.

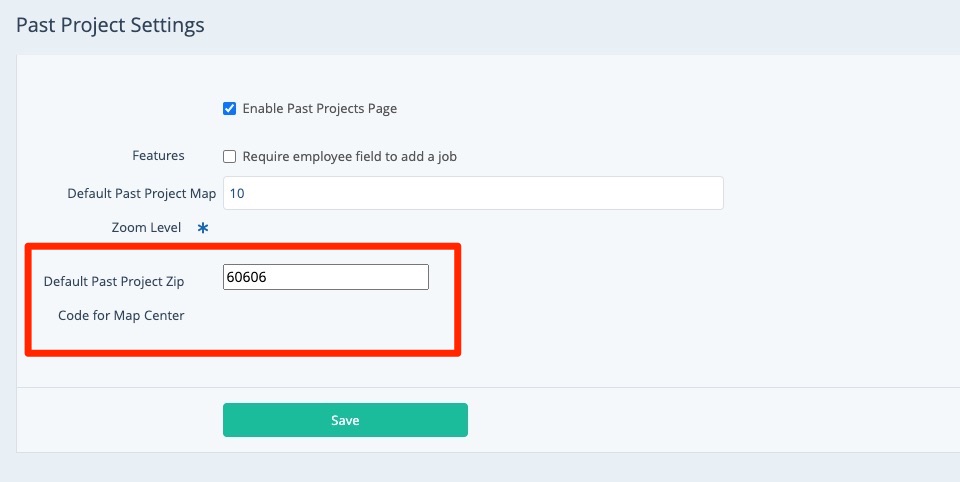
2. Set the Default Zip Code
In the field for Default Past Project Zip Code for Map Center, enter your preferred zip code. Note that this is an optional field.
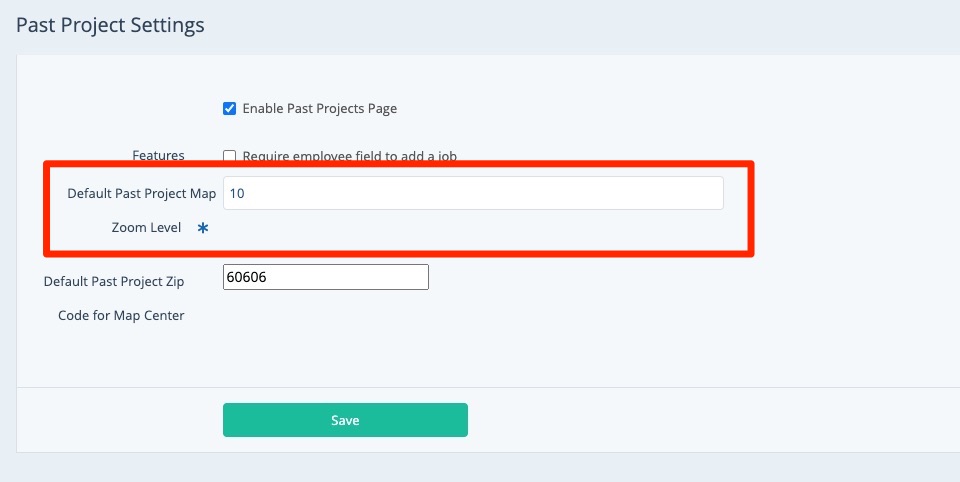
3. Set the Default Zoom Level
Next, enter your preferred zoom level, which can be any number greater than 1. This is a required field.
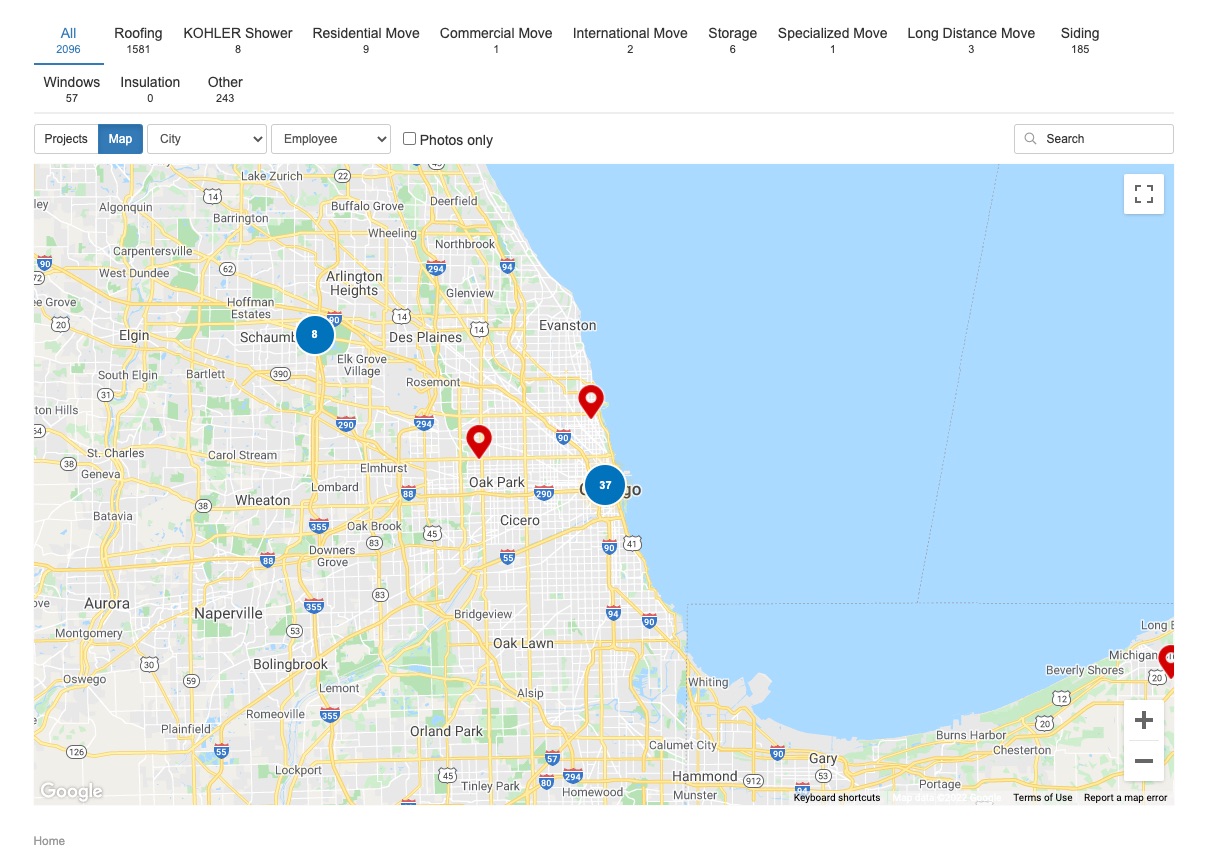
Note that larger numbers equate to a more zoomed-in view. A zoom level of 1 will show the entire United States; a zoom level of 20 will show a single street in a city.
For many clients, a good rule of thumb would fall somewhere between 10 and 13. As an example, when centered on the Chicago zip code of 60606, a zoom level of 10 results in the following default display.
To see how a specific zoom level looks, you can always save your changes, navigate to /past-projects/, and refresh the page. Repeat until you've found the right display for you.
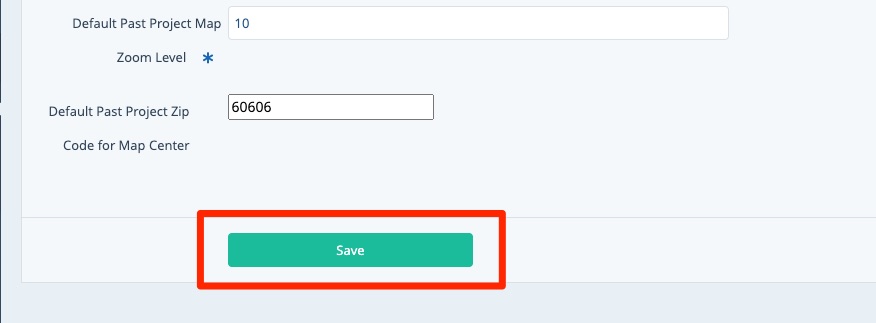
4. Save
Once you've selected your zip code and zoom, save your changes.